


DHCP – a network protocol that allows your virtual machines to automatically receive an IP address and other parameters necessary for operation in a TCP/IP network.
In NSX Edge, there are three DHCP settings options:
- DHCP pool – creating a pool of addresses that will be automatically issued to DHCP clients;
- DHCP binding – binding a specific IP address to a particular MAC address;
- DHCP Relay – using a third-party DHCP server to issue IP addresses to servers located in different subnets (other than the DHCP server).
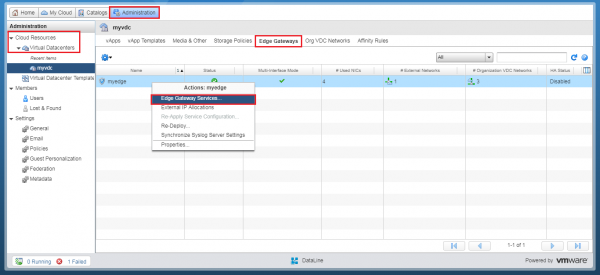
To access the DHCP server settings menu, go to the section Administration and click on your virtual data center. In the horizontal menu that appears, select the tab Edge Gateways, right-click on the desired network and select the option Edge Gateway Services.
Go to the DHCP menu.
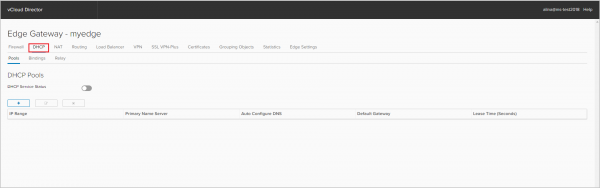
Configuring the DHCP Pool
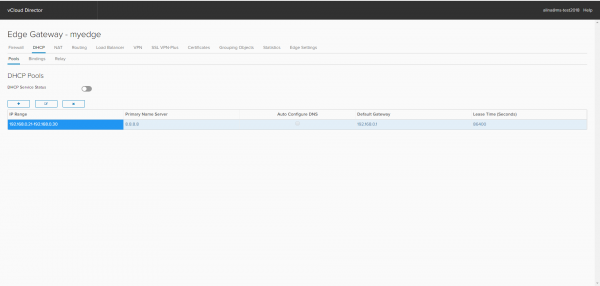
To create a new DHCP pool, click +.
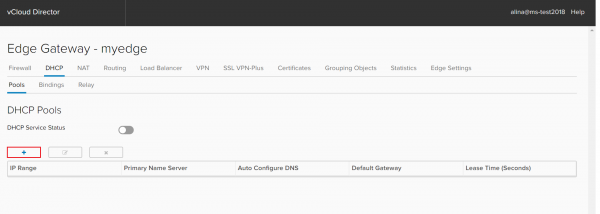
In the window that appears, specify the range of IP addresses that will be issued to DHCP server clients. This range must not overlap with the Static IP pool of the organizational level network.
Enter the Default Gateway, DNS, Subnet Mask. Click Keep.

Save changes.
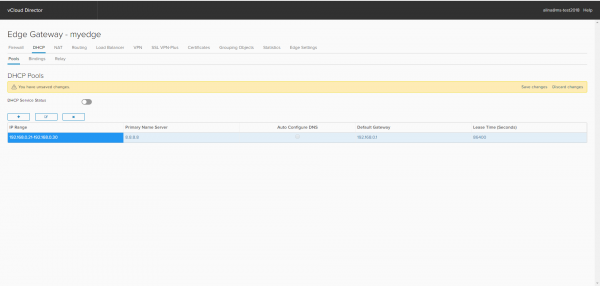
Done.
Configuring DHCP Binding
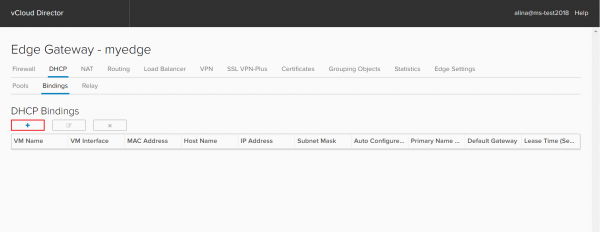
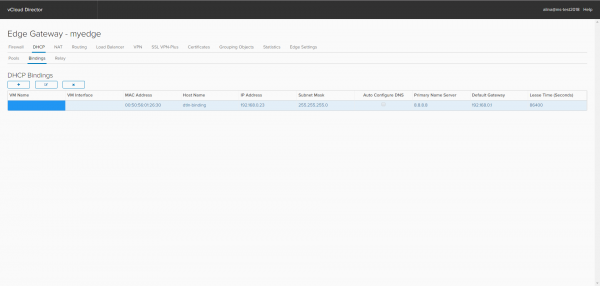
To bind an IP address to a specific MAC address, go to the Bindings tab and click +.
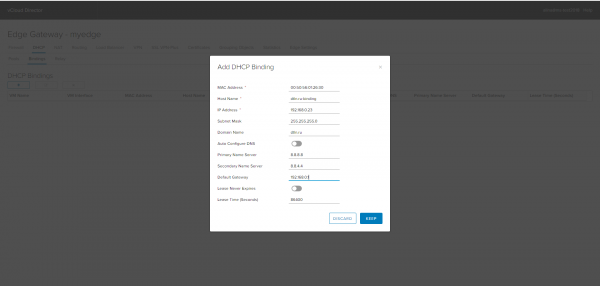
In the window that appears, be sure to specify:
- The MAC address of the virtual machine's network interface to which we want to assign the IP;
- Host Name – the name of the server;
- The IP address that is assigned to the virtual machine.
Click Keep.
Save changes.
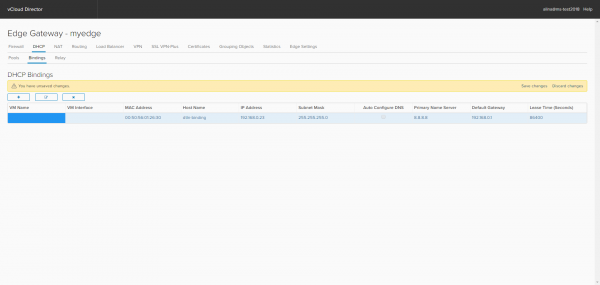
Done.
Configuring DHCP Relay
To configure the issuance of IP addresses from a third-party DHCP server, go to the DHCP Relay tab.
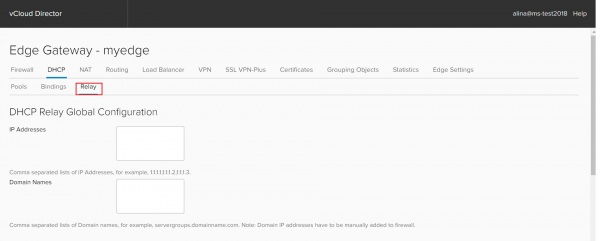
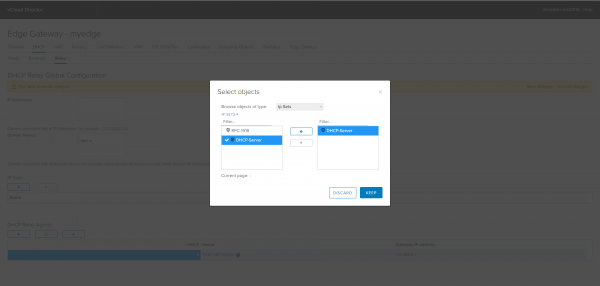
Specify the address of the third-party DHCP server. This can be done using IP Addresses
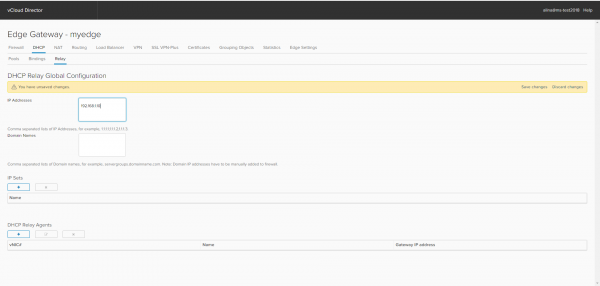
or IP Sets.
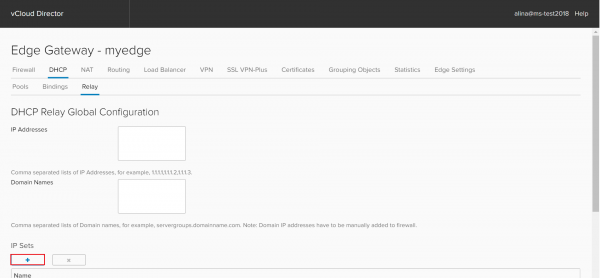
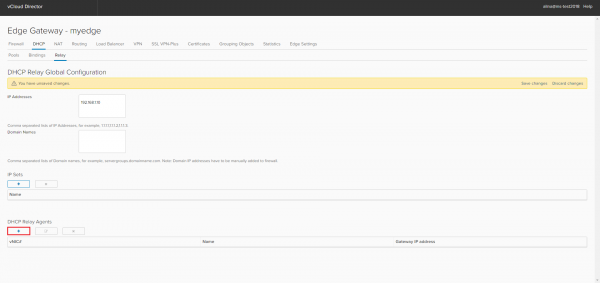
Add the interface where the DHCP Relay agent will be running. To do this, click + in the DHCP Relay Agent section.
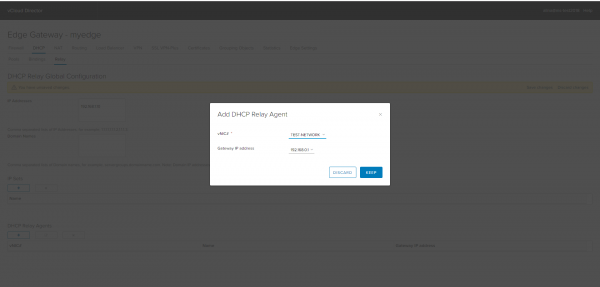
Select from the list the vNIC where the DHCP clients are located.
Important: The DHCP pool and DHCP binding must not overlap with the interface where the DHCP Relay agent will be running.
Save changes.
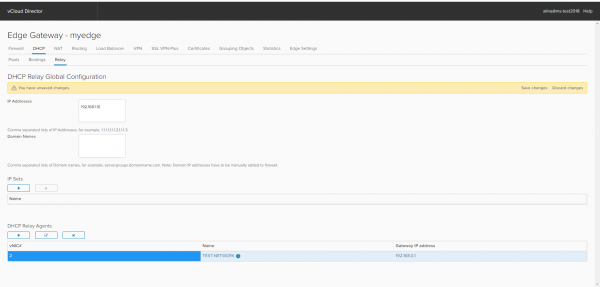
Done.
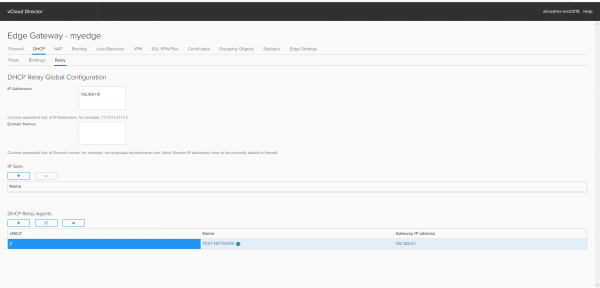
Once all settings are complete, return to the main page, activate DHCP and apply the changes.
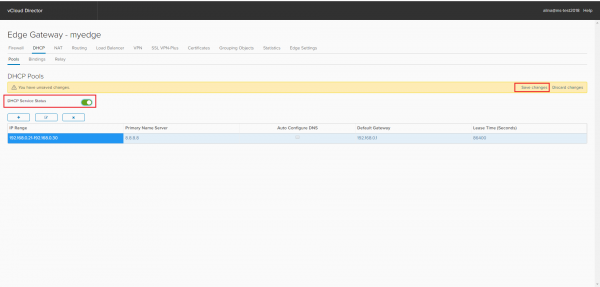
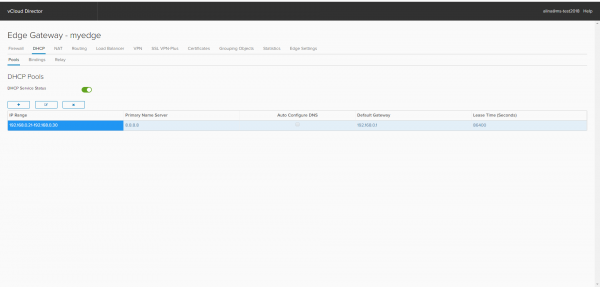
Done.
Now go to the virtual machine settings. In the Hardware tab, under NICs network interface settings, select IP Mode as DHCP.
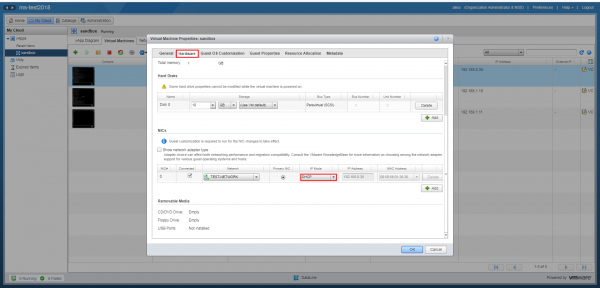
Done, you can use it. In the next article, we will cover the configuration of static and dynamic routing.
Source: habr.com
