

We explain how to create a simple tip calculation application in Kotlin. More specifically, Kotlin 1.3.21, Android 4, Android Studio 3. This article will be particularly interesting for those starting their journey in Android app development. It provides an understanding of what works inside the application and how.
Such a calculator will come in handy when you need to calculate the tip amount for a company deciding to spend time at a restaurant or café. Of course, not everyone tips waitstaff all the time; it's more of a Western tradition, but the development process of such an application is interesting nonetheless.
Reminder: for all readers of 'Habr' - a discount of 10,000 rubles when enrolling in any Skillbox course with the promo code 'Habr'.
Skillbox recommends: Practical Course .
Here's how the application looks in the process of working:
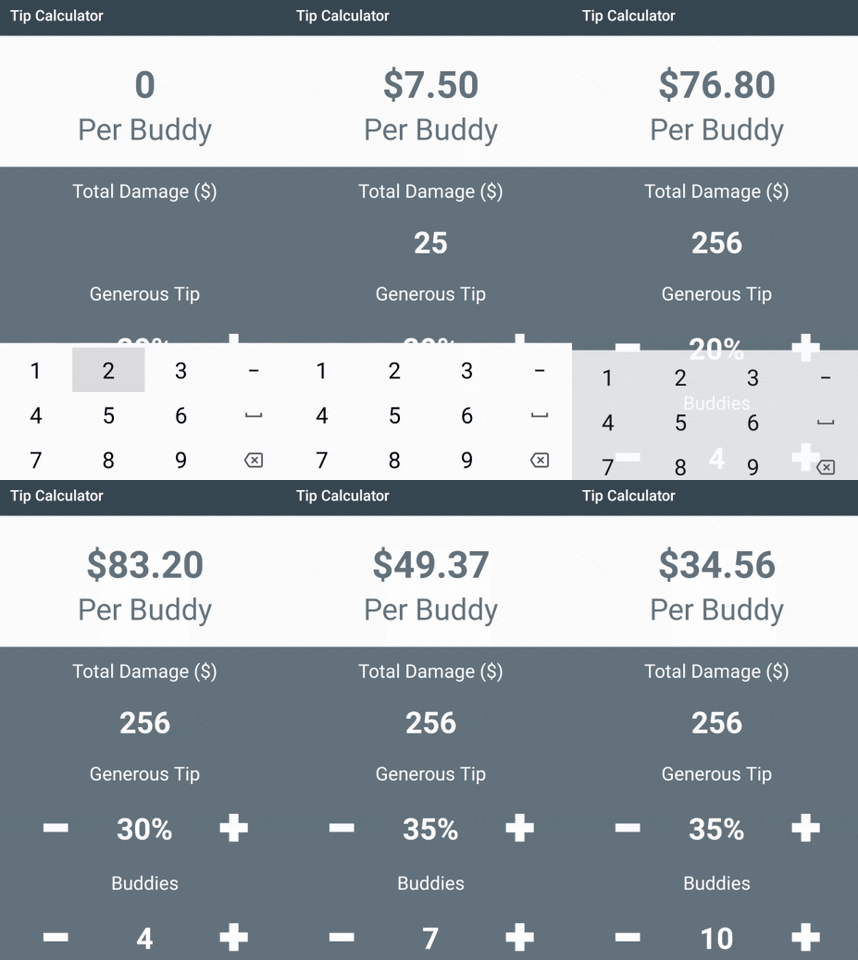
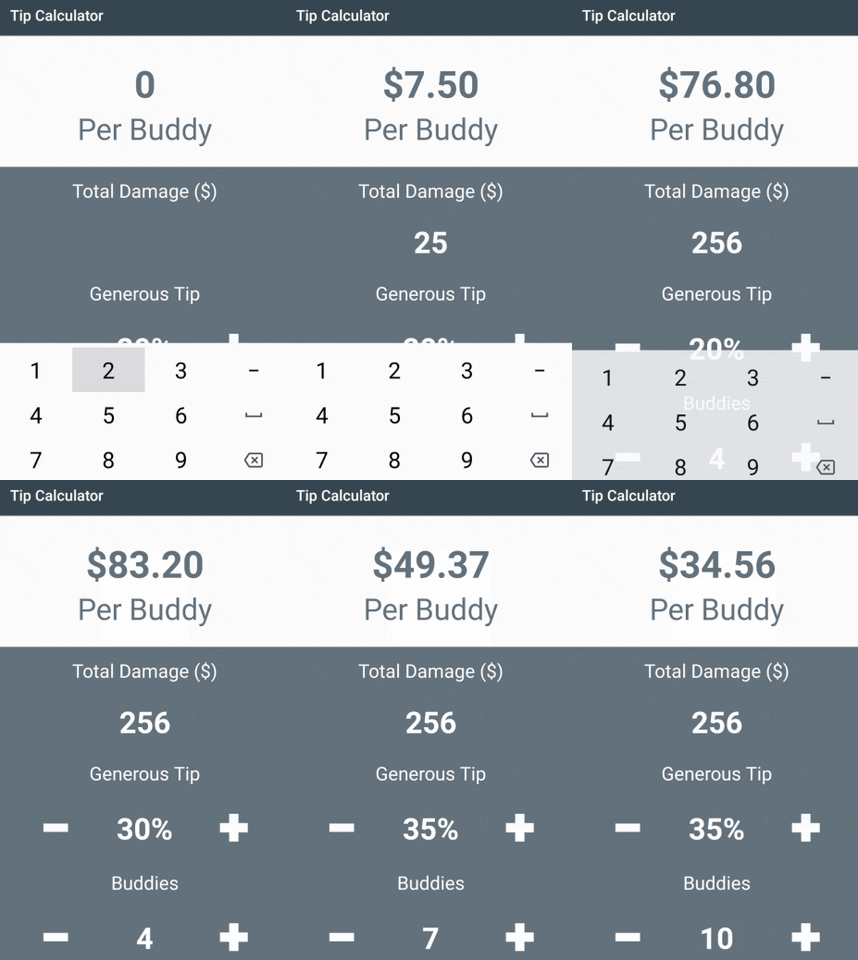
You enter the desired percentage of the total amount, the number of participants in the meeting, and get the result — the amount of tip that should be left.
Getting Started
The complete interface of the application looks as follows:
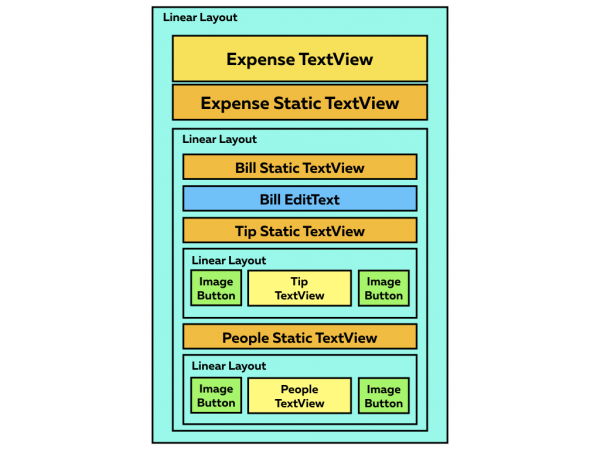
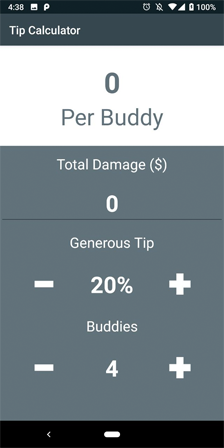
The first action is Open it in Android Studio 3.0 or a later version. Build and run the project and see a white screen. Everything is normal; that's how it should be.
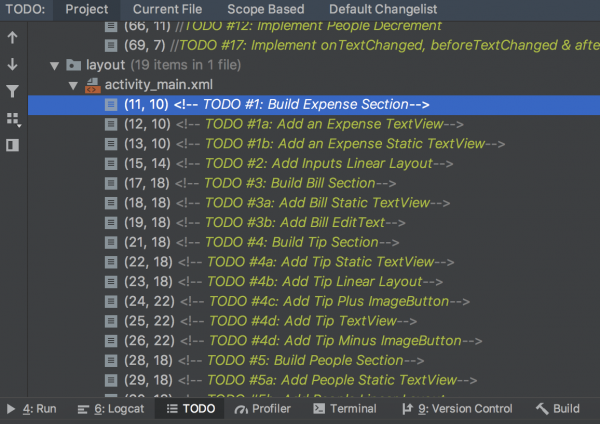
User actions are arranged in chronological order within the project for clarity. To view it, go to View -> Tool Windows -> TODO.
Examine the project and open colors.xml to evaluate the color palette. Text data (labels) are placed in strings.xml, and styles.xml contains several font templates.
Development of the expenses section
Open activity_main.xml and add the code below to LinearLayout (#1):
Now you can adjust the style in the values directory or play with the colors using .
Currently, the project looks like this:
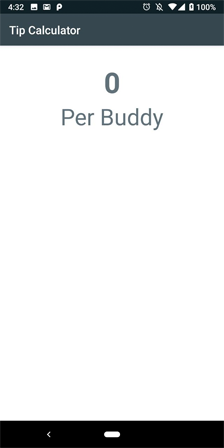
As you can see, expense calculations are based on the data entered by the user.
Development of the bills section
Add the code below to LinearLayout after the Expense Section (#2):
<! — TODO #3: Build Bill Section →

…
We close the LinearLayout after the TODOs list, and then add new code, placing it inside the LinearLayout (#3):
Since the main task of the application is to calculate individual expenses for each participant at the restaurant, the costPerPersonTextView is of primary importance.
EditText restricts input to a single line, and this parameter should have a NumberDecimal inputType value.
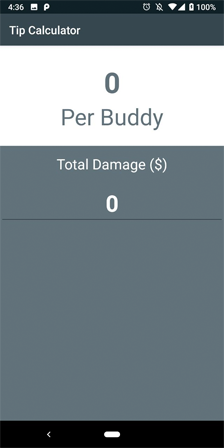
We run the project for testing and enter the parameters for the total damage (broken cups, plates, etc.)
Development of the 'People and Tips' section
To add a tip amount selection, we insert the code below into a new LinearLayout section (#4):
This piece of code is necessary for accurately calculating the tip amount. The default text value is 20. ImageButtons are equipped with icons in the writable folder.
We completely copy the section and add the following (#5):
- ImageButton ids (subtractPeopleButton, addPeopleButton)
- TextView ids (numberOfPeopleStaticText, numberOfPeopleTextView)
- DefaultText for numberOfPeopleTextView (should be 4).
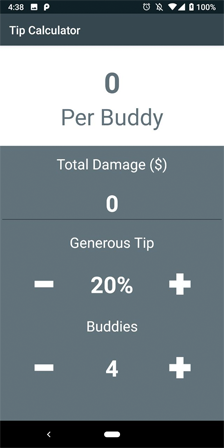
Now, when the application starts, there is an option to add the bill amount, and the 'Add/Subtract' buttons work, but so far nothing happens.
Adding Views
We open MainActivity.kt and add this to the initViews function (#6):
private fun initViews() {
        expensePerPersonTextView = findViewById(R.id.expensePerPersonTextView)
        billEditText = findViewById(R.id.billEditText)

addTipButton = findViewById(R.id.addTipButton)
        tipTextView = findViewById(R.id.tipTextView)
        subtractTipButton = findViewById(R.id.subtractTipButton)

addPeopleButton = findViewById(R.id.addPeopleButton)
        numberOfPeopleTextView = findViewById(R.id.numberOfPeopleTextView)
        subtractPeopleButton = findViewById(R.id.subtractPeopleButton)

//TODO #8: Bind Buttons to Listener

//TODO #16: Bind EditText to TextWatcher

}
Completing the buttons
To add click support for the buttons, we implement View.OnClickListener at the class level (#7):
class MainActivity: AppCompatActivity(), View.OnClickListener {
The project cannot be compiled right now; a few more steps need to be completed (#8):
override fun onClick(v: View?) {
        when (v?.id) {
            R.id.addTipButton -> incrementTip()
            R.id.subtractTipButton -> decrementTip()
            R.id.addPeopleButton -> incrementPeople()
            R.id.subtractPeopleButton -> decrementPeople()
        }
    }
In terms of buttons and switches, Kotlin is beautifully organized! Add the code below to all increment and decrement functions
(#9–#12):
private fun incrementTip() {
        if (tipPercent != MAX_TIP) {
            tipPercent += TIP_INCREMENT_PERCENT
            tipTextView.text = String.format("%d%%", tipPercent)
        }
    }

private fun decrementTip() {
        if (tipPercent != MIN_TIP) {
            tipPercent -= TIP_INCREMENT_PERCENT
            tipTextView.text = String.format("%d%%", tipPercent)
        }
    }

private fun incrementPeople() {
        if (numberOfPeople != MAX_PEOPLE) {
            numberOfPeople += PEOPLE_INCREMENT_VALUE
            numberOfPeopleTextView.text = numberOfPeople.toString()
        }
    }

private fun decrementPeople() {
        if (numberOfPeople != MIN_PEOPLE) {
            numberOfPeople -= PEOPLE_INCREMENT_VALUE
            numberOfPeopleTextView.text = numberOfPeople.toString()
        }
    }
Here the code protects the increment functions with maximum values (MAX_TIP & MAX_PEOPLE). Additionally, the code protects the decrement functions with minimum values (MIN_TIP & MIN_PEOPLE).
Now we bind the buttons to listeners in the initViews function (#13):
private fun initViews() {

...

addTipButton.setOnClickListener(this)
        subtractTipButton.setOnClickListener(this)

addPeopleButton.setOnClickListener(this)
        subtractPeopleButton.setOnClickListener(this)

//TODO #15: Bind EditText to TextWatcher
} 
Now you can add the total damage, tips, and the number of attendees. And now the most important part…
Expense Calculation Section
This code calculates the expenses (#14):
private fun calculateExpense() {

val totalBill = billEditText.text.toString().toDouble()

val totalExpense = ((HUNDRED_PERCENT + tipPercent) / HUNDRED_PERCENT) * totalBill
        val individualExpense = totalExpense / numberOfPeople

expensePerPersonTextView.text = String.format("$%.2f", individualExpense)

}
Here the function is called which allows for accounting the number of people in the company and calculating tips (#15):
private fun incrementTip() {

…

}

private fun decrementTip() {

…

}

private fun incrementPeople() {

…

}

private fun decrementPeople() {

…

}
Launching the application. It looks and works great. But it can be even better.
If you try to delete the bill amount, and then increase the number of tips or friends, the application will crash because there is no check for zero expense value yet. Moreover, if you try to change the bill amount, the expenses will not be updated.
Final steps
Adding TextWatcher (#16):
class MainActivity: AppCompatActivity(), View.OnClickListener, TextWatcher {
Next, we embed the listener billEditText (#17):
billEditText.addTextChangedListener(this)
Plus, we add code to execute TextWatcher (#18):
override fun onTextChanged(s: CharSequence?, start: Int, before: Int, count: Int) {
        if (!billEditText.text.isEmpty()) {
            calculateExpense()
        }
    }
override fun afterTextChanged(s: Editable?) {}

override fun beforeTextChanged(s: CharSequence?, start: Int, count: Int, after: Int) {} 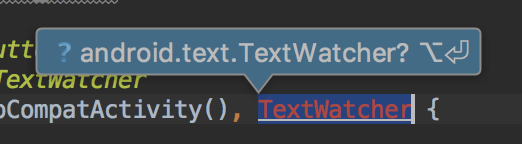
And now everything works perfectly! Congratulations, you have written your own "Tip Calculator" in Kotlin.
Skillbox recommends:
- Two-Year Practical Course .
- Online Course .
- Practical Year Course .
Source: habr.com
