

from the translator
Mozilla has created a universal hub for smart home devices, allowing the integration of devices from different vendors and protocols (including Zigbee and Z-Wave), enabling control without cloud dependency and from a single location. A year ago about the first version, and today I am releasing the translation of the recently updated documentation, which addresses most fundamental questions regarding the project. I welcome discussions and exchanges of opinions in the comments.
WebThings Gateway for Raspberry Pi
is software for gateways used in smart home systems that allows for direct monitoring and control of smart devices over the internet without intermediaries.
What You'll Need
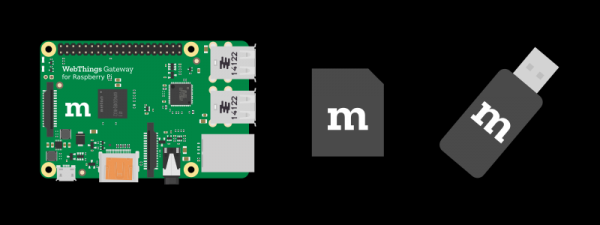
- Computer and a power supply (at least 2A required for Raspberry Pi 3)
- microSD card (at least 8 GB, class 10)
- USB adapter (see the list of )
Note: Raspberry Pi 3 comes with built-in Wi-Fi and Bluetooth. A USB adapter is needed to connect devices via protocols like Zigbee and Z-Wave.
1. Download the image
Download the image from the .
2. Flash the image
Flash the image onto the microSD card. There are various for writing. We recommend using .
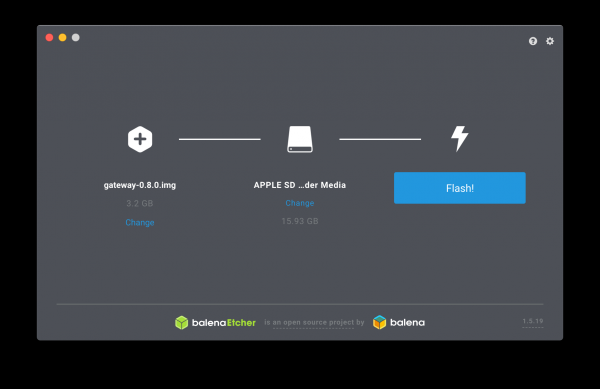
- Open Etcher
- Insert the memory card into your computer's adapter.
- Select the image as the source
- Select the memory card
- Click 'Flash!'
Once done, remove the memory card.
3. Booting Raspberry Pi
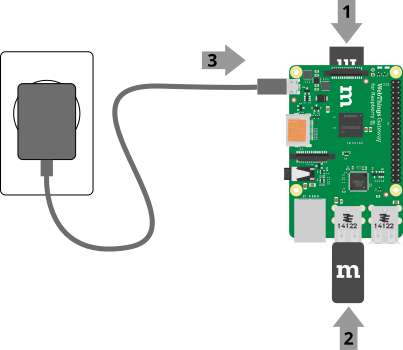
- Insert the memory card into the Raspberry Pi
- Connect USB adapters if available
- Connect the power supply to begin booting
Note: The first boot of the Raspberry Pi may take 2-3 minutes.
4. Connecting via Wi-Fi
After booting, the gateway will create an access point named 'WebThings Gateway XXXX' (where XXXX are the last four digits of the Raspberry Pi's MAC address). Connect to this access point using your computer or smartphone.
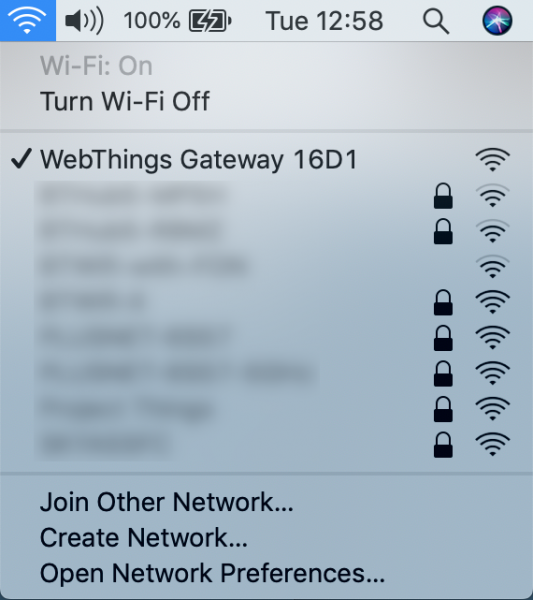
Once connected, you should see the WebThings gateway welcome screen, which will then begin to search for your home Wi-Fi network.
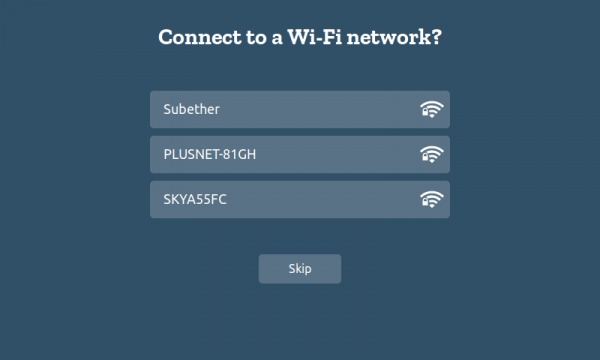
Select your home network from the list and enter the password to connect.
Note:
- If you connected to the access point 'WebThings Gateway XXXX' but do not see the welcome screen, try opening the page at .
- The Raspberry Pi can be connected to the network using an Ethernet cable. In this case, it will attempt to obtain an IP address from your router automatically. Then, type in your browser "http://gateway.local" for the initial gateway setup.
- If you move the gateway to another location or it loses access to the original network, it will automatically switch to access point mode so you can connect to it and set up another network.
5. Choosing a Subdomain
After connecting the gateway to the network, ensure that your computer or smartphone from which you are configuring it is on the same network. After that, go to the address in your browser.
After this, you will have the option to register a free subdomain for accessing the gateway outside of the local network via from Mozilla.
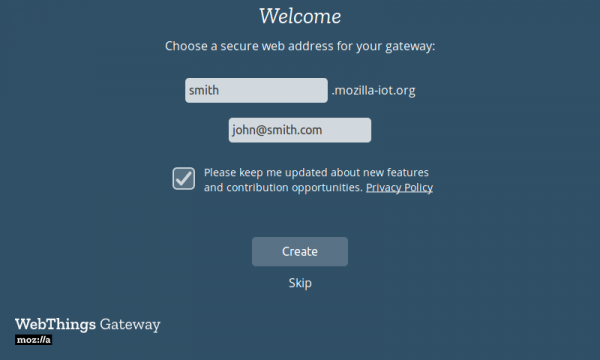
Enter your desired subdomain and email address (for password recovery in the future), and click "Create."
Note:
- This step can be skipped, and you can use the gateway entirely locally or set up port forwarding and DNS manually. However, in this case, if you decide later to use the Mozilla subdomain, you will need to reset the gateway's settings completely.
- If the page at does not open, try to find the gateway's IP address through your router (look for connected devices like "gateway" or with a MAC address starting with "b8:27:eb"), and try to open the page directly via IP.
- If If both http:// and https:// do not work, ensure that both your computer and Raspberry Pi are connected to the same network.
- If you have previously registered a subdomain, enter its name and the email address you used during registration. Instructions for accessing it will appear on the screen.
6. Creating an Account
After registering the subdomain, a page will open with the next steps for configuring the gateway. Enter your name, email address, and password, and click "Next."
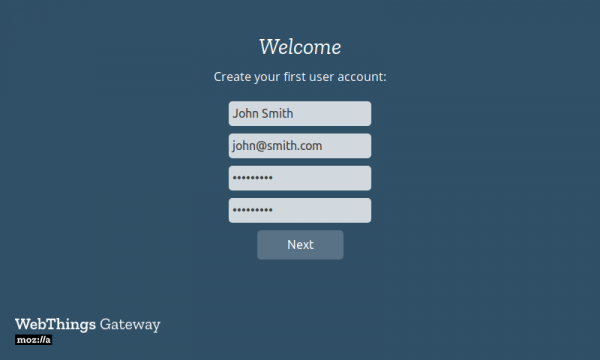
Note: Additional accounts can be created later.
Done!
After this, the "Things" page should open for connecting smart devices to the gateway.
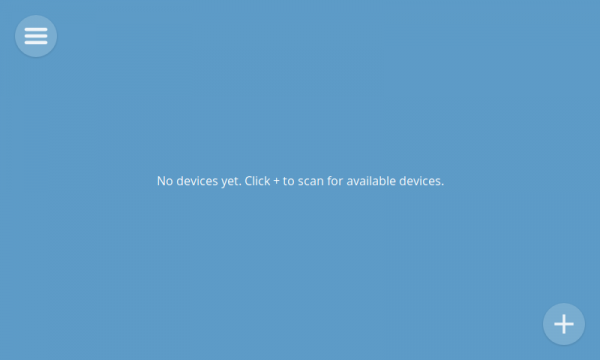
See. for further configuration.
Source: habr.com
