

A tale was quickly told, but a long time it took to do.
More than a year and a half ago, I wanted to build my own NAS, and the starting point for it was organizing the server room. While sorting through cables, cases, and relocating a vintage 24-inch HP monitor to the trash, I found a heatsink from Noctua. After some effort, I managed to take out two fans – one 120 mm and one 140 mm. The 120 mm fan went straight to the home server, as it was quiet and powerful. However, I didn't yet know what to do with the 140 mm fan. So, it ended up on the shelf – in reserve.
About two weeks after organizing, we purchased a Synology NAS model DS414j. At that time, I thought, why use two fans when one large one would suffice? Thus, the idea was born — to create a NAS with one large and quiet fan.
So, that was the prelude, and now the tale.
Since I had experience with a file handle, having previously integrated a six-drive bay into my home server, I had a rough idea of the future NAS's shape. From the front – a large and quiet fan with a grille, from the side – a proper rectangle, slightly larger than a two-drive bay. Everything else was designed to be harmonious and not protruding.
And work began... for a year.
Designing and further designing, before starting any work, I've reaffirmed this time and again. But, since this is a hobby, and a deadline is practically impossible, I improvised again and again, and kept doing so until I reached a working state.
So, where to start and what materials to use?
I decided to use aluminum angles and plates, as they are moderately strong, lightweight, and, most importantly, aluminum products are malleable for experiments. I bought a 20x20x1 cm aluminum angle, 2 m, and a ribbed AMg2 sheet measuring 1.5x600x1200 mm. From the sheet, I also planned to make the casing walls for the server. of virtual machines. So, here's the beginning in the photo.
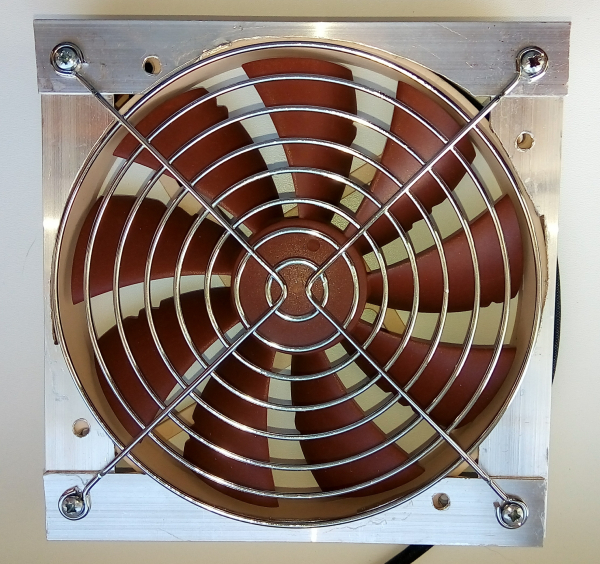
The appearance is certainly not great. But the main thing is functionality, which proved to be more than sufficient later.
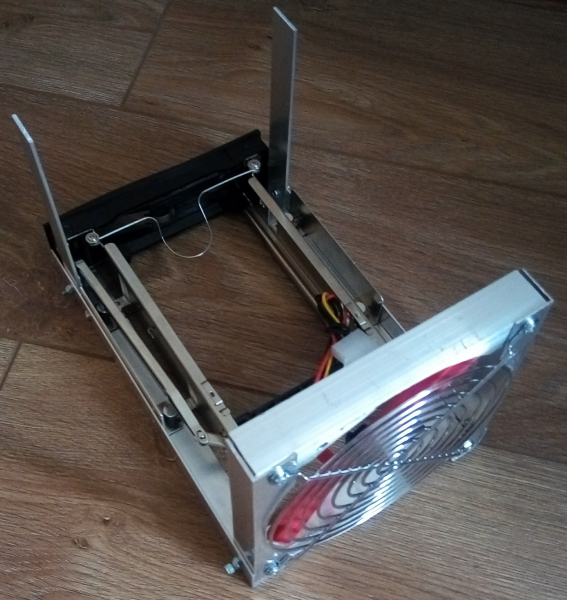
In terms of size, I based the future NAS on the dimensions of a 140 mm fan, two trays for 3.5-inch disks, and a power supply unit. The size of the 'smart part' board of the NAS did not matter much, as it was relatively small compared to the other components. I thought it would be possible to attach it somewhere anyway.
And indeed, the 'smart part' board of the NAS found its place.
Meanwhile, while working on the placement of the NAS elements, the design for the future case for server virtual machines was taking shape in my mind, but more on that in the next article.
By cutting, drilling holes, and putting everything together, I finally managed to assemble a decent parallelepiped.
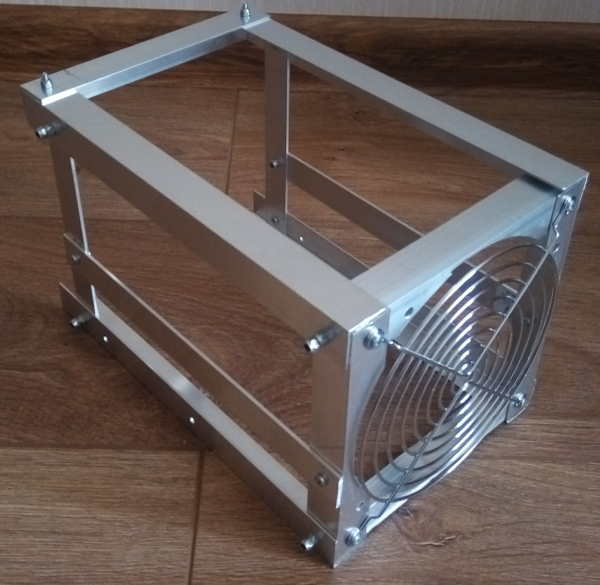
I thought that for my first practical project of creating a NAS, this was quite normal. I began to arrange all the components in their places, with the disk trays at the bottom and the power supply unit at the top. However, currently, the NAS is arranged differently, with the power supply unit at the bottom.
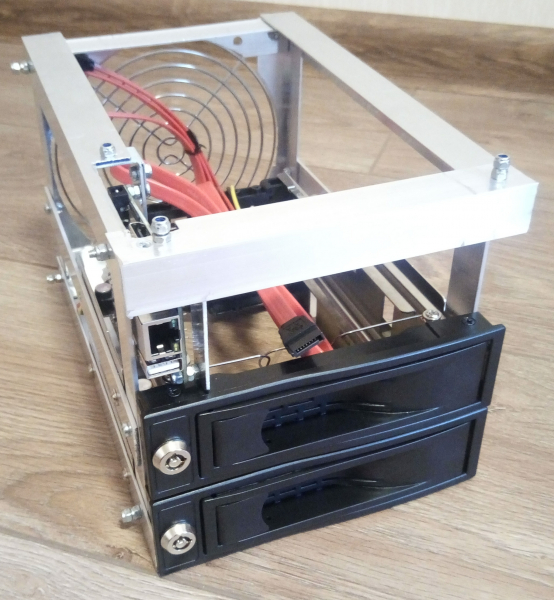
As I mentioned earlier, the production of the NAS took a considerable amount of time, primarily due to the long delivery and selection based on specifications and prices: disk trays, the power supply unit, USB-to-SATA converters, and the 'smart part' board of the NAS. Later, I also needed 'G'-shaped cables, which I ordered from the same large, very large electronics store. Since 5V and 12V are perfectly sufficient for powering SATA disks, I chose a dual-channel power supply: 5V and 12V, with a power output of 75W. I used wires for power from the '5V' and '12V' terminals taken from an old standard computer power supply, and for the 220V supply, I cut the C13 inlet connector and connected it to the 'AC' terminals with wires.
And here it is, the result: all components are assembled in the case.
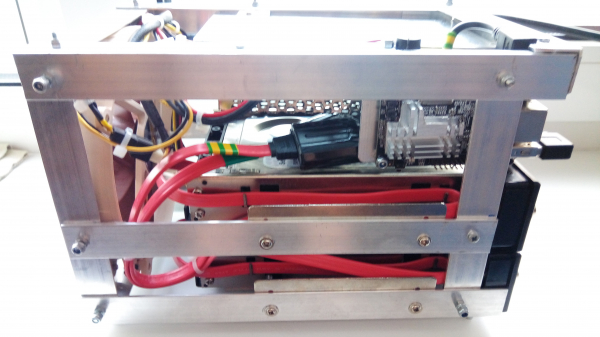
When looking at the device from the side of the disk trays, there was a suitable place found for the 'smart part' of the NAS, to the left of the power supply unit and above the disk trays.
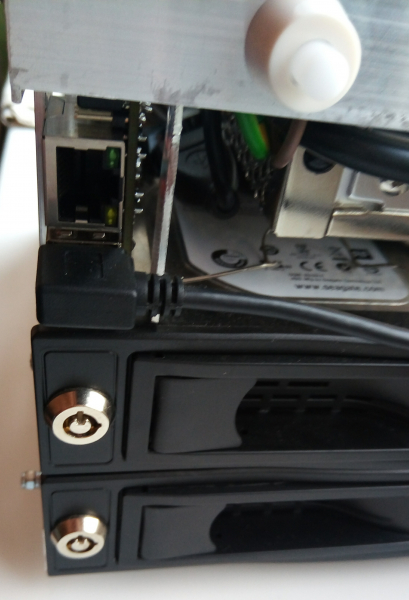
So what was used for the 'smart part' of the NAS? The particularly observant will spot it in the photo, and yes, it's the OrangePiOnePlus.
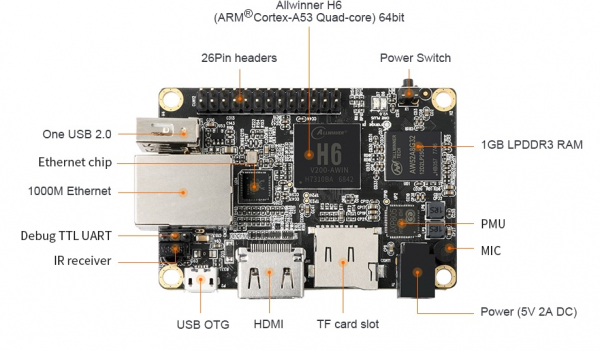
I was primarily impressed by the price-to-specs ratio of this board. Since I didn't plan to use the NAS for any purpose other than as a file storage device, I specifically chose a board designed for this use. Two USB ports for two drives, a 1G network port, an SD card slot, and 1GB of RAM – that's all I need, nothing extra.
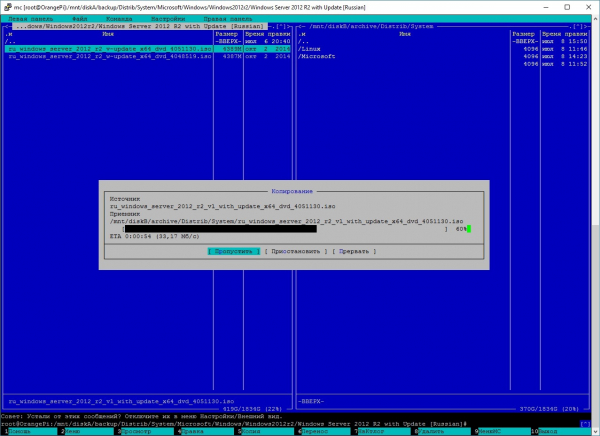
I loaded the server image of Ubuntu 16.04 onto a 2GB SD card, and the system booted up to begin testing. The testing involved copying files over the network to the NAS, from it, and between drives.
Copying to the NAS.
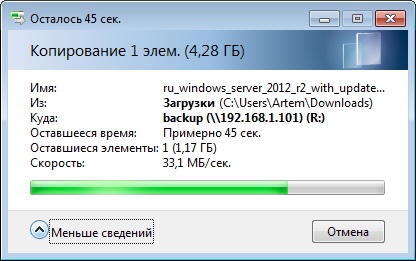
Copying from the NAS.
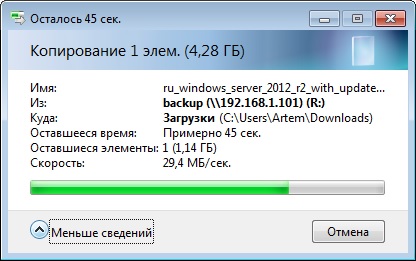
Copying between drives in the NAS.
And here is the finished version of the NAS, which has been pushed to a remote and dark corner of the cupboard.
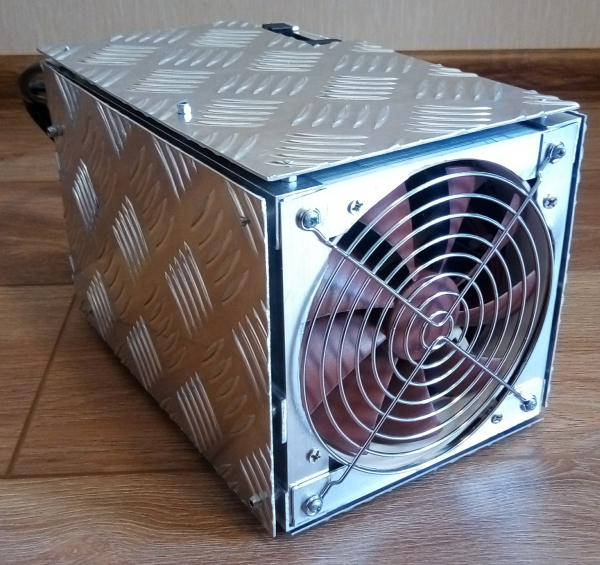
In conclusion, I can say the following: for over six months now, the NAS has been serving as a backup storage solution and has been a pleasure to operate – it’s quiet, power-efficient, and reliable. On reliability, I note that in the first month of the NAS's operation, one drive stopped being detected. However, the system continued to function, and data was backed up every night. At first, I suspected the hard drive, but after replacing it with another known good one, the issue persisted; the drive remained undetected. The next component I replaced was the USB-to-SATA converter, and yes, a miracle happened: both the old drive and the replacement one were recognized.
And that's the end of the story.
Source: habr.com
