

Good day, dear friends! Today, I would like to tell you, and most importantly, show you how the operation of implant placement proceeds — with all the tools and more. If I have already talked about the process of tooth extraction, wisdom tooth, ATTENTION! -Uwaga! -Pažnju! -Attention! -Achtung! -Attenzione! -ATTENTION! -Uwaga! -Pažnju!
Below, you will find photographs taken during the operation! With views of teeth, gums, blood, and dissection. Those who are faint-hearted are advised to refrain from reading this article.
Are you still here? Then let's go!
Consultation and examination
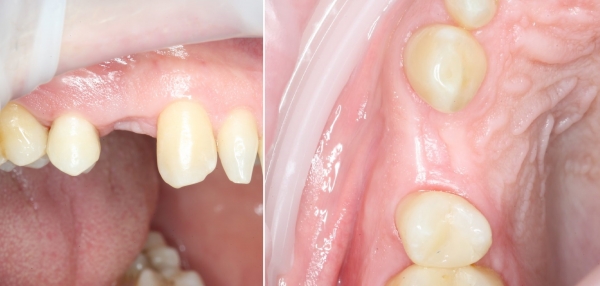
In addition to the visual examination:
We need to conduct a radiological study. In this case, a simple OPTG (panoramic dental X-ray) will not be sufficient. We will need
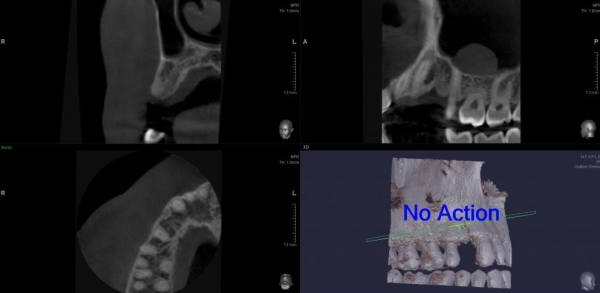
CBCT (Cone Beam Computed Tomography). What is the difference?
OPTG
(Orthopantomogram) is a panoramic image of the dental and jaw system. This image is planar, meaning that each detail is layered onto one another. Therefore, it is impossible to examine the study object, particularly the site of planned implantation, in all planes, from different angles, or in another projection. (Cone Beam Computed Tomography) — a 3D volumetric image, on the contrary, gives us that opportunity.
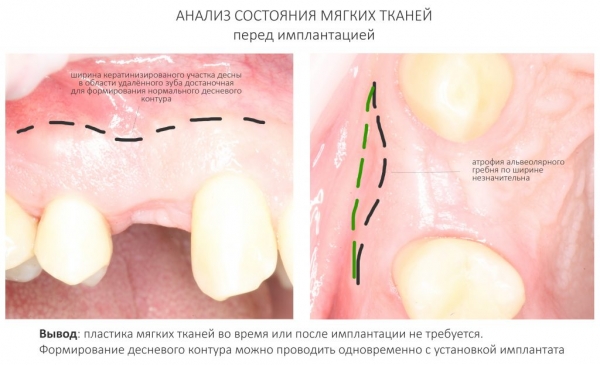
(Cone Beam Computed Tomography). In this case, the volumes of bone tissue are sufficient to stabilize an optimally sized implant, and the quality of the gum makes it possible to form an aesthetic contour without additional procedures:
After conducting the necessary examinations, we proceed directly to the implantation.
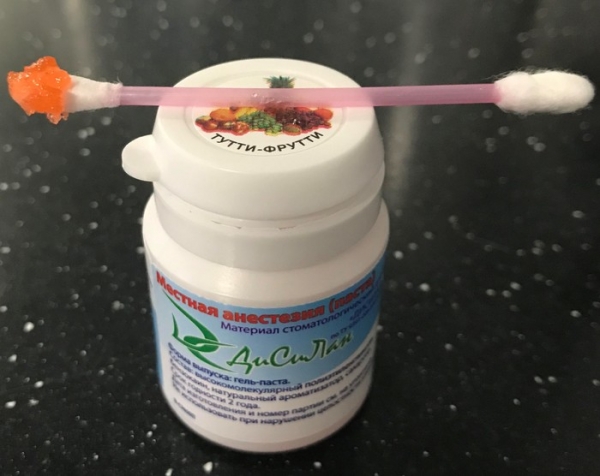
It all begins, of course, with anesthesia. After all, no one wants to scream from pain during the operation, right?
To minimize all unpleasant sensations and make the needle prick less painful, a so-called
topical anesthesia is used. Then, infiltration of
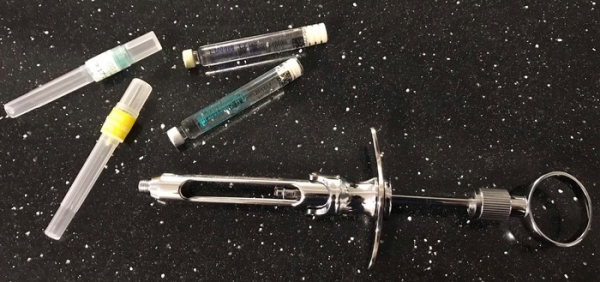
anesthetic is performed in the area of the planned procedure. The photo shows a reusable carpule syringe, which, of course, is sterilized after each patient, just like any other tool. Two disposable carpules with anesthetic and two needles of different lengths: Here's how it looks in the oral cavity: anesthetic in the planned surgery area. The photo shows a reusable cartridge syringe, which, of course, is sterilized after each patient, like any other instrument. Two disposable cartridges with anesthetic and two needles of different lengths:
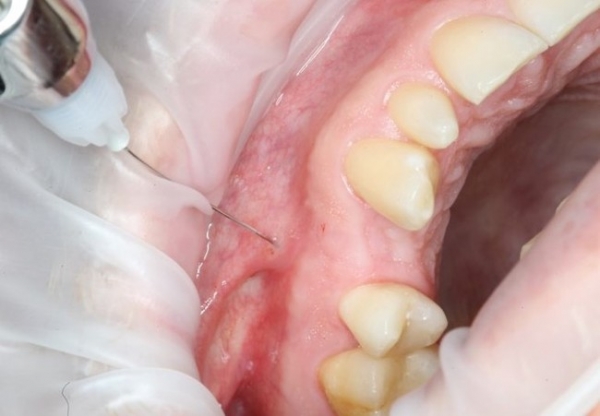
How it looks in the oral cavity:
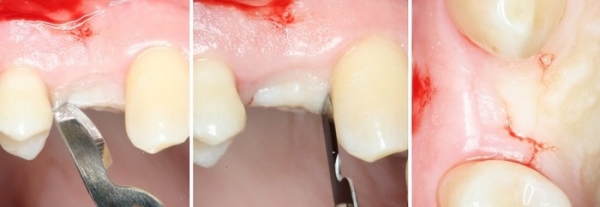
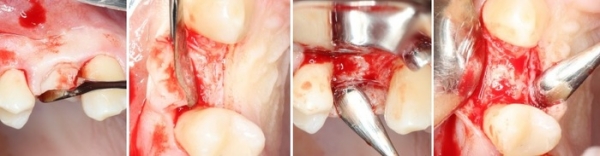
After anesthesia is administered, a cut is made using a scalpel — incision, and the so-called retractor — bone skeletonization. (separation of the periosteum from the compact bone tissue).
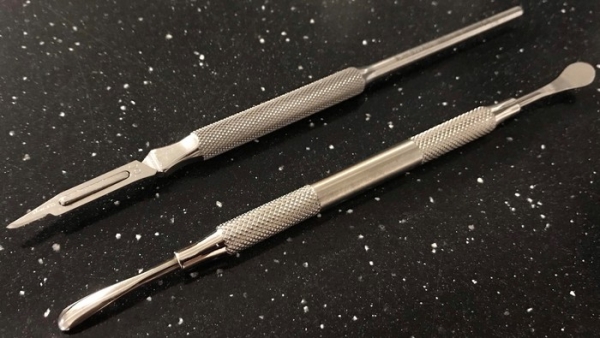
Incision:
Bone skeletonization:
Next, the preparation of the implant socket (shaping) is carried out.
Below is a set from one of the German implant systems that I use in my practice.
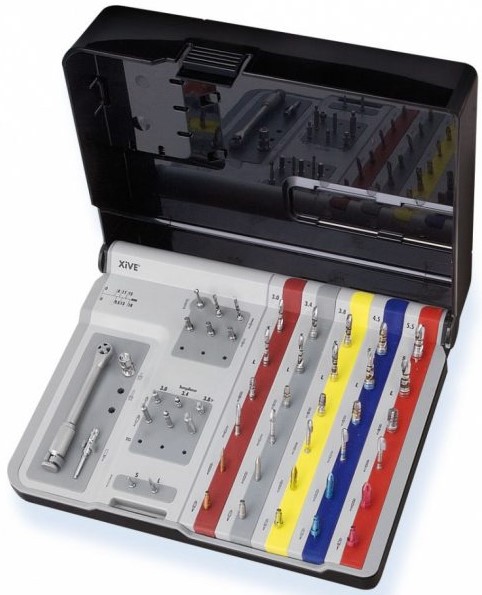
In addition to the surgical kit, we have a special device called a physiodespencer:
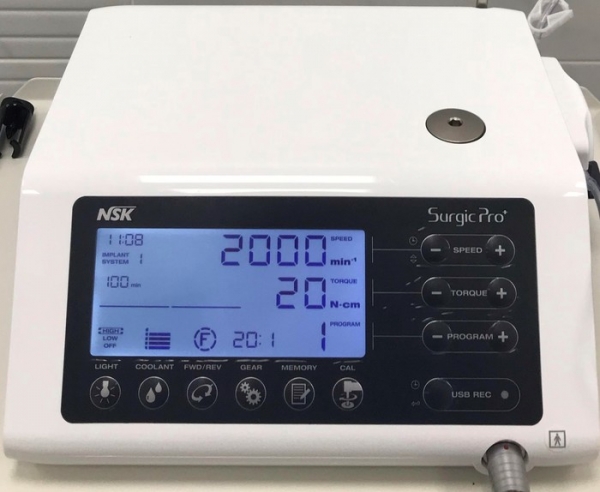
Unlike a regular dental drill, it not only allows precise regulation of rotation speed and cooling of the cutting tool with saline but also controls the torque.
Implantation starts with marking. This is done using a spherical drill:
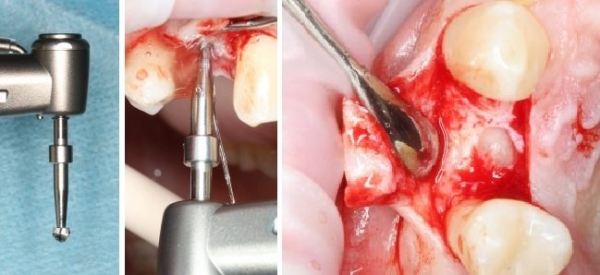
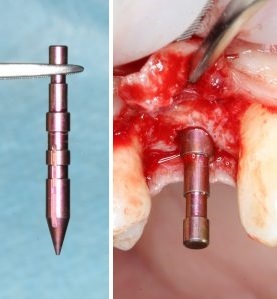
Then, using a pilot drill with a diameter of 2 mm, we establish the axis of the future implant socket, which we control with pins*
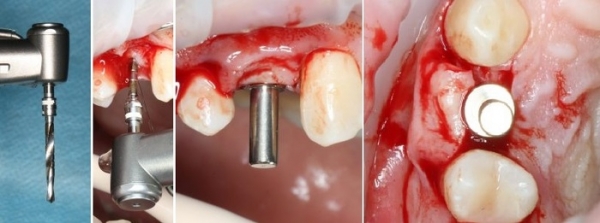
*A tool for controlling the position of the implant
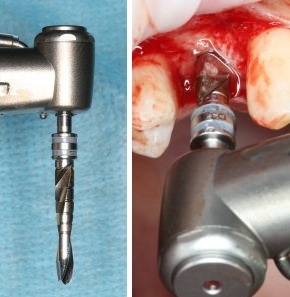
Next, if the axis of the socket is correctly set, we only need to enlarge the socket to the required diameter. For this, the primary working drills are used. The first of them has a diameter of 3.0 mm:
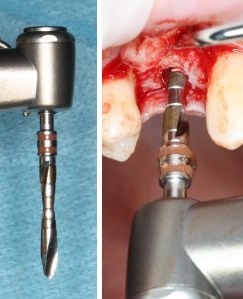
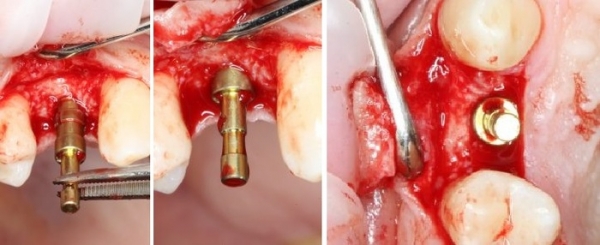
After which, we check the position using implant analogs that come with the kit:
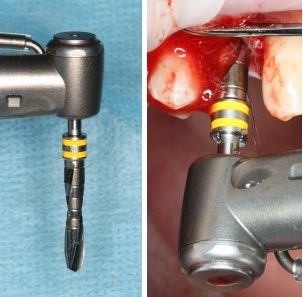
Next up is the drill with a diameter of 3.4 mm:
And now comes the most critical stage — the finishing drill for our implant with a diameter of 3.8 mm. Now we reduce the speed on the physiodespencer to a minimum to avoid overheating and damage to the bone tissue, and then we very carefully proceed through the socket:
We double-check everything with the implant analogs. As the saying goes, measure seven times, cut once:
We have enlarged the socket to a depth of 11 mm and a diameter of 3.8 mm. However, the preparation of the socket does not end here.
This is because bone tissue is an elastic medium, and to relieve tension from the cortical plate (and prevent peri-implantitis), we use a special cortical drill:
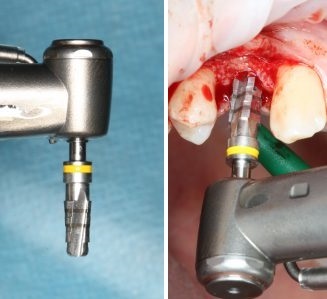
When working with very dense bone tissue, we additionally use a special tap:
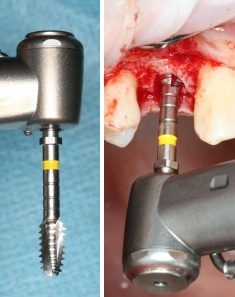
Now we can proceed to install the implant.
The implant of the required size (3.8x11 mm) is fixed onto a hexagonal key, after which it is placed into the prepared socket:
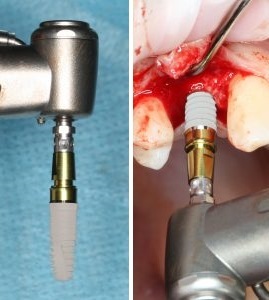
We double-check the position of the implant:
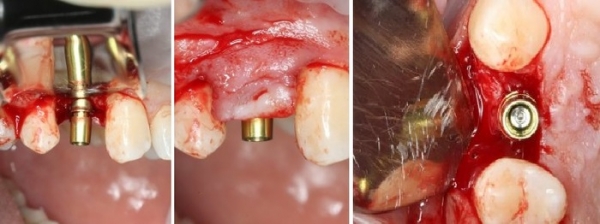
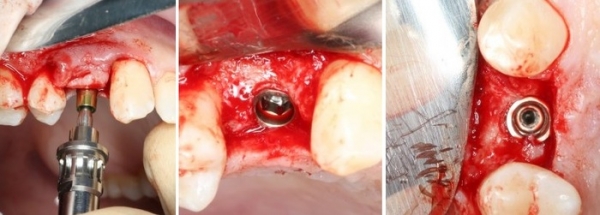
Next, we remove the temporary abutment, which in this case served as an implant holder:
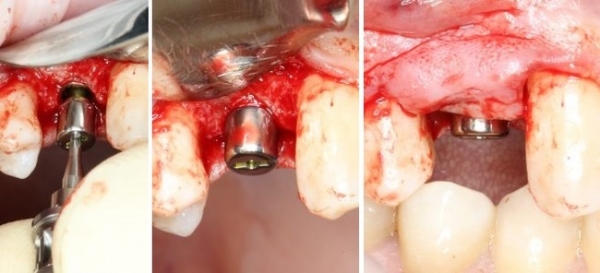
The next step is installing the gingival former:
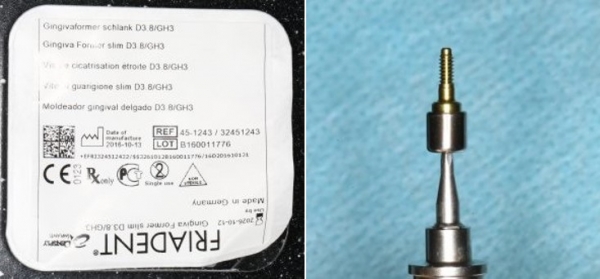
Considering the clinical conditions, we selected a Slim former (without extensions) with a height of 3 mm for the installed implant:
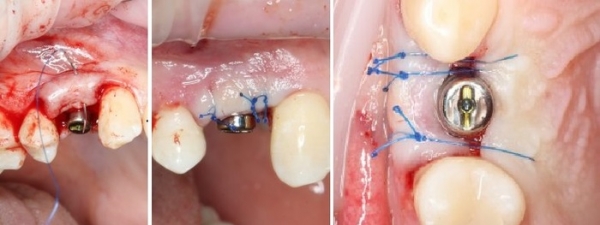
We conclude our operation by applying stitches:
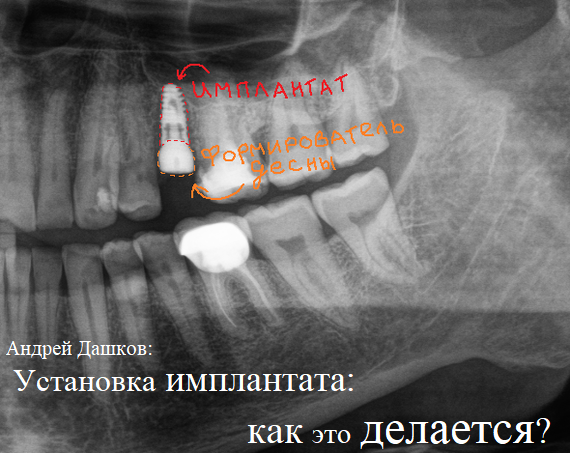
And with a control X-ray:
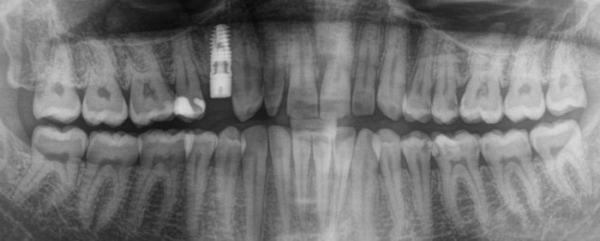
On average, the integration of the implant takes about 4 months. Concurrently, the formation of soft tissues occurs, so in approximately 12 weeks we will have a ready system for crown placement.
That’s all for today.
Thank you for your attention!
Sincerely, Andrey Dashkov
What else to read about dental implantation?
—
Source: habr.com
