

Snmp
There are many instructions online on how to install the monitoring server The Dude from Mikrotik. Currently, the monitoring server package is available only for RouterOS. I used version 4.0 for Windows.
Here, I wanted to discuss how to monitor printers on the network: track toner levels, and alert when the toner is out. Starting:
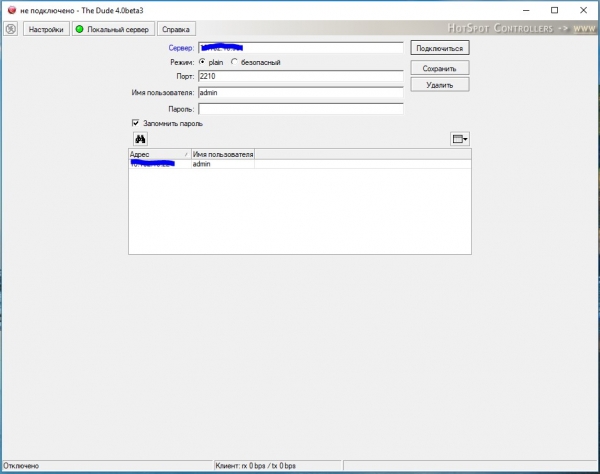
Click to connect:
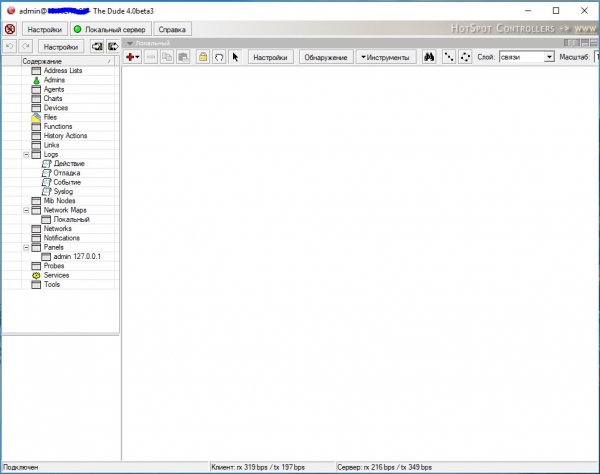
Click to add a device (red plus) and enter the printer's IP address:
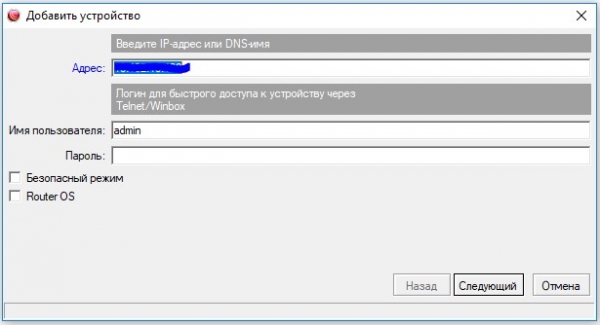
On the next step, click discovery; it finds all available probes, then click finish:
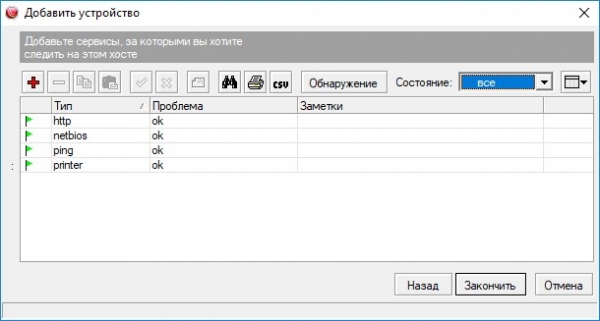
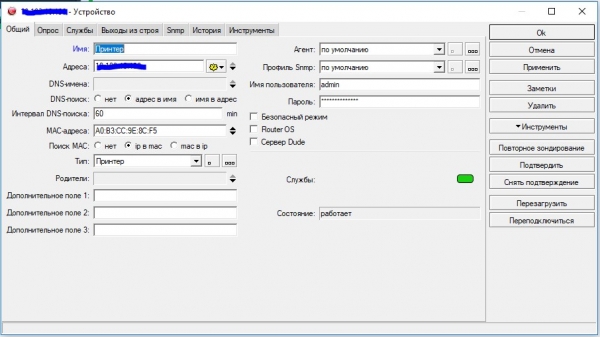
Double-click on the appeared icon to open settings, select 'printer' type, and click 'ok':
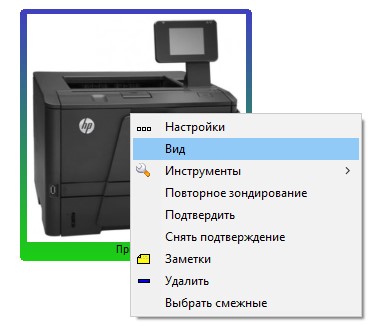
Right-click on the icon and select view:
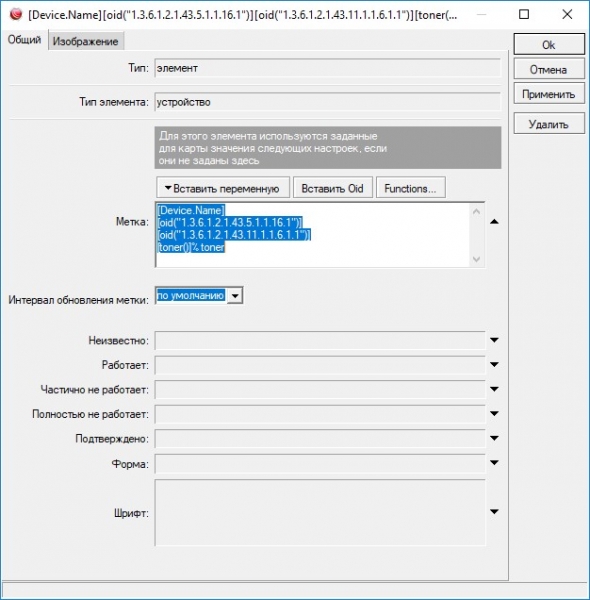
In the label field, enter the OIDs:
[Device.Name] – device name
[oid("1.3.6.1.2.1.43.5.1.1.16.1")] – printer model
[oid("1.3.6.1.2.1.43.11.1.1.6.1.1")] – cartridge type
[oid("1.3.6.1.2.1.43.11.1.1.9.1.1")] – toner level
In the image tab, you can attach your icon:
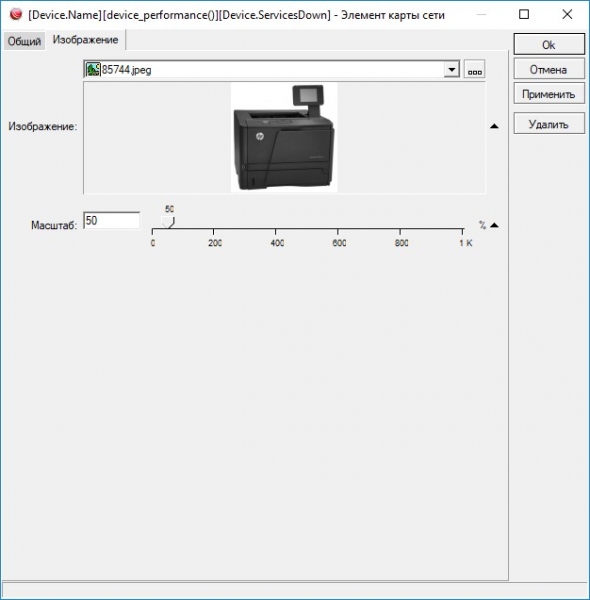
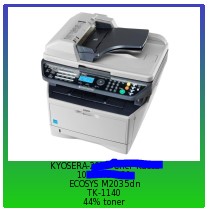
Exiting, it looks like this:
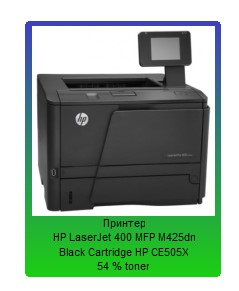
Not all printers show oid("1.3.6.1.2.1.43.11.1.1.9.1.1") directly as the toner level; on some, this parameter indicates how many pages are left to print. To calculate the toner level, you need to divide how many pages are left to print by the total cartridge resource and multiply by 100. For this, select 'view' again, then Functions:
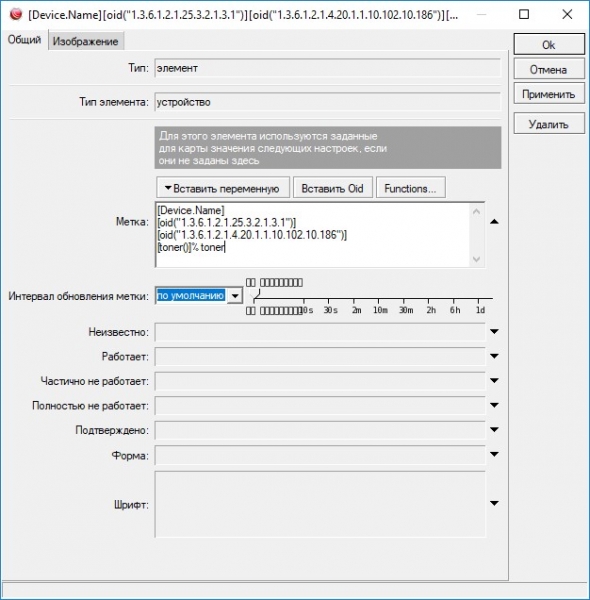
Click to create a new function (red plus):
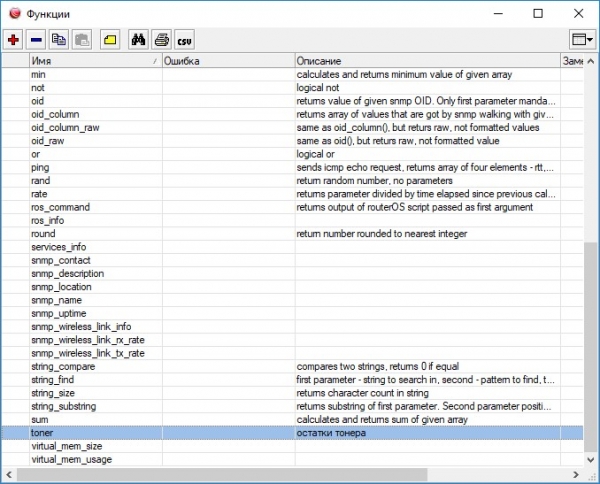
I named the function toner:
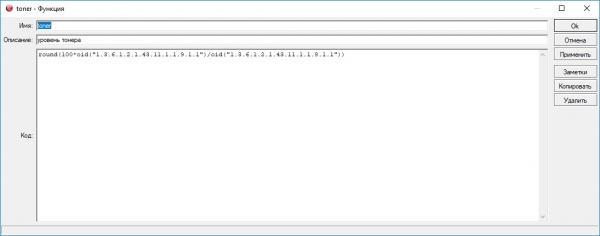
In the code field, enter the formula and save:
round(100*oid("1.3.6.1.2.1.43.11.1.1.9.1.1")/oid("1.3.6.1.2.1.43.11.1.1.8.1.1"))In the label, replace [oid("1.3.6.1.2.1.43.11.1.1.9.1.1")] with the function call [toner()]
Exiting. It looks like this:
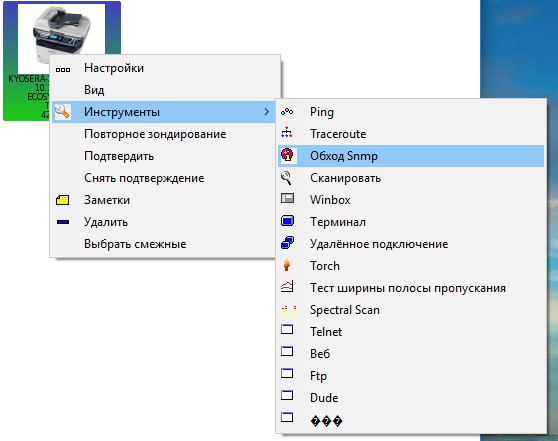
To find the necessary OIDs and define the required parameters, you can use the snmp walk function; right-click on the printer – Snmp walk tools:
It will display the printer's object tree:
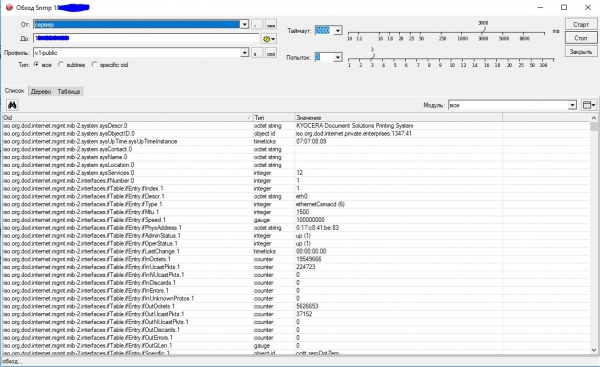
Right-click on the needed item and click copy OID.
Notifications
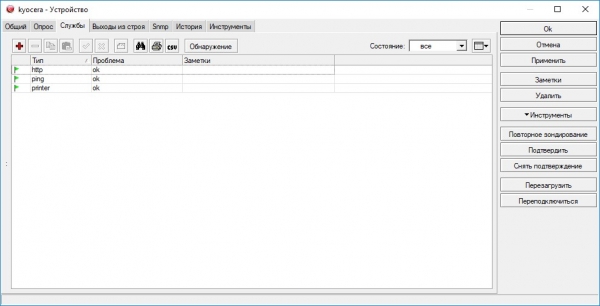
Now let's set up notifications for events (cartridge is empty). Open the printer, go to the services tab, click the plus (add new service):
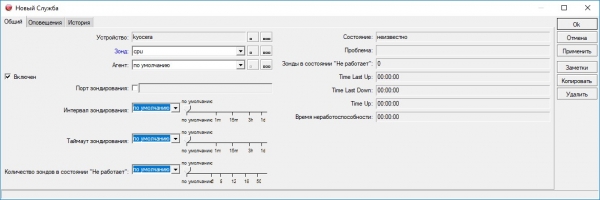
In the probe field, click the three dots to select the required probe:
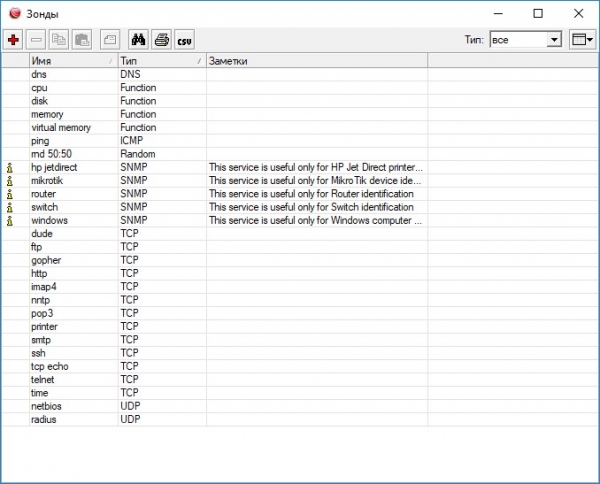
We will create our own probe, click the red plus:
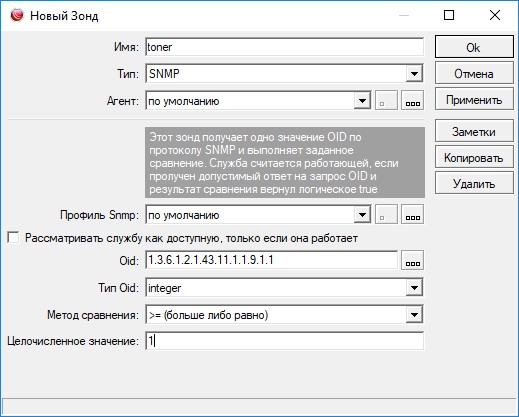
I named it toner, select SNMP as type, default agent, default Snmp profile,
Enter the OID that corresponds to the toner level 1.3.6.1.2.1.43.11.1.1.9.1.1, type OID Integer, comparison method >= 1
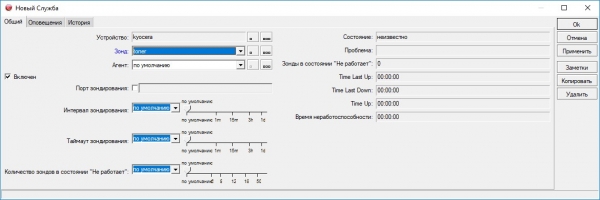
We save and in the probe field select the toner we just created; in the alerts tab, we can set which alerts we want to receive and save them:
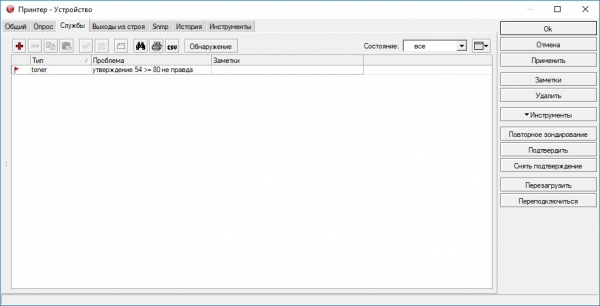
For demonstration, I chose that the toner level should not be below 80, and the printer turned red:

Source: habr.com
