

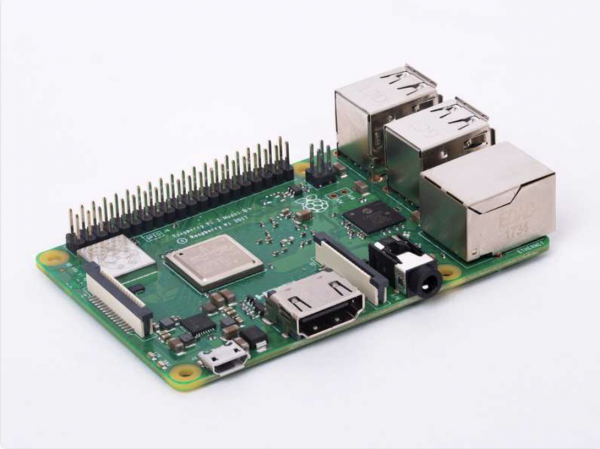
Raspberry Pi 3 Model B+
In this manual, we will explore the basics of using Swift on the Raspberry Pi. The Raspberry Pi is a small, inexpensive single-board computer, whose potential is limited only by its computational resources. It is well-known among tech enthusiasts and DIY lovers. It's an excellent device for anyone looking to experiment with ideas or test specific concepts in practice. It can be used for a variety of projects, easily fitting into almost any space — for example, it can be mounted on a monitor lid and used as a desktop, or connected to a breadboard to control an electronic circuit.
The official programming language for the ‘berry’ is Python. While Python is quite easy to use, it lacks type safety and consumes a lot of memory. Swift, on the other hand, features ARC memory management and is nearly 8 times faster than Python. Since the RAM and computing power of the Raspberry Pi are limited, using a language like Swift allows you to make the most of this mini-PC's hardware potential.
So, we have everything necessary to install the system.
Before installing Swift, you need to choose the operating system. For that, you can , provided by third-party developers. The most common choice is Raspbian, the official OS from Raspberry Pi. There are several ways to install Raspbian onto an SD card; in our case, we will use balenaEtcher. Here’s what to do:
- Download the latest version of Raspbian OS .
- .
- We use to flash onto the formatted card.
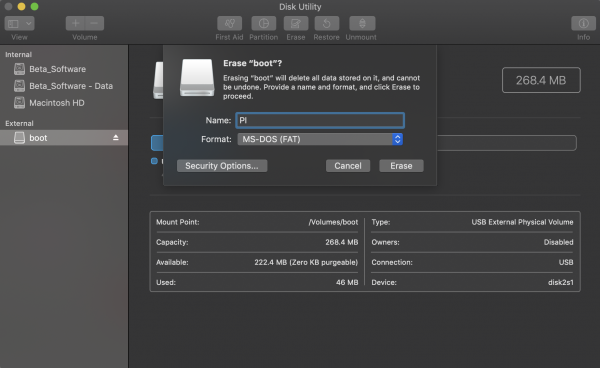
Step two: format the SD card to MS-DOS (FAT)
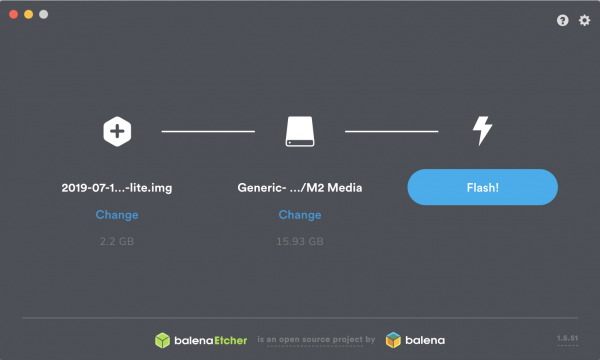
Step three: use balenaEtcher to flash Raspbian onto the card
We recommend a free boot camp in machine learning for beginners:
— September 2-4. A free boot camp that helps you understand what Machine Learning is and learn to work with open data from the internet. You'll also learn to predict the dollar exchange rate using a self-developed model..
Setting Up Raspberry Pi
Halfway there! Now we have an SD card with the OS that we will be using, but we still need to install the operating system. There are two options for this:
- Use the connected monitor, keyboard, and mouse.
- Do everything from another PC via SSH or using a USB Console cable.
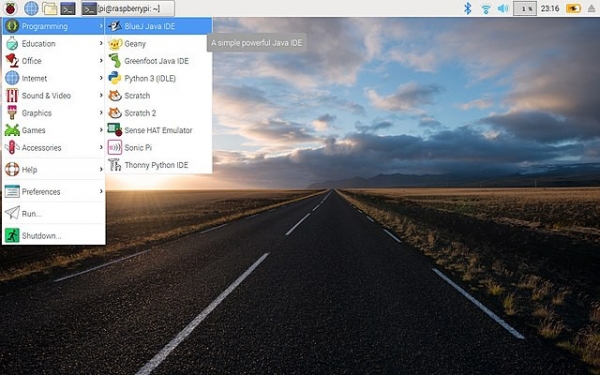
If this is your first experience with Pi, I recommend option #1. After inserting the SD card with Raspbian OS into the Pi, connect the HDMI cable, mouse, keyboard, and power cable.
The Pi should boot up when turned on. Congratulations! Now you can spend some time exploring your desktop and its capabilities.
Installing Swift
To install Swift on the Raspberry Pi, it needs to be connected to the internet (either via Ethernet or WiFi, depending on the model of the board). Once the internet is connected, you can start installing Swift.
This can be done in two ways. The first is , the second is to use precompiled binaries. I strongly recommend the second method, as the first will require several days of preparation. The second method became available thanks to the group . They own the repo from which you can install Swift using apt ().
This is a command-line tool, similar to an App Store for applications and packages for Linux devices. We start working with apt by typing apt-get in the terminal. Next, you need to specify a series of commands to clarify the task to be performed. In our case, we need to install Swift 5.0.2. The corresponding packages can be .
Well then, let's get started. Now that we know we will install Swift using apt, we need to add the repo to the list of repositories.
Command to add/install the repo looks like this:
curl -s | sudo bash 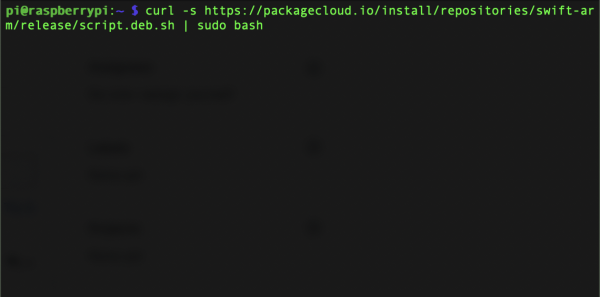
Next, we install Swift from the added repo:
sudo apt-get install swift5=5.0.2-v0.4 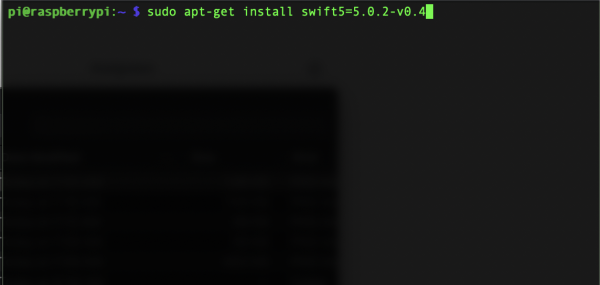
That's it! Now Swift is installed on our Raspberry Pi.
Creating a test project
Currently, doesn't work, but everything else does. For the test, let's create a Swift package using Swift Package Manager.
First, create a directory named MyFirstProject.
mkdir MyFirstProject 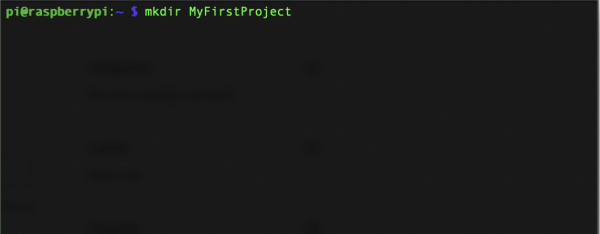
Next, change the current working directory to the newly created MyFirstProject.
cd MyFirstProject 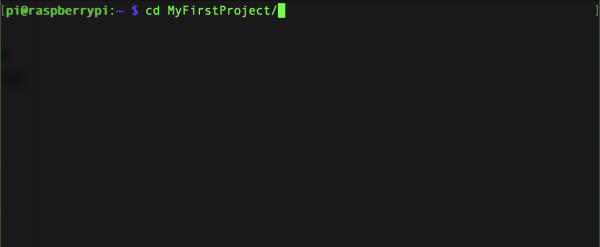
Create a new Swift executable package.
swift package init --type=executable 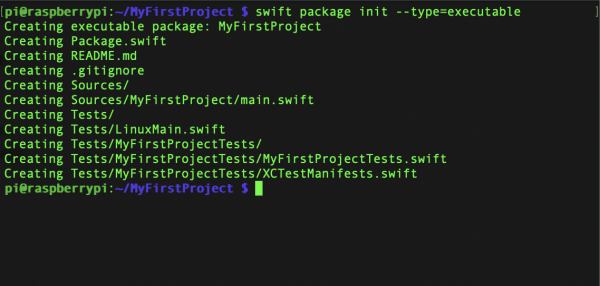
These three lines create an empty Swift package called MyFirstProject. To run it, type the command swift run.
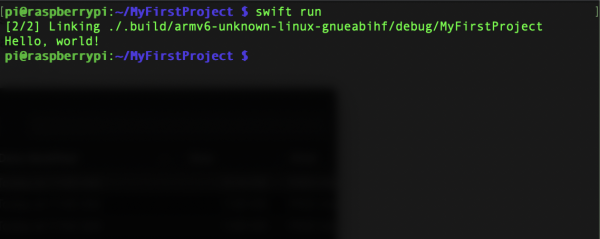
Once the compilation is complete, we will see "Hello, world!" in the command line.
After we created the first program on Pi, let’s make some changes. In the MyFirstProject directory, we will modify the main.swift file. It contains the code that runs when we execute the package with the command swift run.
Change the directory to Sources/MyFirstProject.
cd Sources/MyFirstProject 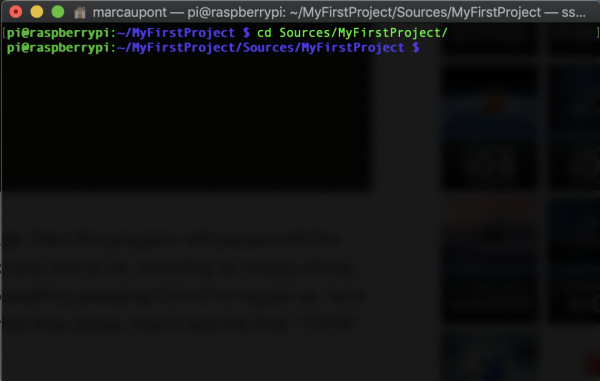
Edit the main.swift file using the built-in .
nano main.swift 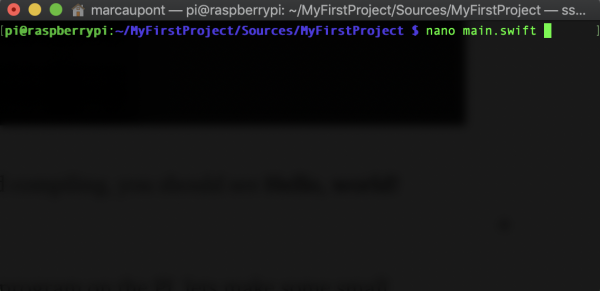
Once the editor is open, you can modify the code of your program. Let’s replace the contents of the main.swift file with the following:
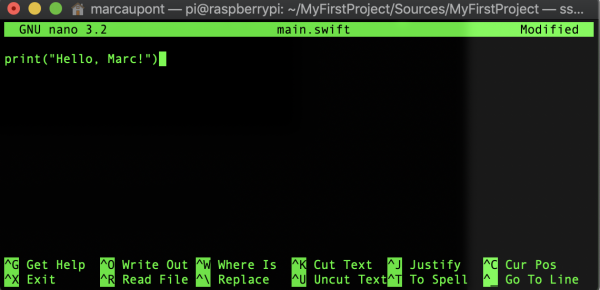
print("Hello, Marc!")Of course, you can insert your own name. To save changes, follow these steps:
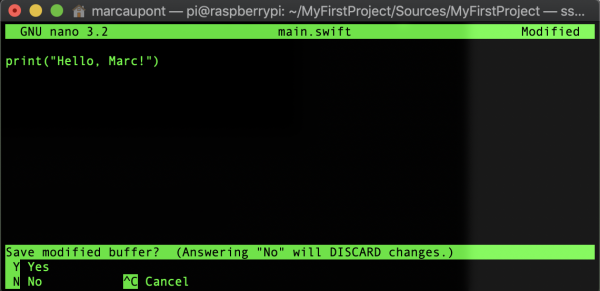
- CTRL+X to save the file.
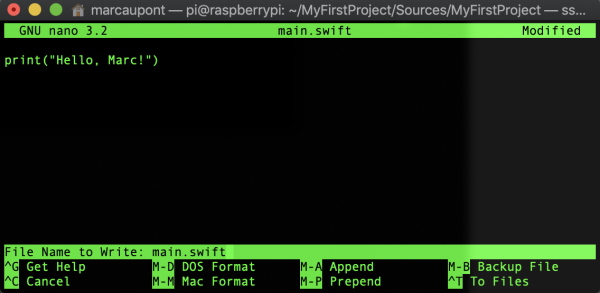
- Confirm changes by pressing 'Y'.
- Confirm the modification of the main.swift file by pressing Enter.
All changes have been made, now it’s time to restart the program.
swift run 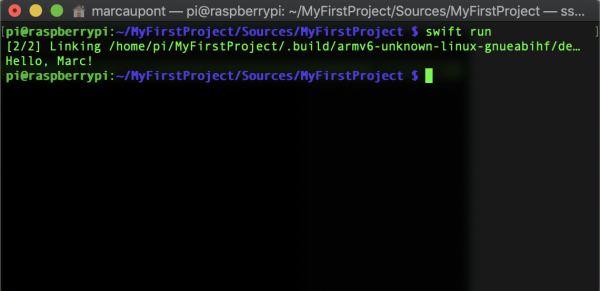
Congratulations! Once the code is compiled, the terminal should show the modified line.
Now that Swift is installed, you have something to work on. To control hardware, such as LEDs, servos, relays, you can use the library for 'hardware' projects for Linux/ARM boards, which is called .
Good luck experimenting with Swift on Raspberry Pi!
Source: habr.com
