

You may have heard or read about the Call Screening feature that Google rolled out for its Pixel phones in the U.S. The idea is excellent: when you receive an incoming call, a virtual assistant begins conversing while you see that conversation in chat form, allowing you to speak instead of the assistant at any moment. This is very useful nowadays, when almost , but you still don’t want to miss important calls from anyone not in your contact list. The only catch is that this functionality is available only on Pixel phones and only in the U.S. Well, obstacles are meant to be overcome, right? So, we decided to explain how to achieve a similar solution using Voximplant and Dialogflow. Please continue reading.
Architecture
I propose we don’t waste time explaining how Voximplant and Dialogflow work; you can easily find that information online if you wish. So, let’s get acquainted with the very concept of our Call Screening.
Let’s assume you already have a phone number you use daily that receives important calls. In that case, we’ll need a second number that will be used everywhere – in emails, on business cards, when you fill out online forms, etc. This number will be connected to the natural language processing system (in our case, Dialogflow) and will forward calls to your main number only if you want it to. As a diagram, it looks like this (clickable image):
Understanding the architecture, we can start implementing it, but with one caveat: we will not create a mobile application to demonstrate the dialogue between Dialogflow and the incoming caller; instead, we will create a simple web-application with a dialogue render to clearly show how Call Screening works. This application will have an Intervene button, which, when pressed, will connect the incoming caller with the dialed party if they decide to speak themselves.
Implementation
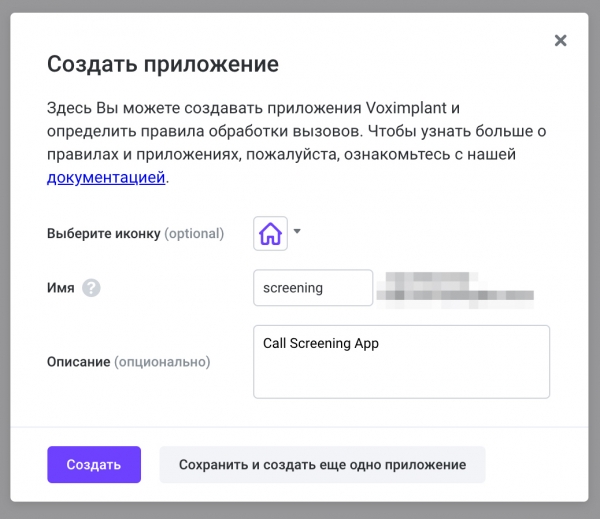
Log into and create a new application, for example, screening:
Open and purchase a number that will serve as the intermediary:
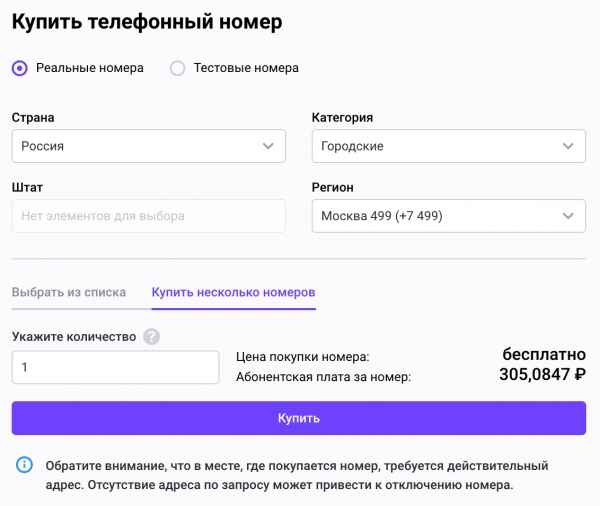
Next, go to the screening application, in the 'Numbers' section, under the 'Available' tab. Here you will see the number you just purchased. Link it to the application using the 'Attach' button – in the pop-up window, leave all values as default and click 'Attach'.
While inside the application, go to the 'Scripts' tab and create a script called myscreening – we will use the code from the article. . The code will be slightly altered, as we need to 'see' the dialogue between the caller and the assistant; the entire code can be .
WARNING: you will need to change the value of the variable server to the name of your ngrok server (details about ngrok will be provided shortly below). Also, substitute your values on line 31, where your phone number is your main number (for example, your personal mobile), and voximplant number is the number you recently purchased.
outbound_call = VoxEngine.callPSTN(“YOUR PHONE NUMBER”, “VOXIMPLANT NUMBER”)The callPSTN function will occur at the moment you decide to interrupt the conversation and personally speak with the incoming caller.
After saving the script, you need to link it to the purchased number. For this, while still inside your application, go to the 'Routing' tab to create a new rule – click the 'New Rule' button in the top right corner. Specify a name (e.g., allcalls), leave the mask as default (.* – which means that all incoming calls will be handled by the scripts selected for this rule) and specify the myscreening script.
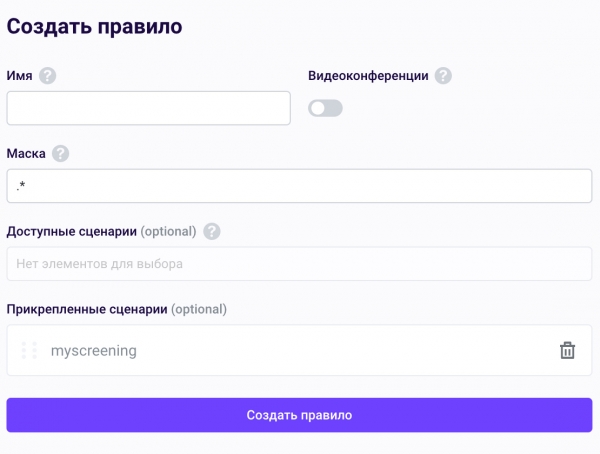
Save the rule.
From now on, the phone number is linked to the script. The last thing you need to do is to link the bot to the application. For this, go to the 'Dialogflow-connector' tab, click the 'Add Dialogflow agent' button in the top right corner, and upload your Dialogflow agent's JSON file.
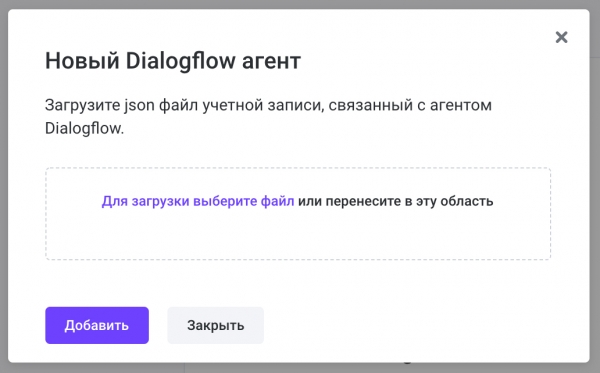
If you need an agent for example/testing, you can take ours from this link: . Just don't expect much from it, it's just an example that you are free to modify as you wish and willingly share the results 🙂
Simple backend on NodeJS
Let's deploy a simple backend on Node, for example, like this:
This is a regular application that requires only two commands to run:
npm install
node index.js
The server will run on port 3000 of your machine, so to connect it to the Voximplant cloud, we will use the ngrok utility. Once you install , run it with the command:
ngrok http 3000You will see a domain name that ngrok generated for your local server – copy it and substitute it in the server variable.
Client
The client application looks like a simple chat that you can.
Just copy all the files to a directory on your web server and it will work. In the script.js file, replace the value of the server variable with the ngrok domain name, and the value of the callee variable with the number you purchased. Save the file and run the application in your browser. If everything is okay, you will see a WebSocket connection in the developer console.
Demo
You can see the application in action in this video:
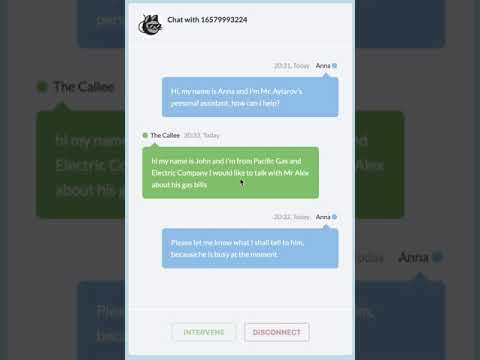
P.S. If you click the Intervene button, the caller will be directed to my phone number, and if you click Disconnect – then…? Correct, the call will be disconnected.
Source: habr.com
