

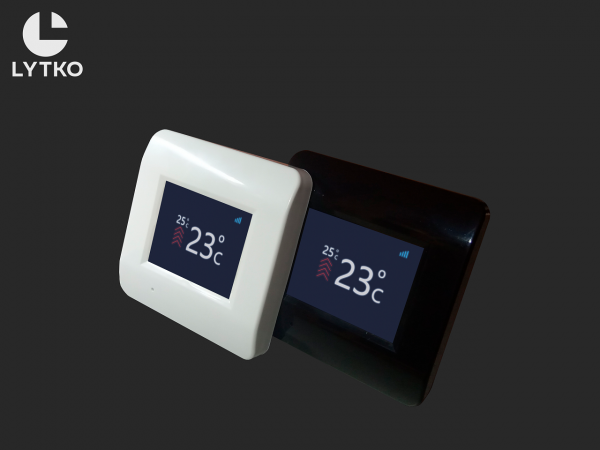
After several years of fruitful work, we decided to present our first product for climate management in smart homes to the public — a smart thermostat for controlling underfloor heating.
What is this device?
This is a smart thermostat for any electric underfloor heating system up to 3kW. It can be controlled via an app, a web page, HTTP, MQTT, making it easy to integrate into all smart home systems. We will develop plugins for the most popular systems.
It can control not only electric underfloor heating but also the thermal head for water-based underfloor heating, a boiler, or an electric sauna. Additionally, with the help of NRF, the thermostat will be able to communicate with various sensors. Currently, we are developing almost all climate-related sensors. Since the device is based on ESP, we believe it would be inappropriate to restrict users' customization options. Therefore, we will design it so that users can switch the device to developer mode and install different firmware, such as those supporting HomeKit or third-party projects.
*after installing third-party firmware supporting HomeKit or other popular projects, reverting to the original version will not be possible via OTA (Over-the-Air).
Challenges We Faced
To say that there were none would be foolish. I will try to describe the most challenging problems we encountered and how we solved them.
The case for the device was a complex task. Both in terms of resource expenditure and time cost (we developed it for about a year).
There were plenty of options on the market. The most popular one is 3D printing. Let's consider:
Classic 3D printing. The quality leaves much to be desired, and the production speed is also lacking. We used 3D printing for prototypes, but it was not suitable for production.
Photopolymer 3D printer. Here the quality is significantly better, but the cost comes into play. Prototypes printed on such a printer cost around 4000₽, and that's just one part of the two-part case. You can buy your own printer, which would lower the price, but the cost would still be astronomical, and the speed unsatisfactory.
Silicone casting. We considered this to be the optimal option. The quality was good, the price was high but not critical. We even ordered the first batch of 20 cases for field testing.
But then a chance occurrence changed everything. One evening, I accidentally posted in the internal developer chat that there was an issue with the casings, and the price was too high. The next day, a colleague messaged me privately, saying his friend's friend had a TPA (thermoplastic automatic). And we could produce a mold for it in the first phase. This message changed everything!
I had considered using the TPA before, but I was held back not by the need to order a batch of at least 5,000 pieces (although with some effort, you could find fewer through Chinese suppliers). What stopped me was the cost of the mold. About $5,000. I wasn't ready to shell out that amount at once. The amount for the mold through our new colleague wasn't astronomical; it ranged around $2,000-$2,500. Moreover, he was accommodating, and we agreed on a payment plan. So, the issue with the casings was resolved.
The second, no less important difficulty we faced was the hardware.
The number of hardware revisions is countless. By modest estimates, the presented variant is the seventh, not counting the intermediate ones. We tried to address all the shortcomings identified during testing.
Previously, I thought there was no need for a hardware 'watchdog'. Now, the device won't go into production without it due to the capriciousness of the platform we've chosen.
Also, there's the analog input on the ESP. Earlier, I thought that each pin on the ESP was universal. But the ESP has only one analog pin. I learned this the hard way, which led to redesigning and reordering the circuit boards.
First version of the circuit boards
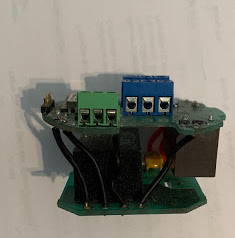
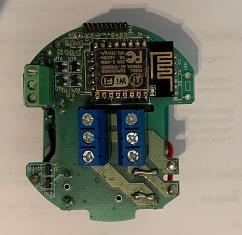
Second version of the circuit boards
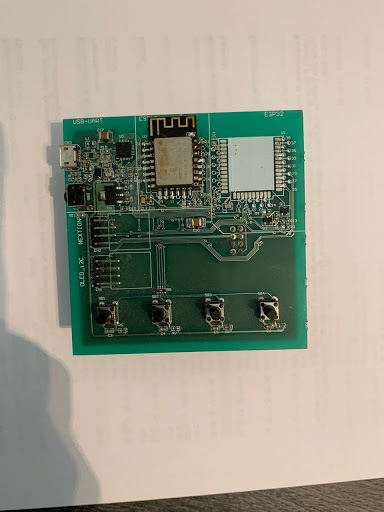
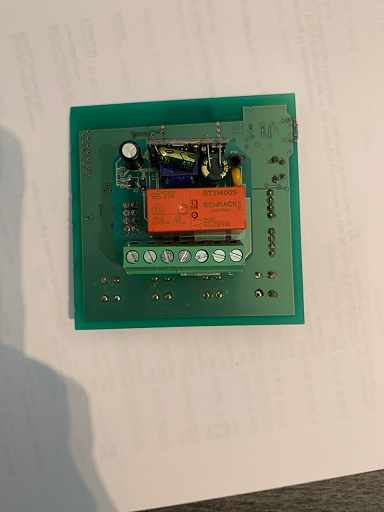
Second to last version of the circuit boards, where we had to urgently resolve issues with the analog pin
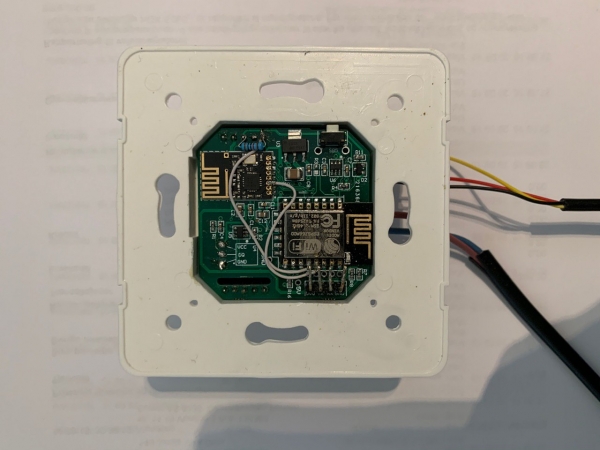
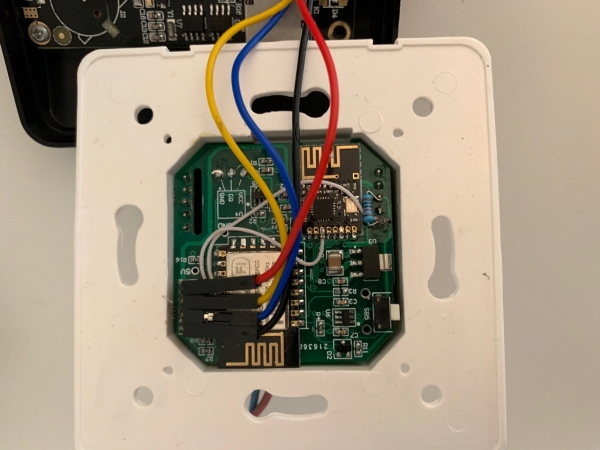
As for the software, there were also many hidden pitfalls.
For example, the ESP occasionally disconnects. Although the ping goes through, the page doesn't open. The only solution is to rewrite the library. There may be other solutions, but all we've tried did not yield results.
The second significant issue, surprisingly, is the number of requests to the ESP when opening the page. Using GET or AJAX, we encountered an unreasonably high number of requests. As a result, the ESP behaved unpredictably, either rebooting or processing requests for several seconds. The solution was to switch to WebSockets. After that, the number of requests decreased considerably.
The third problem is the web interface. More information about it will be provided in a separate article that will be published later.
For now, I can say that the most optimal option at this moment is to use VUE.JS.
This framework is the most suitable of all we tested.
You can see the interface options at the links below
Formation of the thermostat
Having overcome all difficulties, we arrived at the following result:
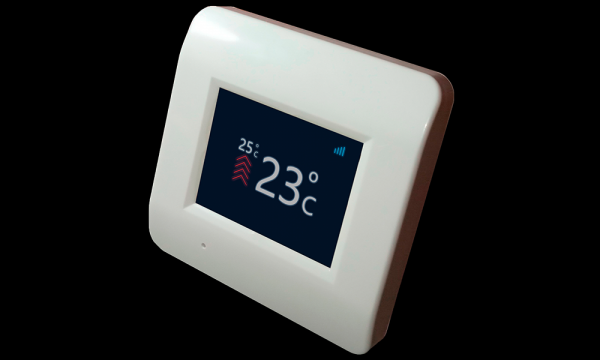
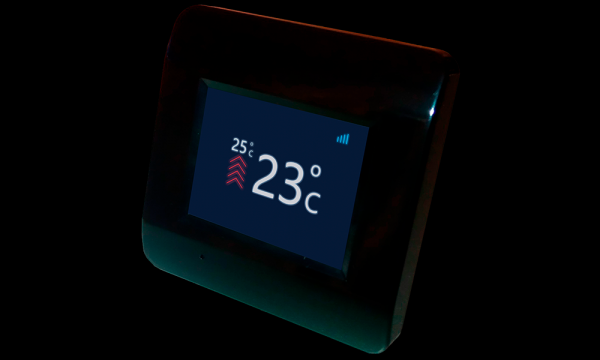
Design
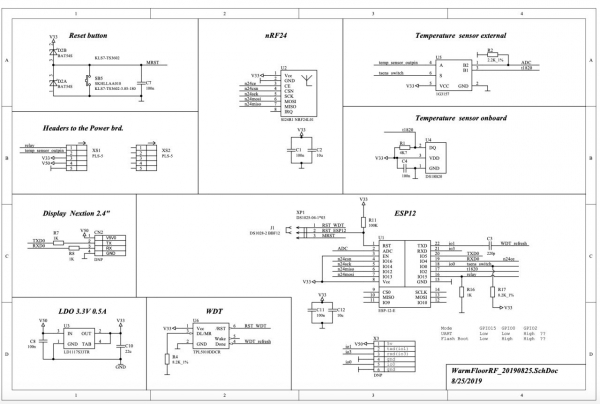
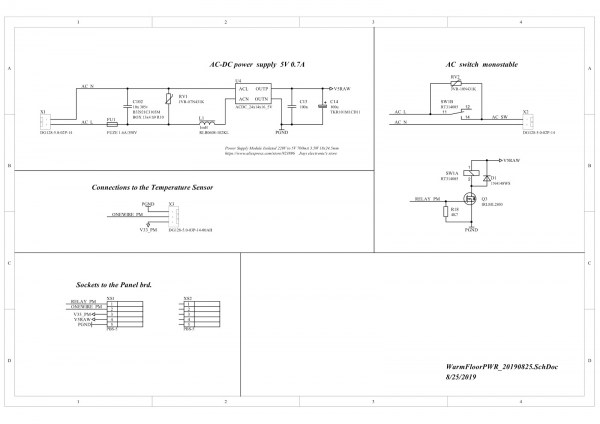
The thermostat consists of three boards (modules):
- Control;
- Controlled;
- Display board.
Control – the board on which ESP12, a hardware watchdog, and nRF24 for future sensor interaction are located. At the start, the device supports the digital sensor DS18B20. However, we have planned the ability to connect analog sensors from third-party manufacturers. In one of the future firmware updates, we will add support for sensors that come with third-party thermostats.
Controlled – the power supply and load control board. It houses a 750mA power supply, terminals for connecting temperature sensors, and a 16A relay for load control.
Display – at the development stage, we chose 2.4 inches.
You can easily find information about it on the internet. I would add that it is convenient for almost everyone, except for the price. The 2.4-inch display costs around 1200₽, which negatively impacts the final price.
Therefore, it was decided to create an analog for our needs, but at a lower price. However, programming it will have to be done the traditional way, rather than from the Nextion Editor environment. This is more complicated, but we are ready for it.
The analog will be a 2.4-inch matrix with a touchscreen and a board with STM32 on board to control it and reduce the load on the ESP12. All management will be similar to Nextion via UART, with 32MB of memory and a full flash card for logging.
The modular design allows for easy swapping of one module, resulting in a completely different device.
For example, there are already versions of 'board 2' in several configurations:
- Option 1 – for underfloor heating. Powered by 220V. The relay controls any load after itself.
- Option 2 – for water underfloor heating or radiator valve. Powered by 24V AC. Controls the valve at 24V.
- Option 3 – powered by 220V. Controls a separate line, such as a boiler or electric sauna.
Afterword
I am not a professional developer. I managed to bring together people with a common goal. For the most part, everyone works for the idea; to create something truly worthwhile; something that will be useful for the end user.
I am sure that some will not like the case design; some may not like the appearance of the page. That's your right! But we have traveled this path ourselves, through constant criticism of what we do, and most importantly — why. If there are no such questions, as above, we would be happy to talk in the comments.
Constructive criticism is good, and we are grateful for it.
The origin story of the idea . For those interested:
- For all inquiries: Telegram group
- Stay updated: Telegram news channel
And yes, we enjoy what we do.
Source: habr.com
