

In our previous , we discussed how we prepare standard client virtual machines and demonstrated using our new Ultralight plan for 120 rubles, how we created a standard image of Windows Server 2019 Core.
Support requests started coming in about how to work with Server 2019 Core without the familiar graphical interface. We decided to show how to work with Windows Server 2019 Core and how to install a GUI on it.

Do not repeat this on production machines, do not use Server Core as a desktop, disable RDP, secure your information system; security is the main feature of the 'Core' installation.
In one of our upcoming articles, we will look at a compatibility table for software with Windows Server Core. In this article, we will address how to install the shell.
Third-party shell
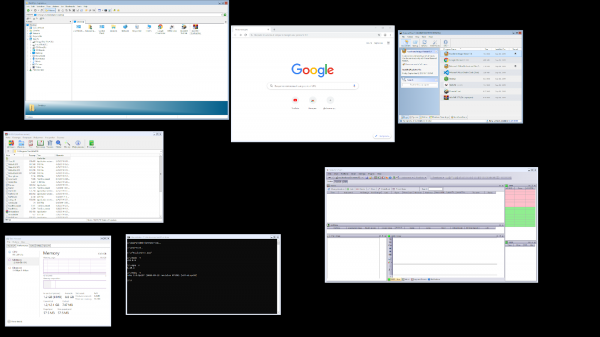
1. A complex but most cost-effective way
Windows Server Core lacks the familiar explorer.exe out of the box, so to make our lives easier, we will download explorer++. It replaces everything the original explorer can do. Only explorer++ was considered, but almost any file manager will work, including Total Commander, FAR Manager, and others.
Download the files.
First, we need to download the file to the server. This can be done via SMB (shared folder), Windows Admin Center, and Invoke-WebRequest, which works with the -UseBasicParsing parameter.
Invoke-WebRequest -UseBasicParsing -Uri 'https://website.com/file.exe' -OutFile C:\Users\Administrator\Downloads\file.exeWhere -uri is the file URL, and -OutFile is the full path where it is downloaded, specifying the file extension and
With Powershell:
On the server, create a new folder:
New-Item -Path 'C:\OurCoolFiles' -ItemType DirectoryShare the folder:
New-SmbShare -Path 'C:\OurCoolFiles' -FullAccess Administrator -Name OurCoolShareOn your PC, the folder connects as a network drive.
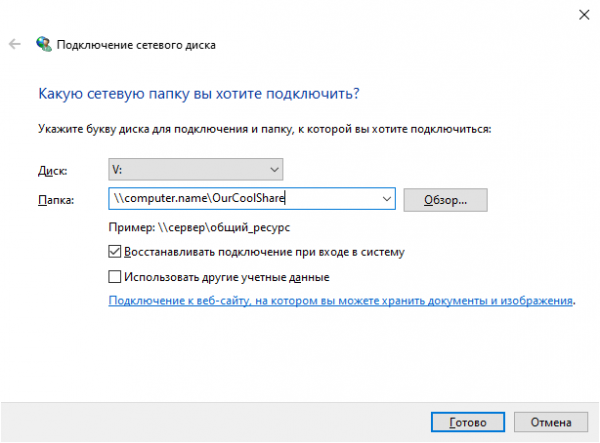
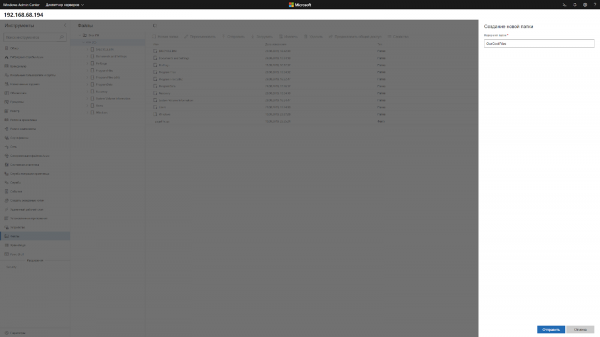
Through Windows Admin Center, create a new folder by selecting the option from the menu.
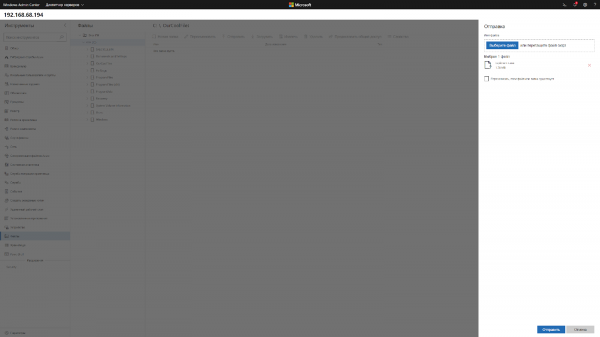
Go to the shared folder and click the send button, choose the file.
Add the shell to the task scheduler.
If you don’t want to run the shell manually every time you log in, you need to add it to the task scheduler.
$A = New-ScheduledTaskAction -Execute "C:\OurCoolFiles\explorer++.exe"
$T = New-ScheduledTaskTrigger -AtLogon
$P = New-ScheduledTaskPrincipal "localAdministrator"
$S = New-ScheduledTaskSettingsSet
$D = New-ScheduledTask -Action $A -Principal $P -Trigger $T -Settings $S
Register-ScheduledTask StartExplorer -InputObject $D
Without the scheduler, it can be launched via CMD:
CD C:\OurCoolFiles\Explorer++.exeMethod 2. Launching the native Explorer
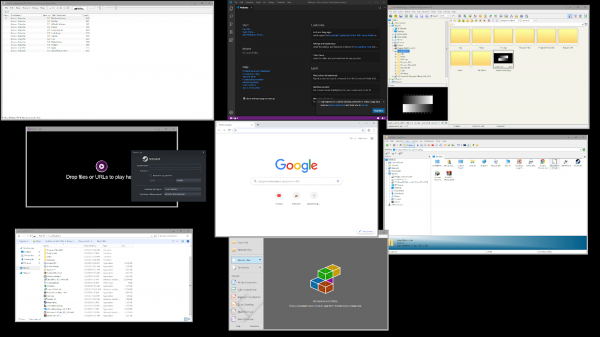
Remember, no GUI
The Server Core App Compatibility Feature on Demand (FOD) will return the following to the system: MMC, Eventvwr, PerfMon, Resmon, Explorer.exe, and even Powershell ISE. It does not expand the existing set of roles and components.
Open Powershell and enter the following command:
Add-WindowsCapability -Online -Name ServerCore.AppCompatibility~~~~0.0.1.0Then restart the server:
Restart-Computer 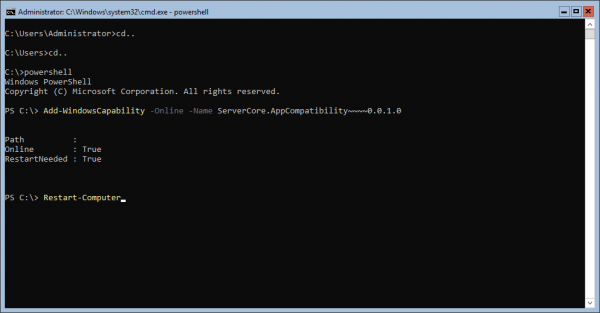
After this, you will be able to run even Microsoft Office, but you will permanently lose about 200 MB of RAM, even if there are no active users in the system.
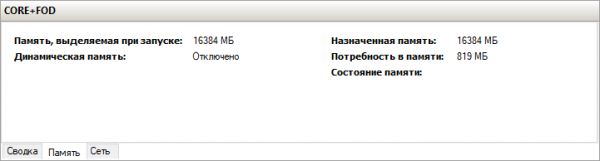
Windows Server 2019 with Features on Demand installed
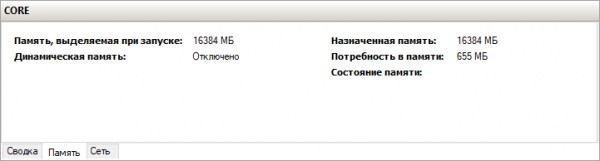
Windows Server 2019 CORE
That's all for now. In the next article, we will discuss the compatibility table for programs with Windows Server Core.
Source: habr.com
