

Microsoft Exchange is a large suite that includes email reception and processing, as well as a web interface for your mail server, access to corporate calendars, and tasks. Exchange is integrated with Active Directory, so imagine that it has already been deployed.
Windows Server 2019 Core is the version of Windows Server without a graphical interface.
In this version of Windows, there is no traditional Windows interface, nothing to click on, no Start menu. Just a black window and a black command prompt. However, this reduces the attack surface and increases the entry threshold, since we don’t want random users tampering with critical systems, right?
This guide is also valid for servers with a GUI.
1. Connect to the server
Open PowerShell and enter the command:
Enter-PSSession 172.18.105.6 -Credential AdministratorOptionally: Enable RDP. This simplifies installation but is not mandatory.
cscript C:\Windows\System32\Scregedit.wsf /ar 0In the Ultravds image, RDP was already enabled.
2. Connect the server to AD
This can be done through Windows Admin Center or via Sconfig in RDP.
2.1 Specify DNS servers or domain controllers
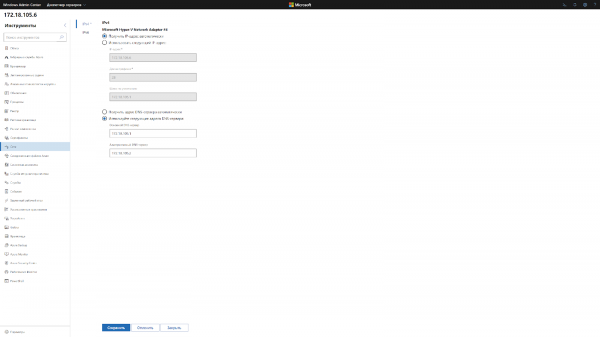
In Windows Admin Center, connect to the server, go to the networking section, and specify the IP addresses of the domain controllers or DNS servers.
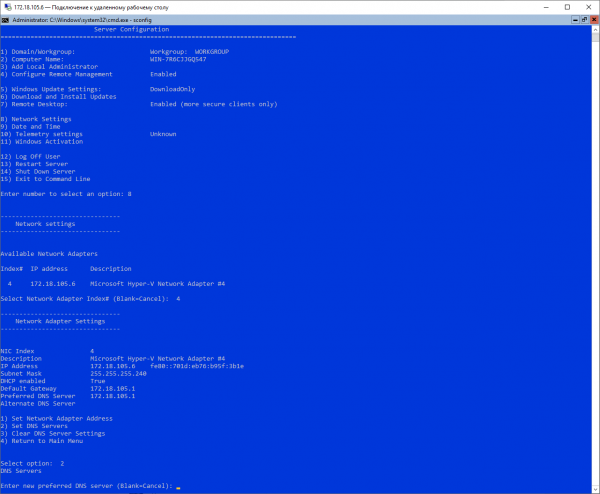
Via RDP, in the command prompt, enter 'Sconfig' to access the blue server configuration window. There, select item 8) Network Settings, and do the same by specifying the DNS server of the domain.
2.2 Join the server to the domain
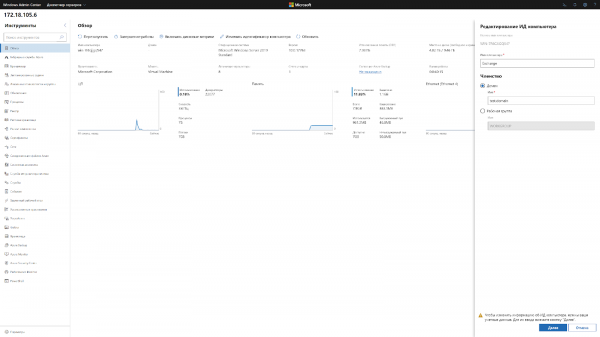
In WAC, click 'Change Computer ID' and the familiar window for selecting a workgroup or domain opens. As usual, select the domain and join.
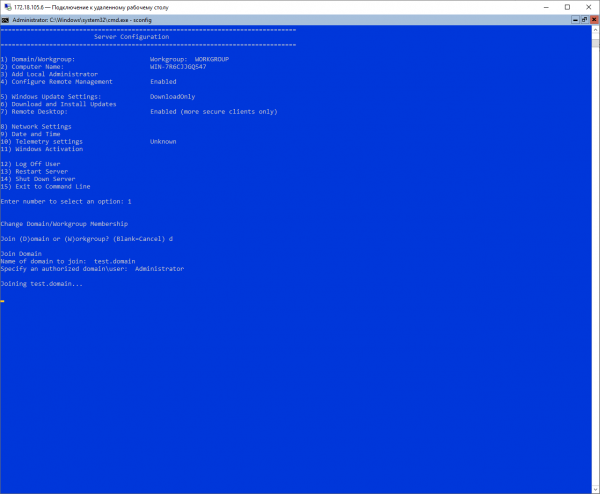
Using Sconfig, you first need to select option 1, choose whether we are joining a workgroup or a domain, specify the domain if we are joining a domain. Only after completing the procedure will we be allowed to change the server name, but for that, you will need to enter the password again.
Through PowerShell, it's even simpler:
Add-Computer -DomainName test.domain -NewName exchange -DomainCredential Administrator3. Install
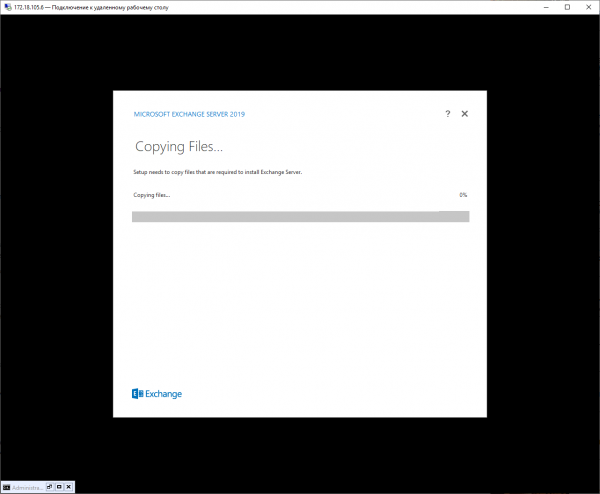
If you are using RDP, you must install the required components before installing Exchange.
Install-WindowsFeature Server-Media-Foundation, RSAT-ADDSNext, we need to download the disk image with the Exchange installer.
Invoke-WebRequest -UseBasicParsing -Uri 'https://website.com/ExchangeServer2019-x64.iso' -OutFile C:\Users\Administrator\Downloads\ExchangeServer2019-x64.isoMount the ISO:
Mount-DiskImage C:UsersAdministratorDownloadsExchangeServer2019-x64.isoIf you are doing this all through the command line, you just need to mount the downloaded disk and enter the command:
D:Setup.exe /m:install /roles:m /IAcceptExchangeServerLicenseTerms /InstallWindowsComponentsOutput
As we can see, installing Exchange on Windows Server Core, like joining a domain, is not a painful process, and considering how we benefited in security, it was worth it.
What was especially pleasing was that adding the server to AD using PowerShell is easier than through GUI or Windows Admin Center.
It's a shame that the installation option for Exchange was only added for Exchange 2019; it was long overdue.
In our previous posts, you can read of how we prepare client virtual machines using our plan with Server Core for 99 rubles, how to work with Windows Server 2019 Core and how to install a GUI on it, as well as how to the server using Windows Admin Center.
Source: habr.com
