

In September 2019, Yealink introduced its latest microcell IP-DECT system, the Yealink W80B. In this article, we will briefly discuss its features and operation with the 3CX PBX.
We would also like to sincerely congratulate you on the New Year and Christmas!
Microcell DECT Systems
Microcell IP-DECT systems differ from standard DECT phones by one significant feature—support for seamless handover of subscribers between base stations, as well as terminals in standby mode (roaming). These solutions are in demand in specific niches, particularly in large warehouses, hotels, car dealerships, manufacturing facilities, supermarkets, and similar enterprises. It is worth noting that such DECT systems are considered professional corporate communication systems and cannot be fully replaced by 'mobiles' (unless maximum cost savings are prioritized).
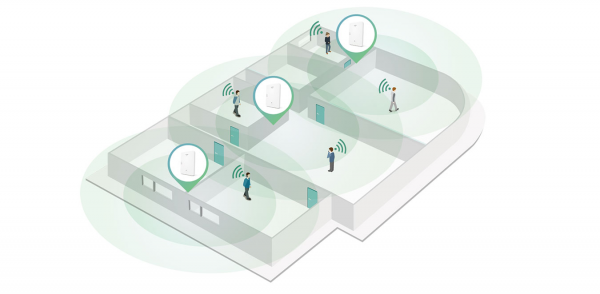
The Yealink W80B supports up to 30 base stations in a single DECT network, which can together service up to 100 DECT terminals. HD-quality communication is ensured, regardless of the subscriber's location.
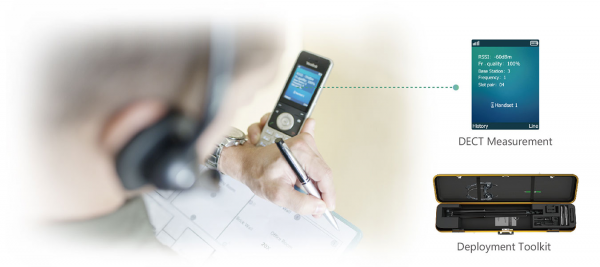
Before implementing a DECT system in an enterprise, it is advisable to conduct preliminary field measurements of signal quality. For this, Yealink recommends a specialized measurement kit, consisting of a measuring base station W80B, two W56H terminals, a stand for mounting the terminals, and two professional UH33 headsets. on the measurement methodology.
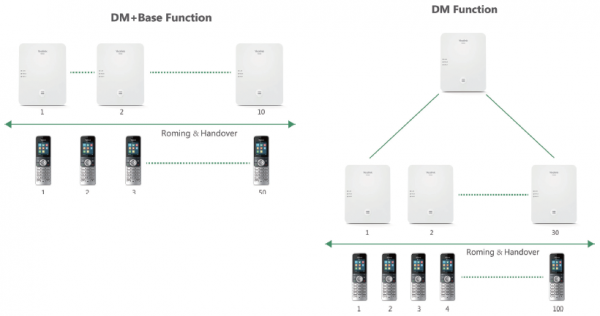
The W80B base station can operate in three modes:
- DM (DECT Manager) — operational mode for medium to large networks. In this case, a dedicated base operates only as a manager (without DECT functions). Up to 30 DECT bases W80B can connect to it, operating in Base mode. This network supports up to 100 subscribers / 100 simultaneous calls.
- DM-Base — in this mode, one base station operates as both a DECT manager and a DECT base. This configuration is used in small networks and allows for the connection of up to 10 bases (in Base mode), up to 50 subscribers / 50 simultaneous calls.
- Base — managed base mode, which connects to DM or DECT-Base.
DECT Terminals for Microcell Systems
Two terminals are offered for the Yealink W80B—premium and mid-range models.
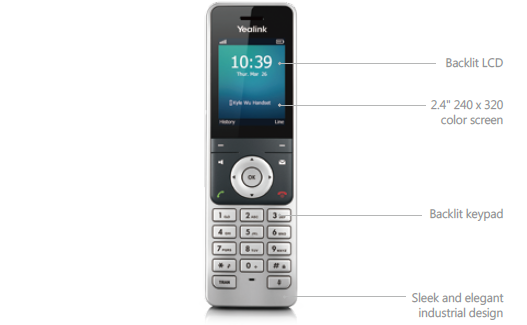
Yealink W56H
A handset with a large, clear 2.4" display, elegant industrial design, powerful battery, and various accessories for professional use (which we will discuss further). Handset features:
- Up to 30 hours of talk time and up to 400 hours of standby time.
- Charging from a standard USB port on a PC or from the SIP-T29G, SIP-T46G, and SIP-T48G phone ports. A 10-minute charge allows for up to 2 hours of talk time.
- Swivel clip for attaching the terminal to your belt. It allows the handset to rotate rather than fall off if snagged on an obstacle.
- 3.5 mm jack for connecting a headset.
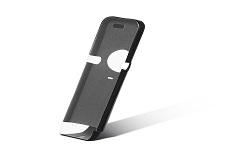
An additional protective case can be used with the handset, although it does not fully protect the terminal and is not intended for harsh conditions.
Yealink W53H
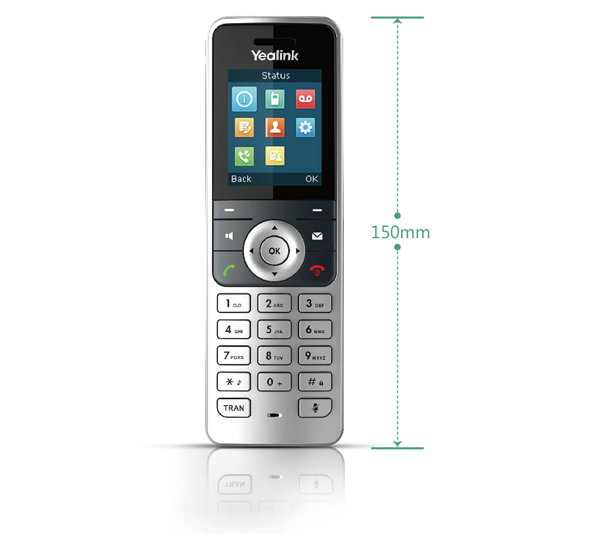
A mid-range handset designed primarily for industrial use. Like the higher model, it supports the DECT standard CAT-iq2.0 for HD sound transmission. Handset features:
- 1.8" color display
- Lithium-ion battery with up to 18 hours of talk time / up to 200 hours of standby time.
- Compact design that fits comfortably in hands of any size.
- Belt clip and 3.5 mm jack for connecting a headset.
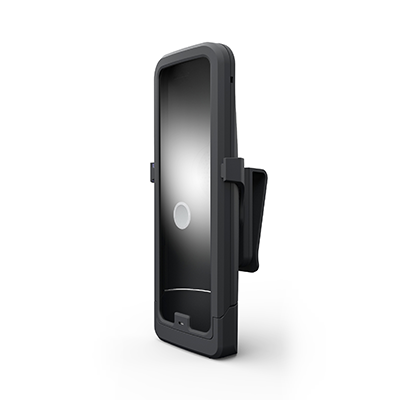
This handset is offered with a professional cover providing full body protection for use at construction sites, factories, etc.
Both handsets support over-the-air firmware updates from the base station, loading the 3CX address book, and all call operations: hold, transfer, conference, etc.
Connecting Yealink W80B to 3CX PBX
Note that the auto-provisioning template for the Yealink W80B base has only appeared in . Therefore, make sure to install this update before connecting. Also, verify that the base has the latest firmware version. Currently, W80B devices come with the latest firmware, but it's recommended to check the version on , Firmware tab. You can update the firmware by accessing the base interface (login and password: admin) in the section Settings > Upgrade > Upgrade Firmware.
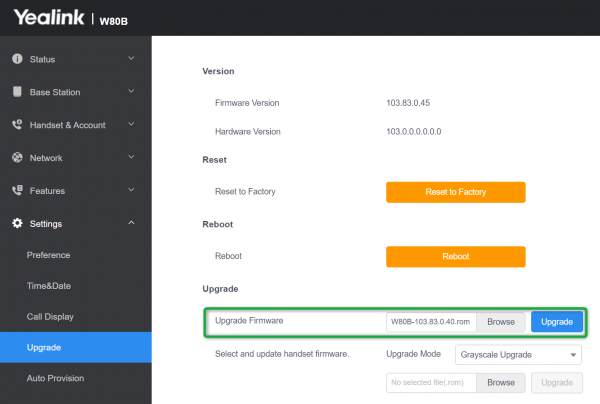
Note that DECT terminals do not need to be updated separately. Each handset will start receiving updates "over the air" immediately after connecting to the base station. However, you can update them manually (after connecting to the base) in this same section.
After installing the new firmware, it is recommended to reset the base. To do this, press and hold the button on the base for 20 seconds until all indicators begin to slowly blink green. Hold the button until the indicators stop blinking, then release it — the base has been reset.
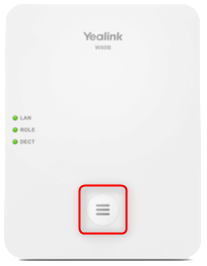
Setting the base operation mode
Now you need to set the appropriate operation mode for the base station. Since we have a small network and this is the first base in the network, we will choose hybrid mode. DM-Base in the section Base Mode. Then press OK and wait for the base to reboot. After rebooting, go to the interface — you will see many settings of the DECT manager. But we don’t need them right now — the base will configure itself automatically.
Base configuration in 3CX PBX
As mentioned, connecting the Yealink W80B is automated thanks to a special template supplied with 3CX:
- Find and copy the MAC address of the base, go to the 3CX interface section FXS/DECT Devices and click the button +Add FXS/DECT.
- Select the manufacturer and model of the phone.
- Enter the MAC and click OK.
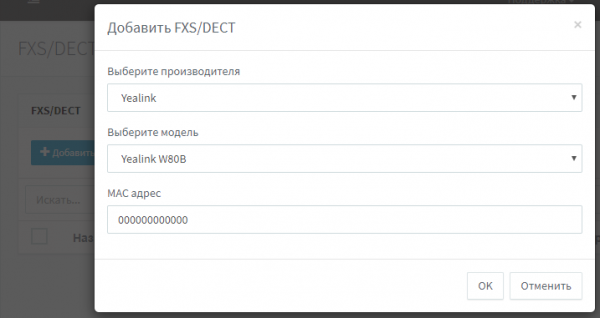
In the opened tab, specify the connection method for the base — local network, remote connection via 3CX SBC, or direct remote SIP connection. In our case, it is used Local Area Network, as the base and the 3CX server are on the same network.
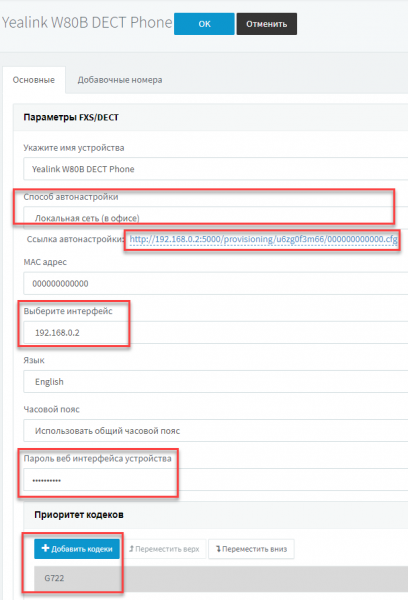
- Copy the auto-configuration link, which we will then paste into the base interface.
- Select the network interface of the server that will accept connection requests (if your server has more than one network interface).
- Also note the new interface password for the base, generated by 3CX. After auto-configuration, it will replace the default admin password.
- Since the handsets support HD audio, you can set the wideband codec G722 for transmitting HD-quality VoIP traffic.
Now go to the tab Extensions and specify the users who will be assigned to the handsets. As mentioned, in DM-Base mode, you can select up to 50 3CX users.
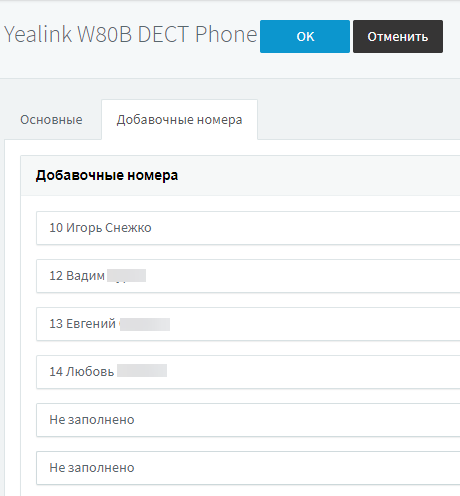
After pressing OK, a configuration file for the base will be automatically created, which we will upload into it later.
Remote database connection via 3CX SBC or STUN (direct SIP connection) requires additional information and has certain specifics.
Connection through 3CX SBC
In this case, you need to additionally specify the local IP address of the SBC server in the remote network and the SBC port (default 5060). Please note that it is necessary to in the remote network.
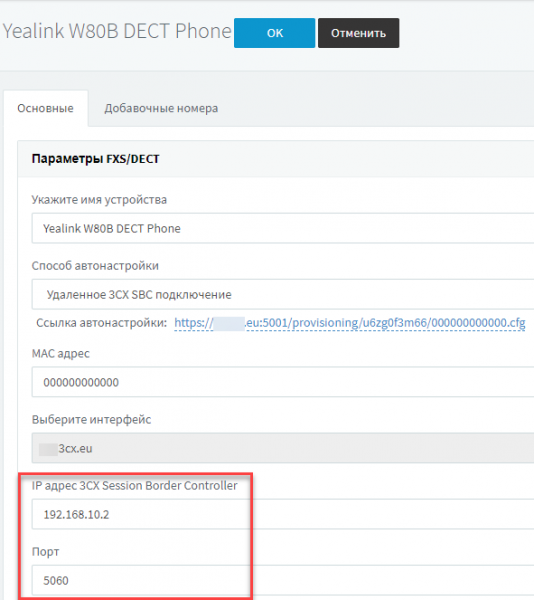
Direct SIP connection (STUN server)
In this case, you need to specify the SIP port and the range of RTP ports that will be configured on the remote W80B. These ports then need to be forwarded to the IP address of the base on the NAT router in the remote office.
Please note that in order for all DECT terminals to function correctly, you need to allocate a range of 600 ports for the W80B base.
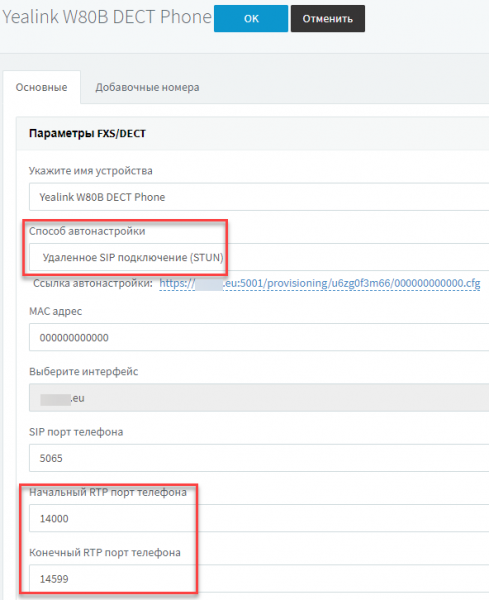
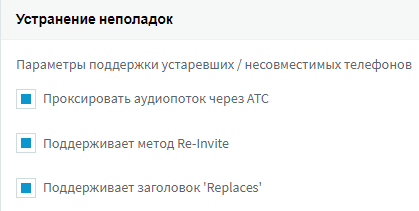
Also, in the settings for the extension number assigned to the terminal, you need to enable the option Proxy audio stream through PBX.
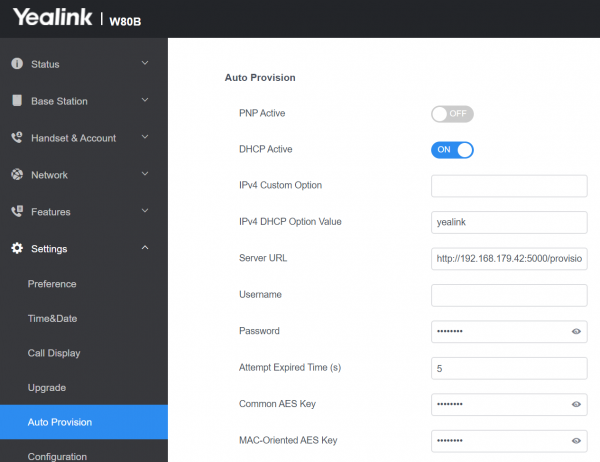
Specifying the configuration file link in the base
Earlier, when setting up the base in 3CX, we noted the auto-provisioning link and the new access password in the W80B interface. Now go to the base interface, navigate to the section Settings > Auto Provision > Server URL, paste the link, and click Confirm, and then Auto Provision Now.
Registering terminals on the base
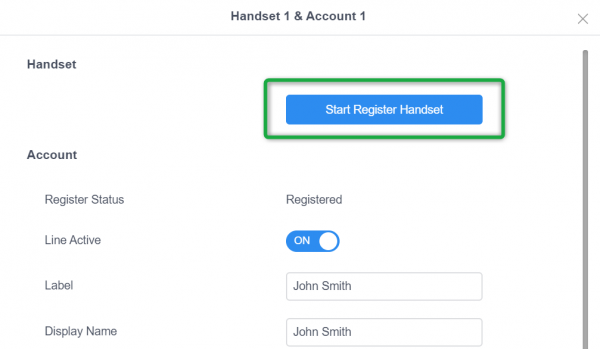
Once the base is set up, connect the required number of terminals to it. To do this, go to the section Handset & Account > Handset Registration and click the edit icon for the SIP account.

Then click Start Register Handset.
And on the handset itself, press the Easy Pairing.
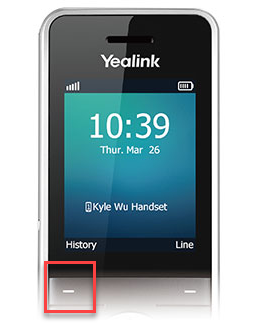
You can also enter the Registration > Base 1 menu and enter PIN 0000.
After successful registration, the handset will begin firmware updates "over the air," which takes a considerable amount of time.
Yealink W80B is fully ready for operation!
Source: habr.com
