

Ring in the new year with a new PBX! However, there isn't always time or desire to navigate the intricacies of upgrading versions by gathering information from various sources. In this article, we have compiled all the necessary information for a simple and quick upgrade to 3CX v16 Update 4 from older versions.
There are many reasons to upgrade — you can learn about all the features introduced in v16 from . Here, we will highlight the most important improvements noticeable to regular users — the new , and .
Before upgrading — check your license
First of all, keep in mind that upgrading to the latest version of 3CX requires a license with an annual subscription or a perpetual license with an active update subscription. Without an active your new system simply will not activate. You can check the current subscription status in the Options > License. You can also verify your eligibility for updates in the 3CX User Portal.
Please note that correct subscription information in the PBX interface is only available starting from v15.5 Update 6 and above.
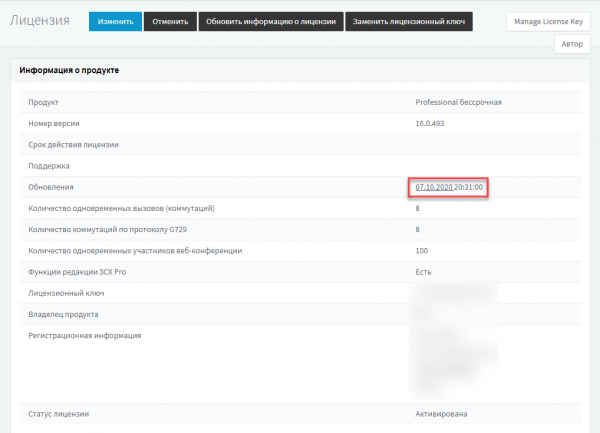
If the subscription has expired
If you have a perpetual license, you need to determine whether you are within a grace period during which you can extend your subscription. To do this, contact your servicing 3CX partner (or choose a partner in ), or write directly to the . By the way, you can extend your update subscription at any time, not just when it has already expired. Moreover, you can receive a 10% discount when purchasing updates for 3 years and 15% when purchasing for 5 years (this applies to update subscriptions for perpetual licenses).
If it turns out that the grace period has already expired, you can exchange your perpetual license for a license with an annual subscription free of charge. After that, you receive a year of free use of the converted license starting from the date of exchange. After a year, you simply a yearly license for the next year.
The exchange is carried out in your user portal in the Buy > Trade-in (Buy > Exchange).
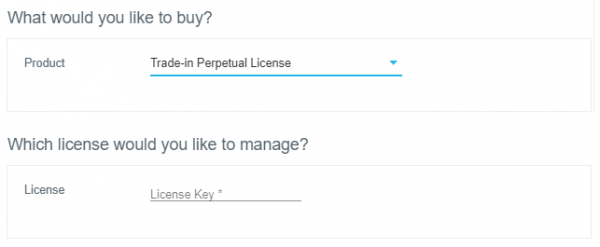
Please note that when exchanging, you do not receive a new key; your existing key simply becomes annual. There is no need to change anything in the system! The only action required is, after receiving the email confirming the exchange, to log in to the 3CX interface and go to the section Options > License click the Update License Information button (but this will only work in 3CX v15.5 and above). If you have an older version installed, see below.
Updating from v15.X to v15.5 SP6
Before upgrading to v16, you must update your v15.X (or older) system to v15.5 SP6. Only in this case is the proper transfer of the PBX configuration from the backup guaranteed. The easiest way to upgrade is to follow . However, if you have an even older version of 3CX, you will need to go through , installing them sequentially.
Make sure to back up at every stage of the upgrade!
Updating from v15.5 SP6 to v16.X
It is important to note that the 3CX update process on Windows and Linux is slightly different due to the architectural features of these OS.
Windows
Unfortunately, 3CX v15.5 SP6 cannot be 'directly' upgraded to v16 as it can be done in Linux. You will need to back up the PBX and restore it during the installation process of distribution v16.
In the 3CX interface, go to the Backup section, click +Backup, name the backup and specify the options.
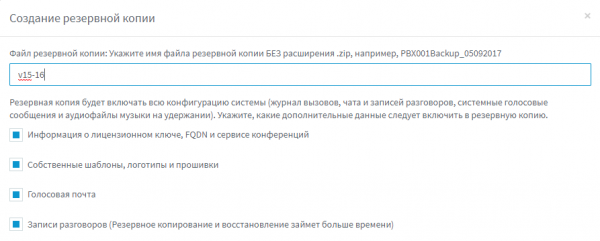
Wait for the notification to the PBX administrator's email that the backup is complete, then download the backup file.
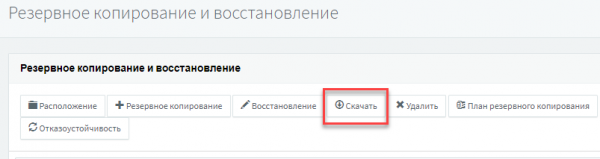
Please note — you can use the created backup when installing the PBX on both Windows and Linux — the backup file works without issues for both OS!
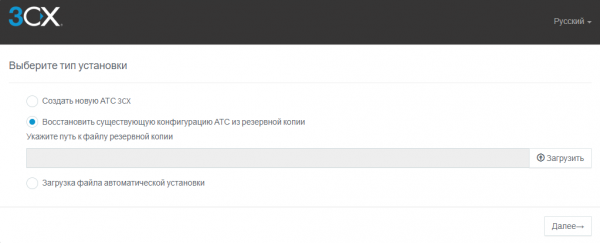
After backing up, uninstall 3CX, and start the installation. On the first screen of the Configuration Wizard, specify the backup file, and then continue the installation according to .
Linux
The 3CX 'in-place' upgrade, i.e., directly over the existing installation, is only available if the PBX is installed on Debian 9 Stretch (Debian 8 and 10 are not supported in v16). If you do not see the availability of updates in the 3CX interface, check the Linux version in the SSH terminal (command sudo lsb_release -a).
Debian 9
Here, the upgrade is installed very simply. In the 3CX interface, go to the section Updates and install all available updates. Make sure to wait for the email confirming the update is complete. After that, log back in to Updates and install all available updates again — and so on until there are no notifications.
Debian 8
3CX v16 is not compatible with Debian 8, which was used for v15.X. Therefore, you will need to back up the configuration and deploy a new installation from the ISO image. .
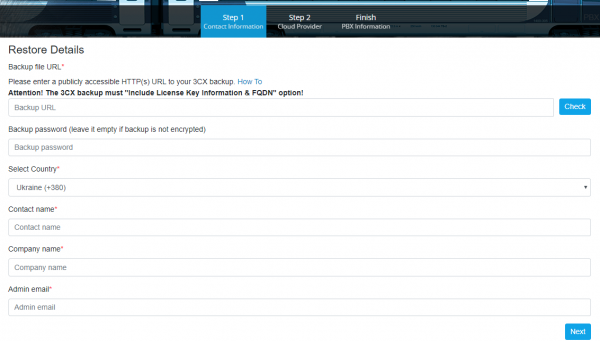
Note — you can migrate from a local installation to the cloud PBX using your backup and the 3CX cloud installation wizard. .
Instructions for installing 3CX on various cloud platforms are provided .
Source: habr.com
