

Among the various types of UPSs, the most common in entry-level servers are the Smart UPS from APC (now Schneider Electric). Their excellent reliability and low prices in the secondary market lead system administrators to easily fill racks with these UPSs, trying to extract maximum profit from equipment that is 10-15 years old simply by replacing batteries. Unfortunately, this doesn't always yield the expected results. Let's figure out what needs to be done to ensure your UPS operates "like new."
Choosing Batteries
All articles and forum topics regarding the choice of batteries for UPSs often resemble discussions about selecting motor oil for cars/motorcycles. Let's avoid that and understand the basic principles of battery selection using the manufacturer CSB as an example.
They have a variety of battery lines: GP, GPL, HR, HRL, UPS, TPL.
We see that GP and GPL are universal application batteries for low to medium discharge currents.They are recommended for use in security and fire systems and UPSs. These are not suitable for us. However, these are the ones that are most often purchased without a proper study of their specifications.
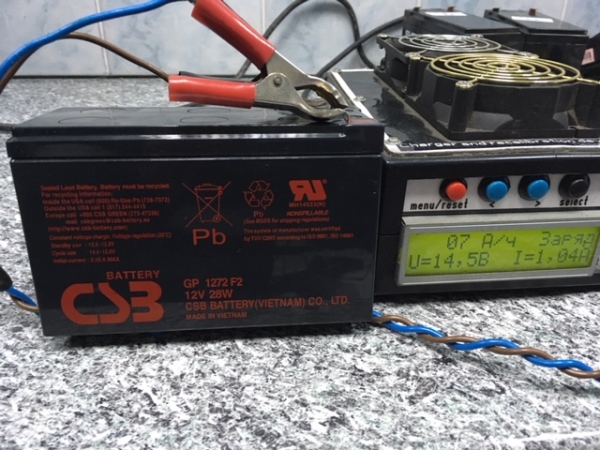
The HR series—batteries with enhanced energy capacity that allow deep discharges (up to 11% remaining capacity)—are particularly useful when high discharge currents are required. The difference in the "H" batteries is a special grid design that allows for a 20% increase in output power. They are best suited for use in high-power energy systems and UPSs.
The letter "L" in the series indicates that these are long-life batteries (Long Life) designed for buffered operational use of up to 10 years.
And the UPS series are specially designed batteries for operation under high currents with short discharge times.
I personally chose between UPS and HRL for a long time but decided on HRL. Unfortunately, it will take about 5 years to assess how they perform in long-term operation, and reviving posts from the dead is generally not well received. So, let's consider this my personal choice, and I don't intend to impose it on you. However, you should understand that it is essential to choose high-current batteries, as they need to be able to discharge all accumulated capacity within 20-30 minutes.
Selecting Battery Assemblies
Considering that the assembly uses several batteries, it is highly desirable that they have identical characteristics. One substandard battery will result in the entire assembly functioning in a way that is far from expected.
About five years ago, I discovered a Rostov company called 'Bastion' that produces battery capacity testers under the brand name 'Skat'. I cannot claim perfect accuracy in measuring capacity, but for assessing the level: ideal-alive-still usable-dead, this tester is more than enough.
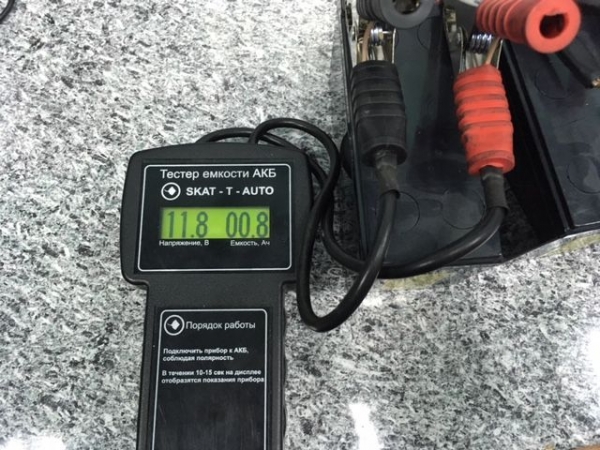
In principle, you can measure capacity by simply charging and discharging using a clock, a 21W car lamp (which provides a load of about 1A), and a tester, but it is time-consuming and often tedious.
Well, as a last resort, we simply try to use fresh batteries from the same batch and hope for the best.
Electricity is the science of contacts.
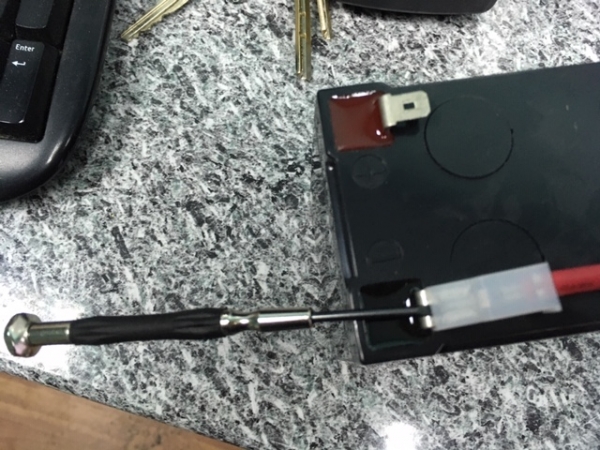
One poor connection in a setup of 4 batteries will nullify all your efforts, so we dismantle the assembly very carefully. Usually, UPS devices use battery connectors with latches that can be easily damaged by simply yanking them out. Therefore, we take a small flat screwdriver, insert it into the connector as shown in the photo, and gently remove it without applying too much force. As a colleague suggested in the comments, just pull on the plastic cover, not the wire. The connector can be removed with a light click.
Well, regarding the correct connection of wires, I think it's unnecessary to write too much. If you've ventured inside the UPS, you clearly understand the principle of connecting batteries in series. And for the rest: a piece of paper and a pen or a smartphone with a camera. After assembling, just to be safe, measure the voltage on the assembly with a tester and compare it with what it should be based on the number of batteries.
'I did everything as described, but it didn’t help.'
Now the most interesting part begins. The UPS periodically performs a short battery calibration during its operation (usually every 7 or 14 days, depending on the settings). It switches to battery mode and measures the voltage immediately and after a short time. The result is a corrective factor known as the 'battery life coefficient,' which it records in its register. As the battery gradually deteriorates, the state of this register slowly decreases. Based on this, the UPS calculates the remaining runtime on battery power. At some point, realizing that things are not good, the UPS activates an indicator demanding a battery replacement. However, when we replace the battery, the UPS does not know about it! The state of the 'battery life coefficient' remains unchanged. We need to adjust it.
There are two paths here. The first, simpler, and quicker path is to perform a full calibration of the UPS. To do this, it must be loaded to more than 35% and the calibration should be initiated, for example, using the PowerChute program. This works in about half of the cases. Why not always? That remains a mystery. Therefore, we will take the longer but more reliable route.
We will need: a computer with a COM port, a proprietary cable (for example, 940-0024C), and the program UpsDiag 2.0 (for the safety of your UPS, a colleague recommends using apcfix in the free mode. I can't comment on this except to say that I absolutely do not recommend clicking anything other than editing register 0 in UpsDiag. especially the automatic battery error correction button.) and . We are interested in the value of register 0. The table indicates the value for ideal, spherical batteries in a vacuum. Any real battery will yield a value lower than this after calibration, but not much lower.
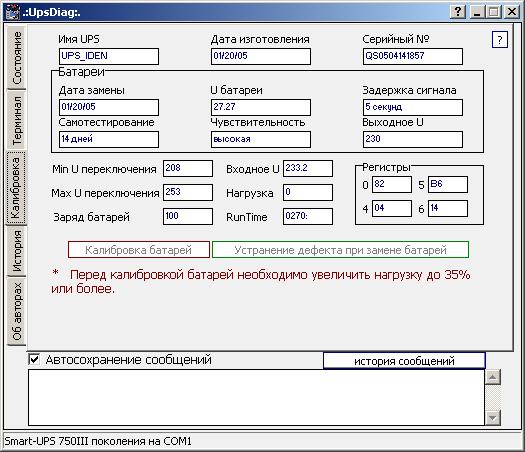
For example, let's take the actual UPS SUA1500RMI2U. At the time of battery replacement, UpsDiag showed the value of register 0 as 42. That means the batteries are dead. The calibration value from the table is A1.
Let's start adjusting. First of all, we remove the network card from the UPS. The presence of a network card will prevent you from adjusting the register. Why? That's a question for the engineers at APC. Fortunately, you can remove it while the UPS is still powered on.
Connect the cable, start UpsDiag, go to the 'Calibration' tab and check the status of register 0. Write it down, right-click on it – Edit. Raise it to the value from the calibration table – A1. If your UPS is not in the table, you can generally raise it to FF. Nothing serious happens from this, except for a bewildered UPS that will indicate it’s ready to handle the load until the second coming.
Next, we need to wait for the battery to charge to 100%, load the UPS to 35% or a bit higher, and start the calibration. After calibration is complete, we check the value in register 0 again and compare it with what we wrote down. In the aforementioned SUA1500RMI2U with new HRL1234W batteries, the value became – 98, which is not far from the calibration A1.
After everything, let it charge again to 100%, disconnect the COM cable, plug the network card back in, and wish the UPS a long and happy life for the benefit of our server rack.
By the way, network cards like the AP9619 have also dropped in price to indecent levels on the secondary market. But how to prepare them (password reset, firmware update, configuration) is a topic for a separate article.
Source: habr.com
