

Hello!
So, for all the well-known reasons, I have to spend more time at home in front of the monitor.
Given this situation, I have to reminisce about the days long gone.
As is clear from the title of this article, we will discuss setting up Synology NAS as a game server.
Attention — the article contains many screenshots (screenshots are clickable)!
Before we get started, here’s a list of tools we’ll need:
Synology NAS — I don’t see any limitations here; I think any will do, as long as there are no plans to host a server for 10k players.
Docker — no special skills are required; it's enough to have a basic understanding of how it works.
LinuxGSM — you can read about what LinuxGSM is on the official website. https://linuxgsm.com.
As of now (April 2020), LinuxGSM supports 105 game servers.
You can view the entire list here https://linuxgsm.com/servers.
Steam — a marketplace for games.
Game Server LinuxGSM is integrated with SteamCMD, meaning that the LinuxGSM game server can only be used for games from Steam.
Installing Docker on Synology NAS
At this stage, it’s simple; we go to the Synology admin panel, then to the ‘Package center,’ find and install Docker.
Package center
We launch it and see something like this (I already have this container installed)
Managing Container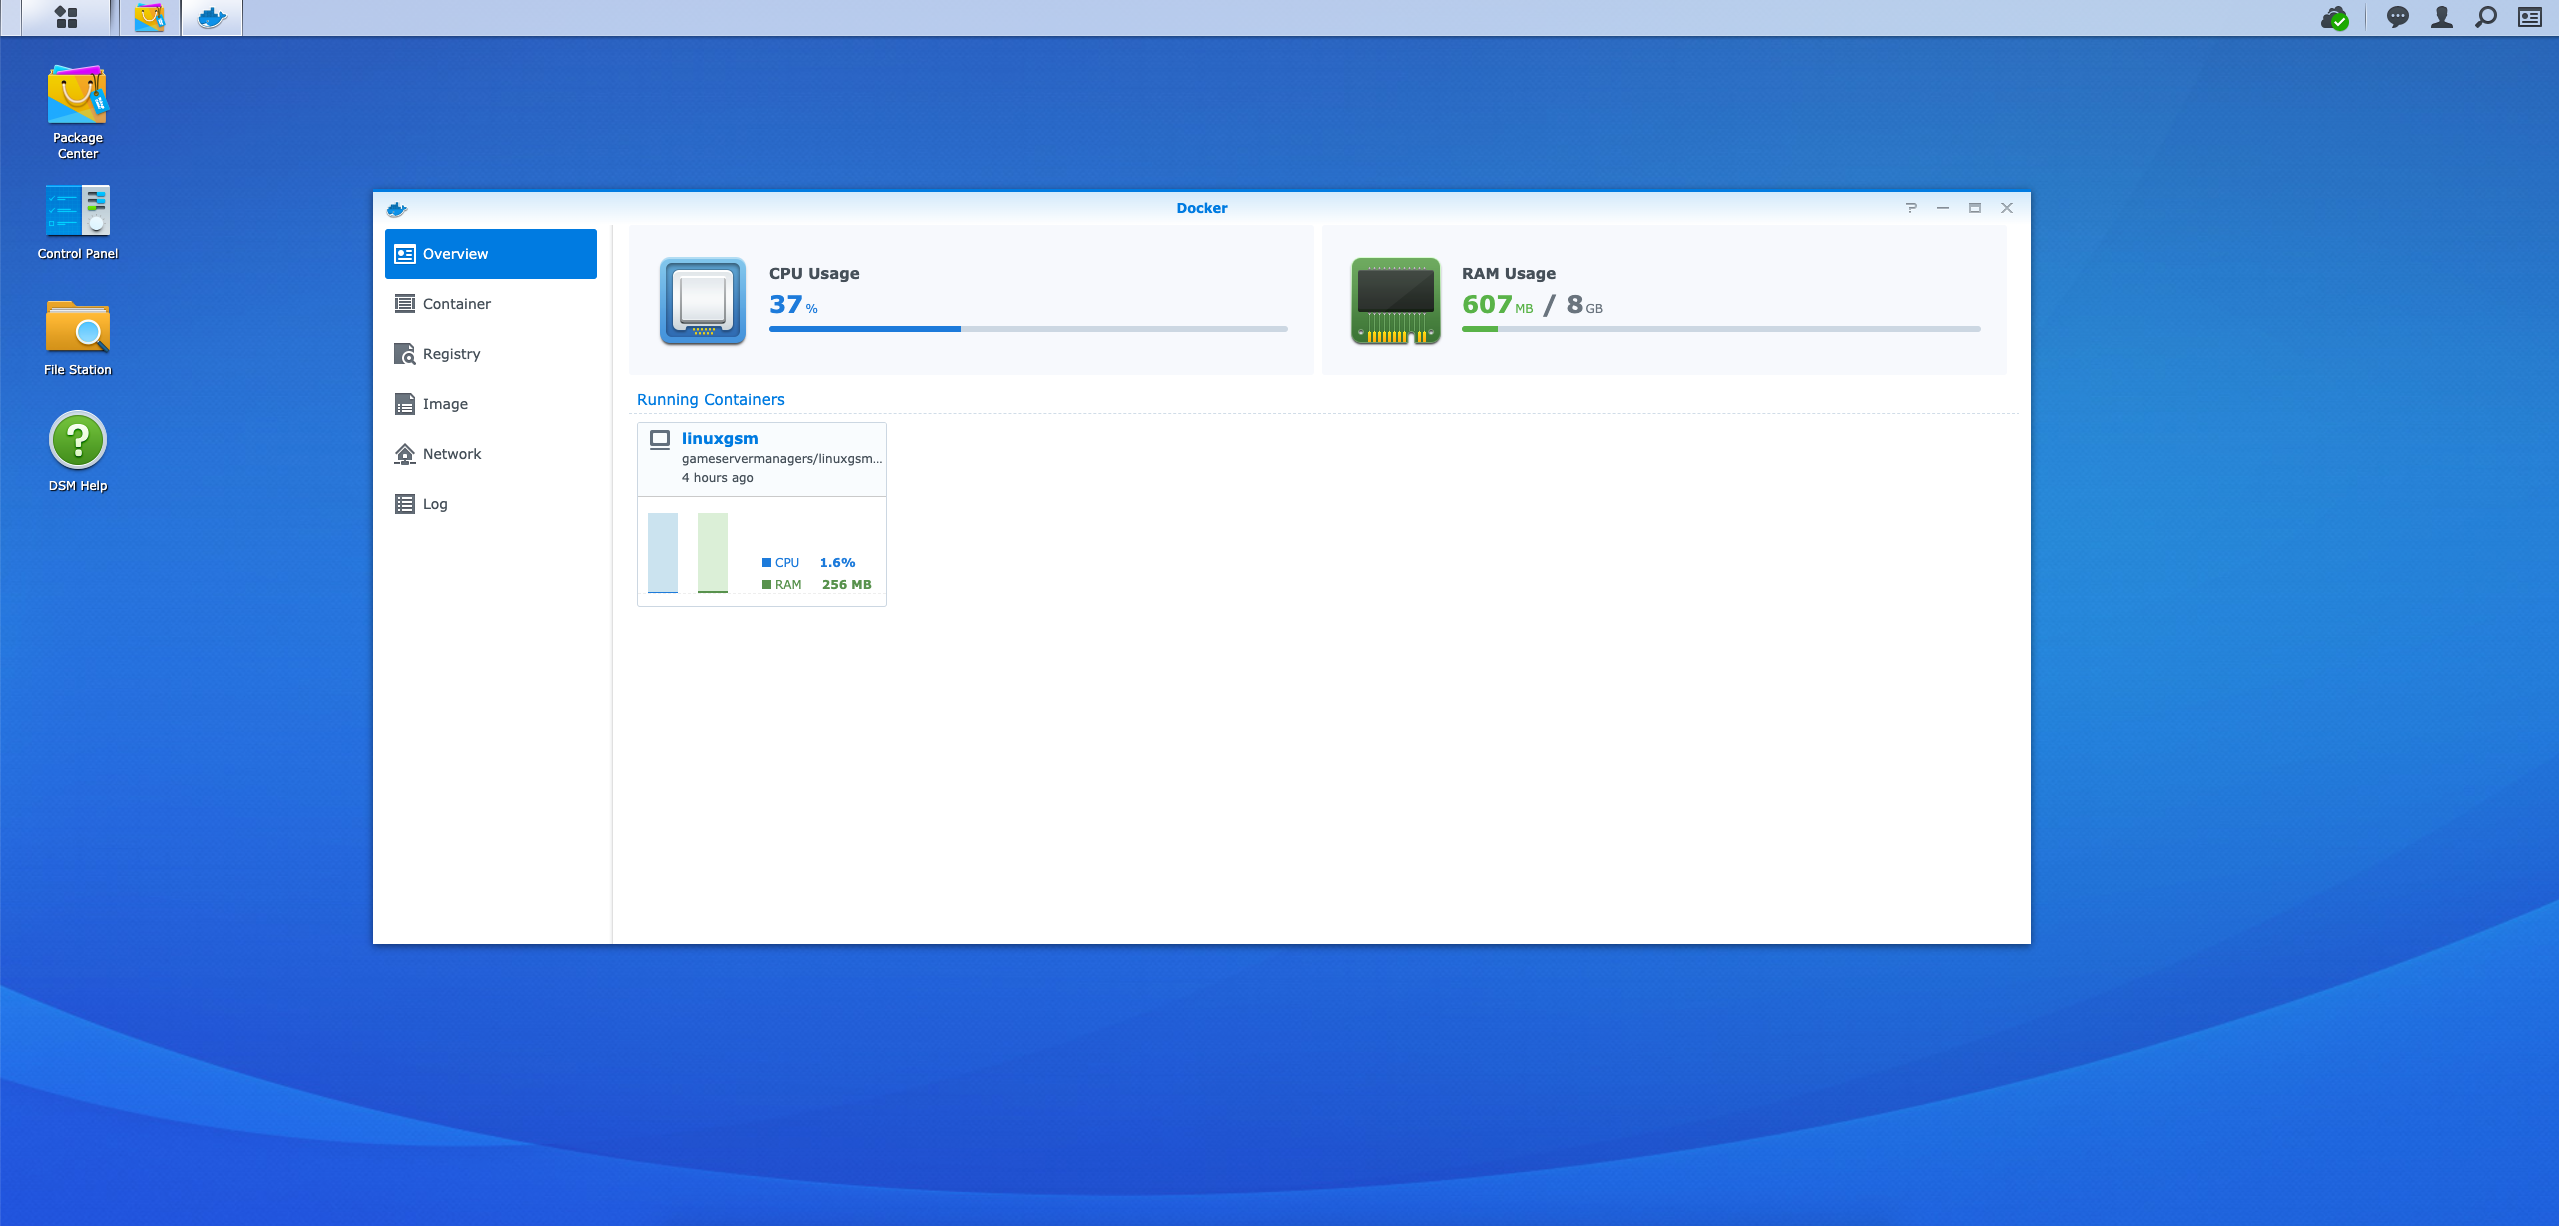
Next, we go to the ‘Registry’ tab, search for ‘gameservermanagers,’ select the image ‘gameservermanagers/linuxgsm-docker’ and click the ‘Download’ button.
gameservermanagers/linuxgsm-docker
After that, we go to the ‘Image’ tab, wait for the image download to finish, and click the ‘Launch’ button.
Image download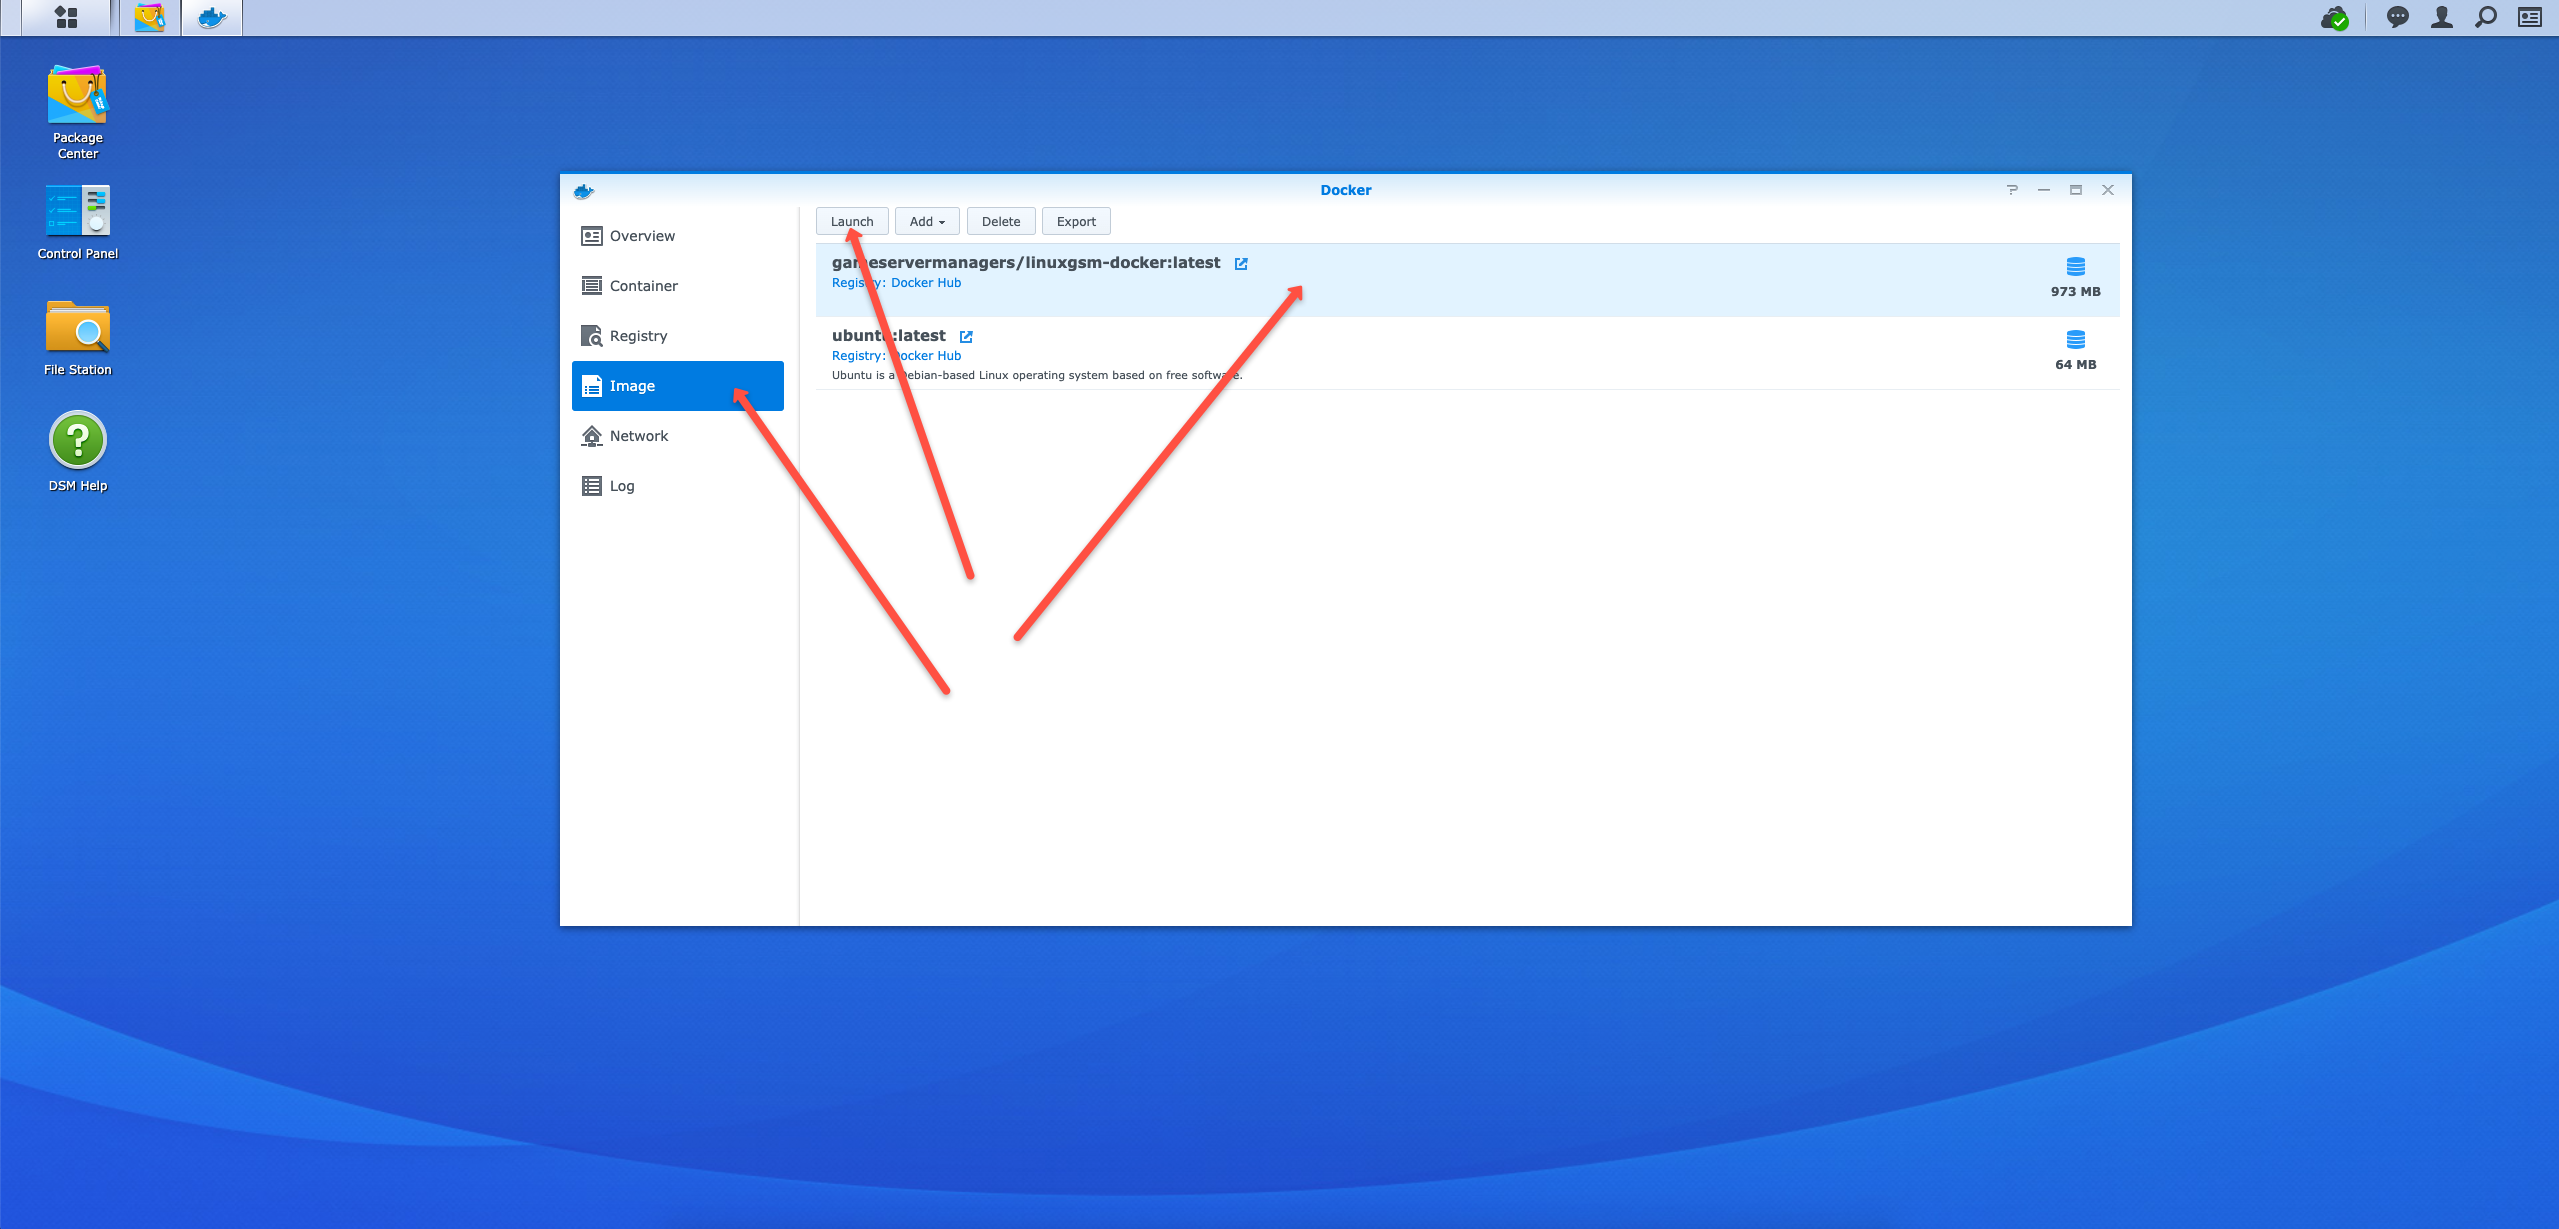
In the window that opens, we need to go to ‘Advanced Settings,’ then to the ‘Network’ tab, and check the box ‘Use the same network as Docker Host.’
The other settings, such as ‘Container Name,’ can be adjusted as you wish.
Container Name — as you might guess, this is the name of the container, and it will be useful later. I recommend naming it something concise; for example, let’s call it ‘test.’
Next, click the ‘Apply’ or ‘Next’ button a few times until the configuration is complete.
Advanced Settings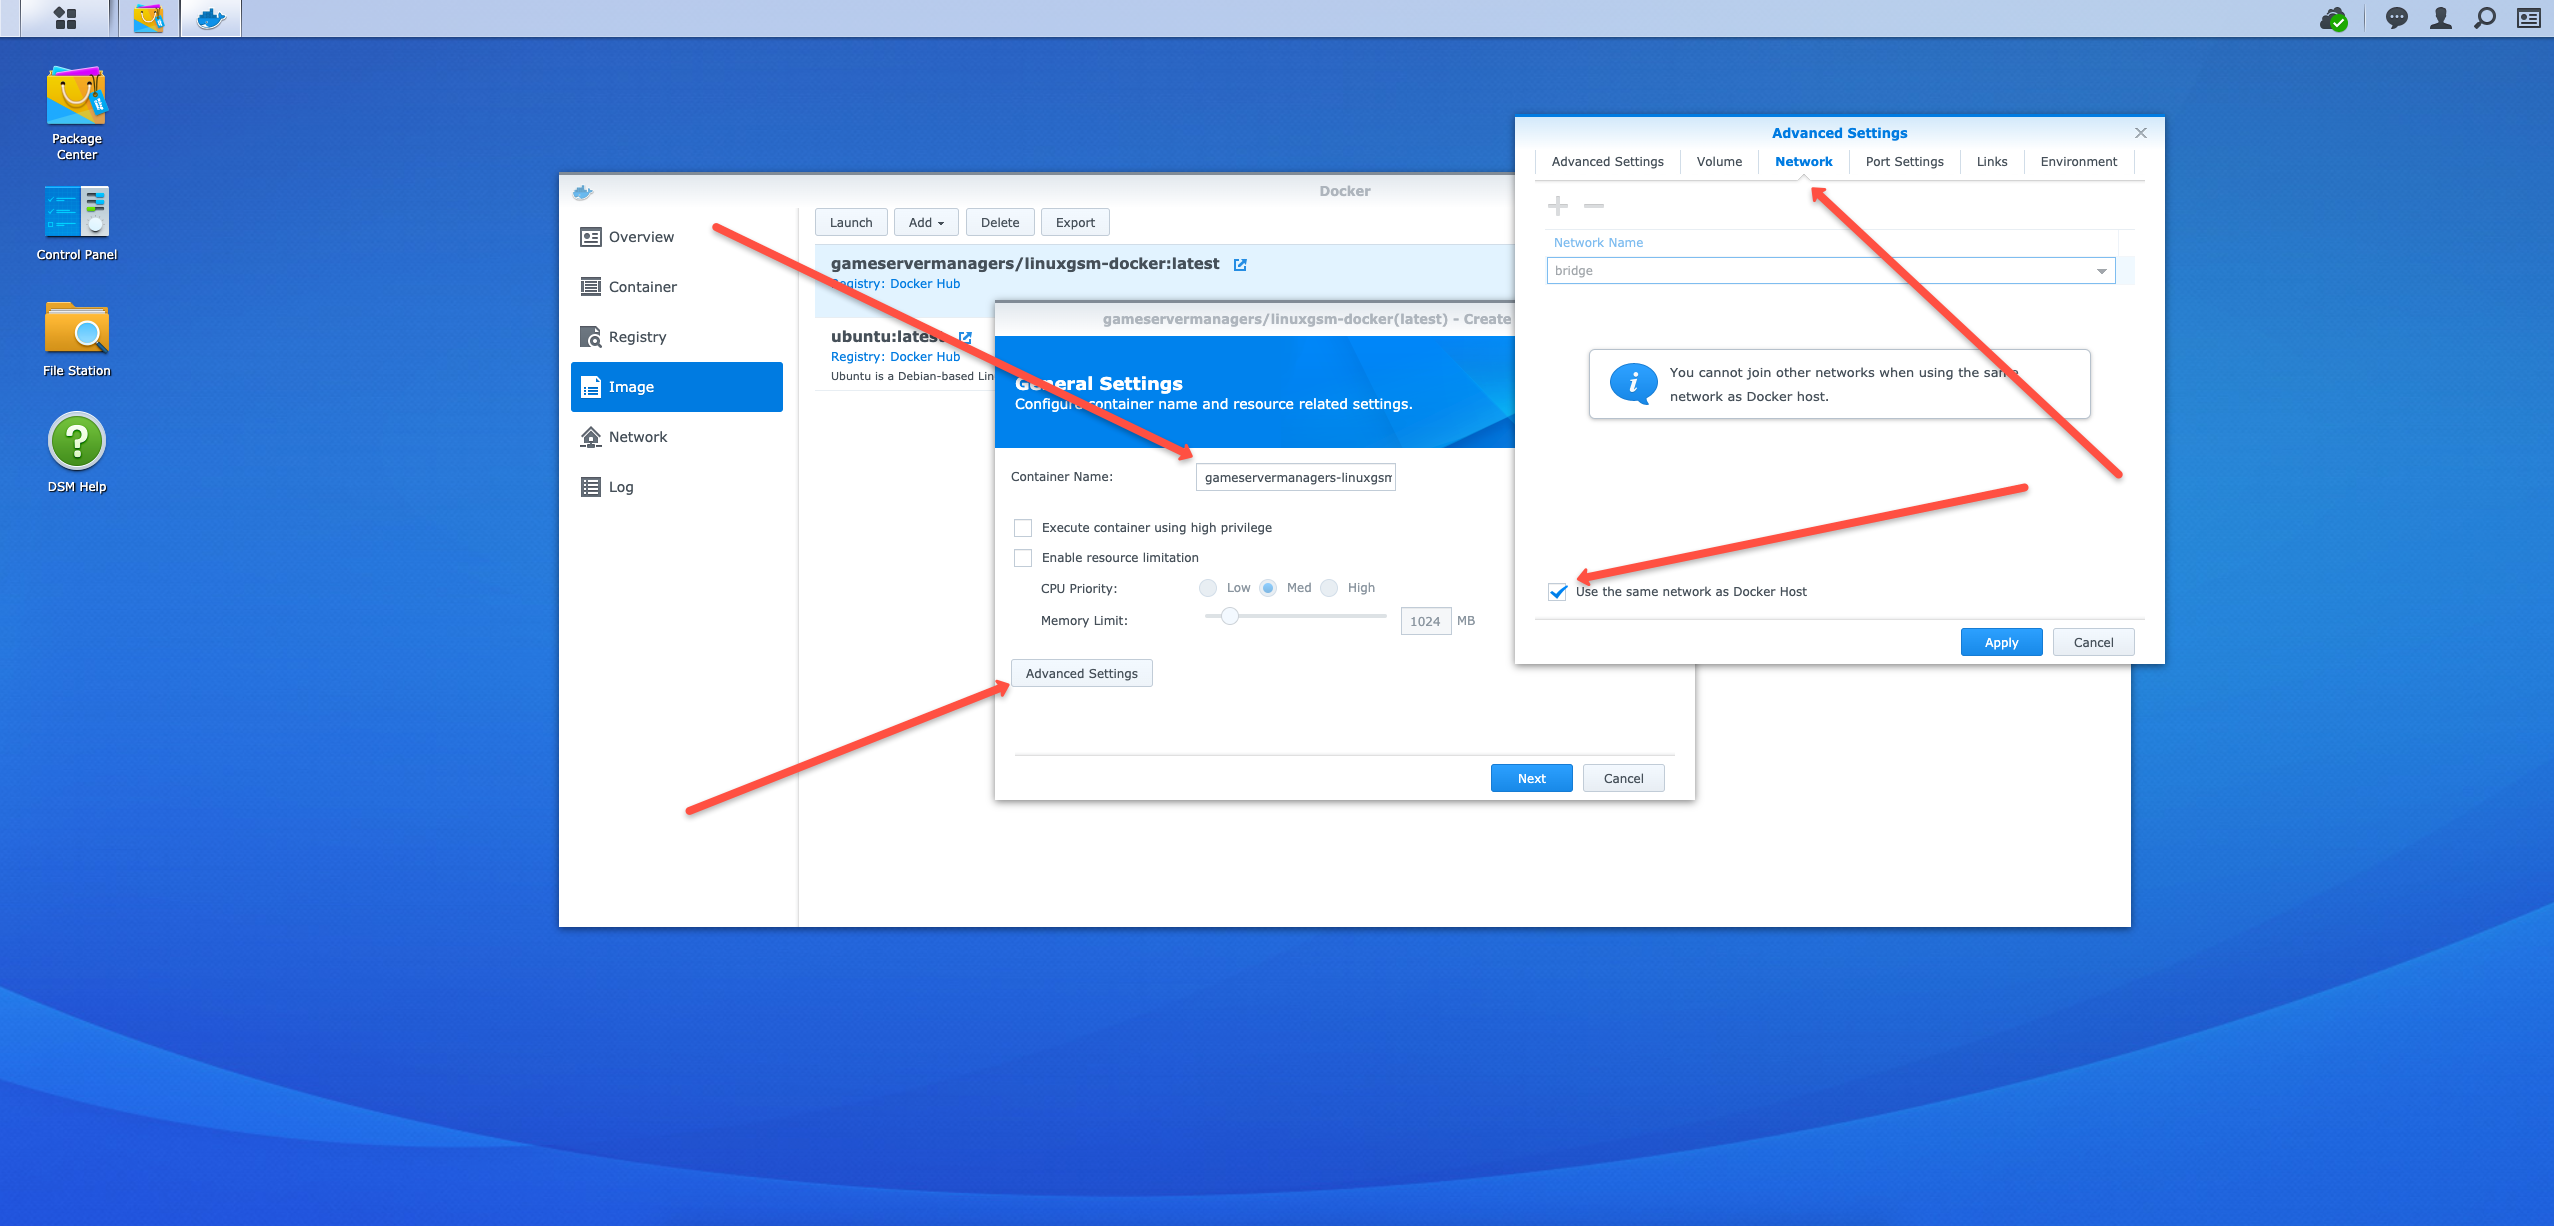
Go to the ‘Container’ tab and see the new running container (if not, start it).
Here you can stop, start, delete, and perform other actions.
Starting the container
Configuring the LinuxGSM Docker Container
Before connecting to Synology NAS via SSH, you need to enable SSH access in the admin panel.
Connecting via SSH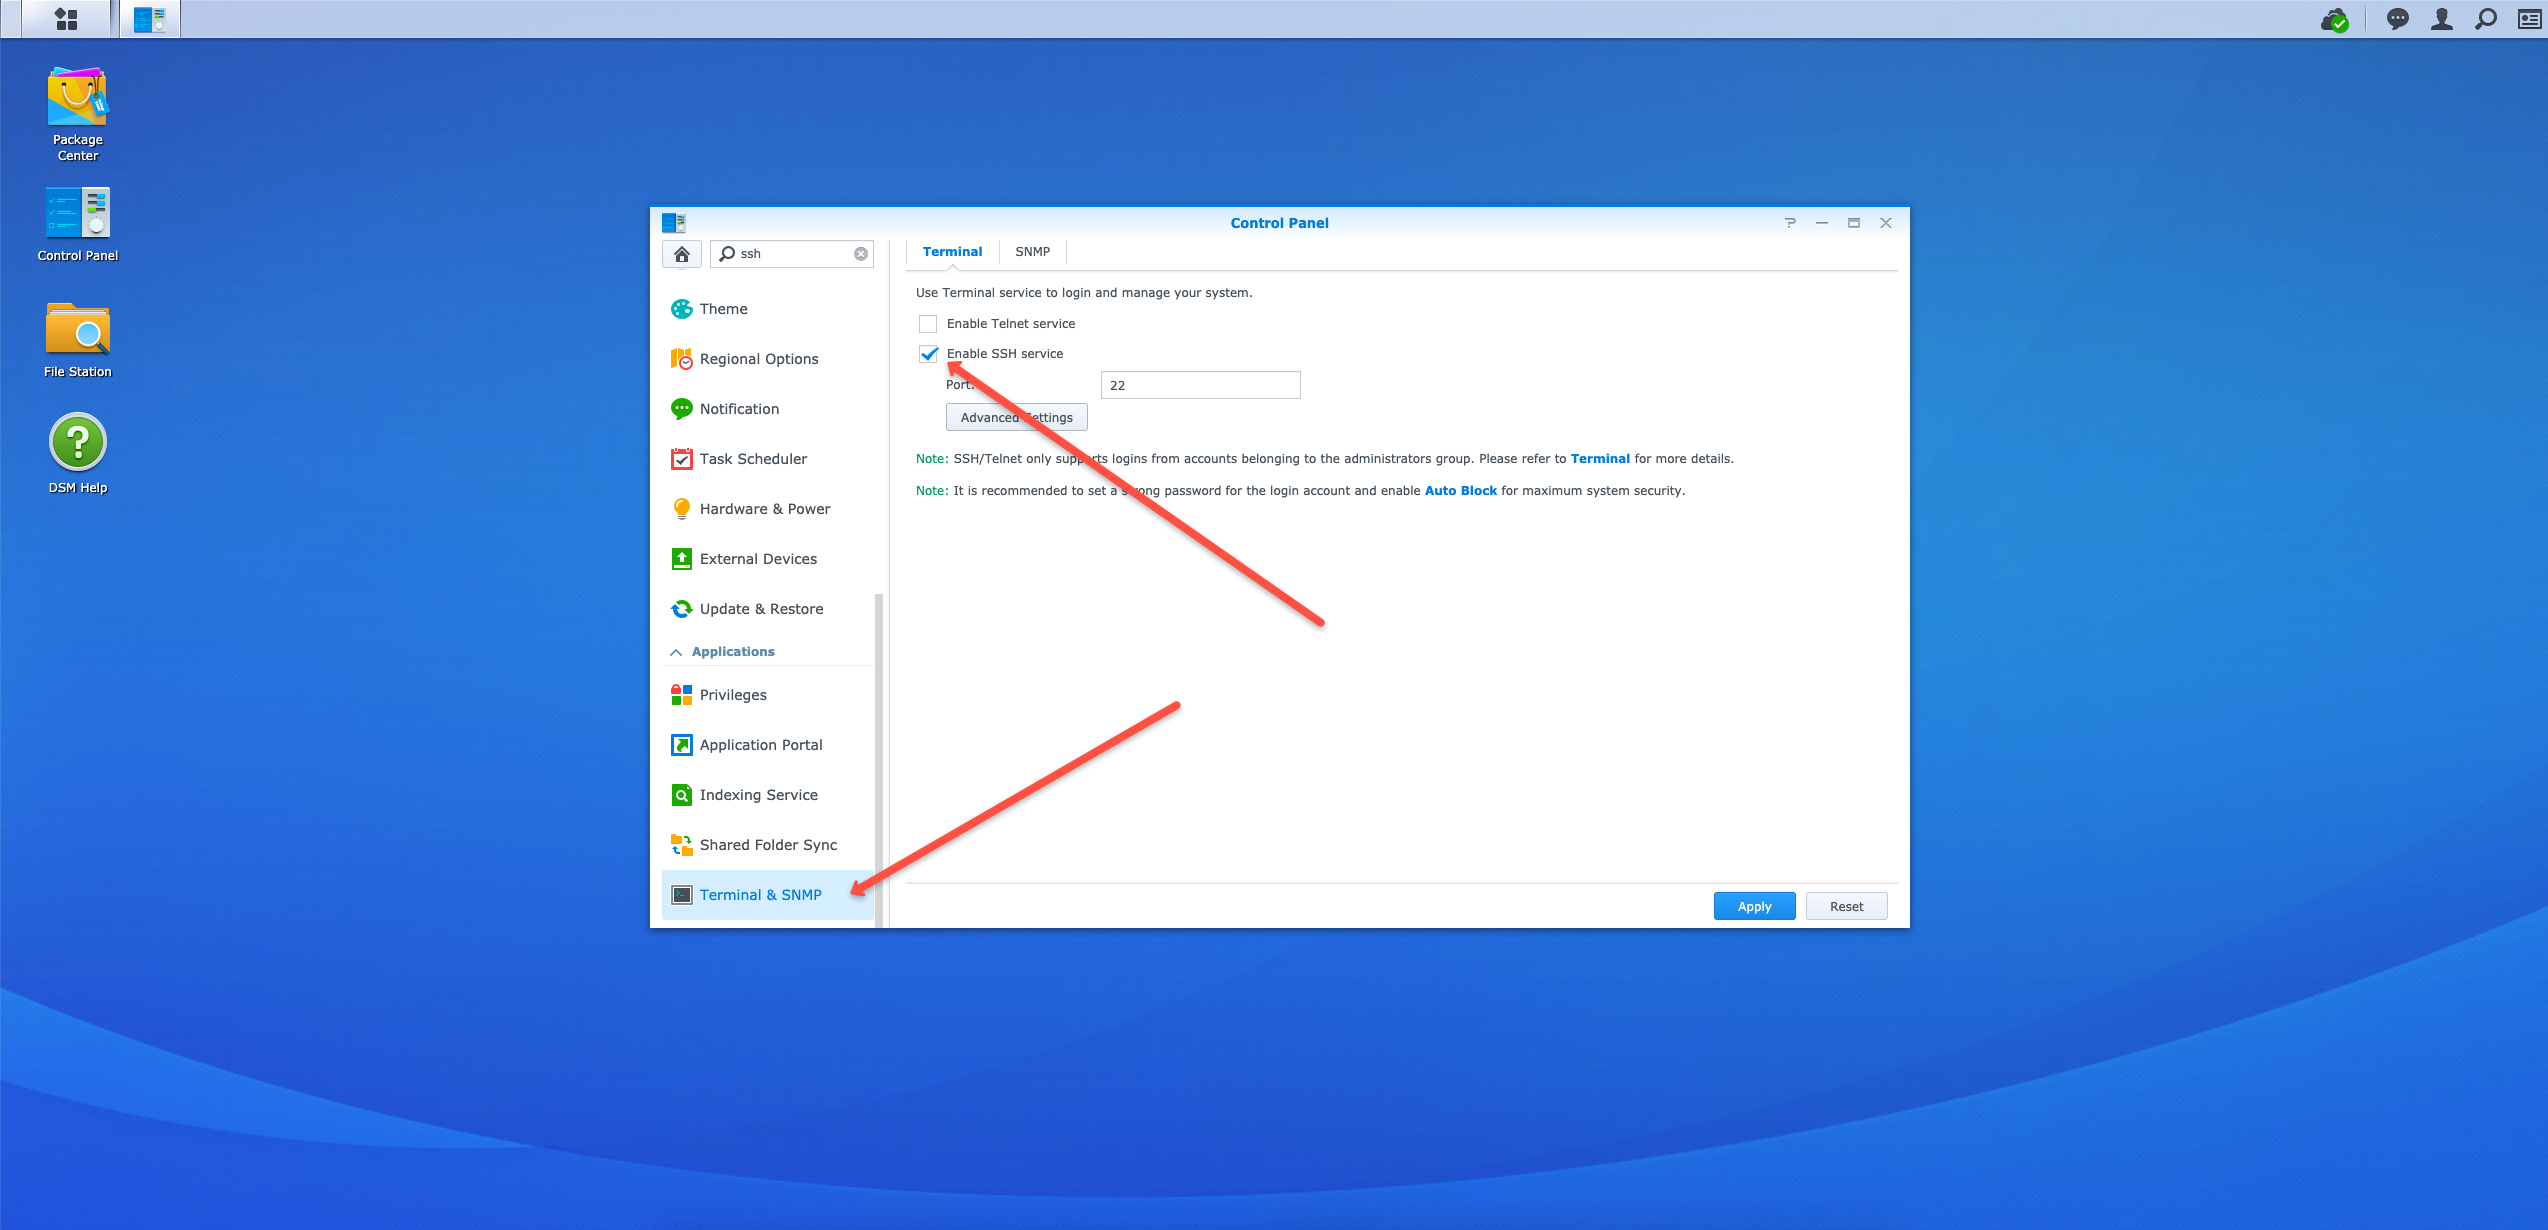
Next, you need to use the internal IP address Synology NAS server for connecting via SSH.
We go to the terminal (or any other equivalent, for example, on Windows it's PuTTY) and use the following command:
ssh user_name@IPIn my case, it looks like this
ssh admin@192.168.0.166The IP address of the Synology NAS server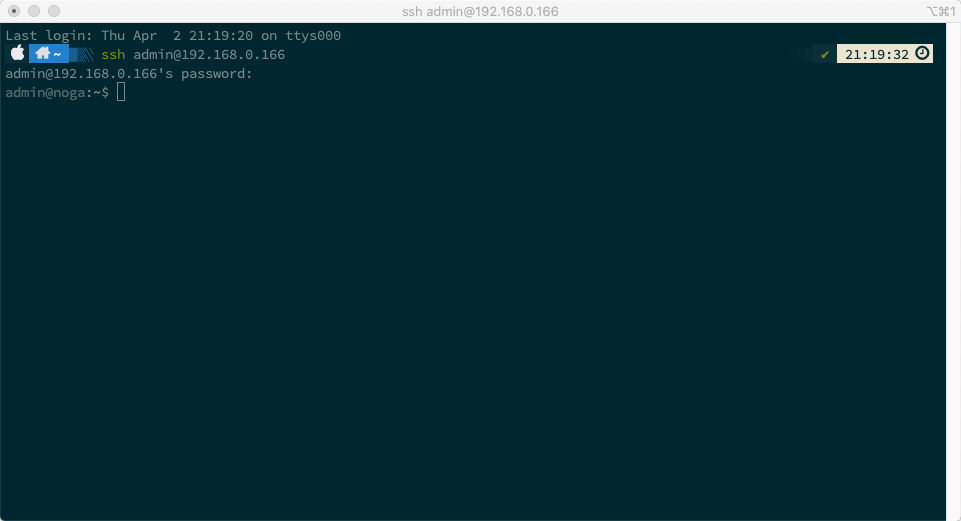
After authorization, you need to run a command to enter the container "test" (the "Container Name" field in Docker settings) as the user "root"
sudo docker exec -u 0 -it test bashConnecting to Docker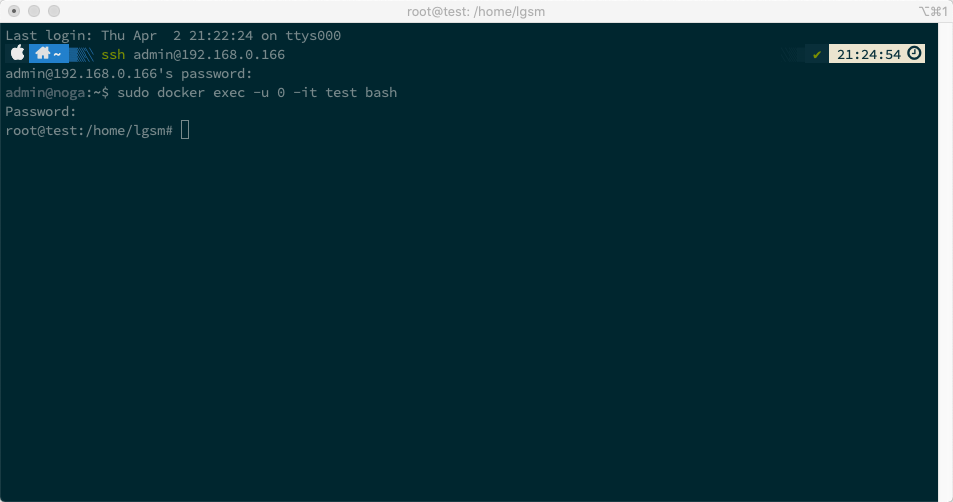
Before installing "LinuxGSM", some actions need to be taken.
Let's set a password for the user "root"
passwdNext, we will update all packages
apt update && apt upgrade && apt autoremoveWaiting for the process to finish…
Updating packages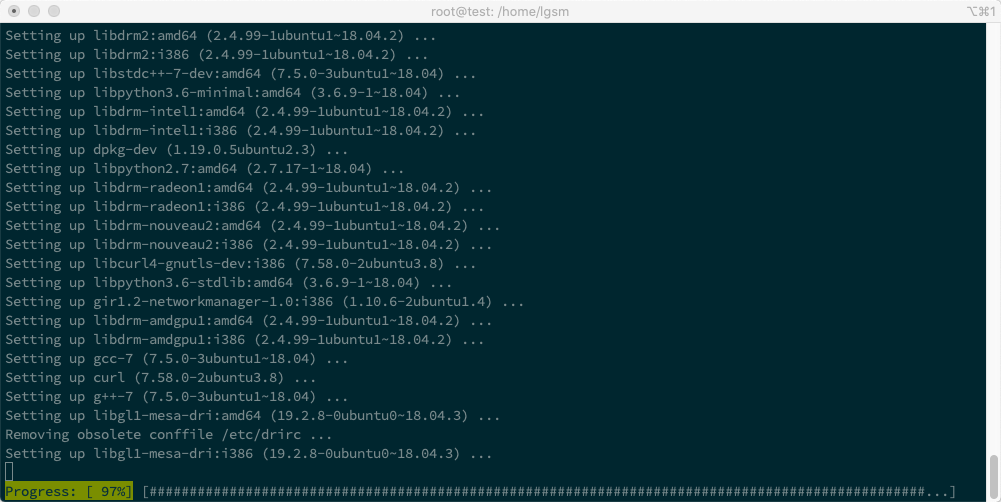
Next, we will install the necessary utilities
apt-get install sudo iproute2 netcat nano mc p7zip-rar p7zip-fullSince doing various tasks as "root" is not the best idea, let's add a new user "test".
adduser testAnd allow the new user to use "sudo"
usermod -aG sudo testSwitching to the new user "test"
su testInstalling utilities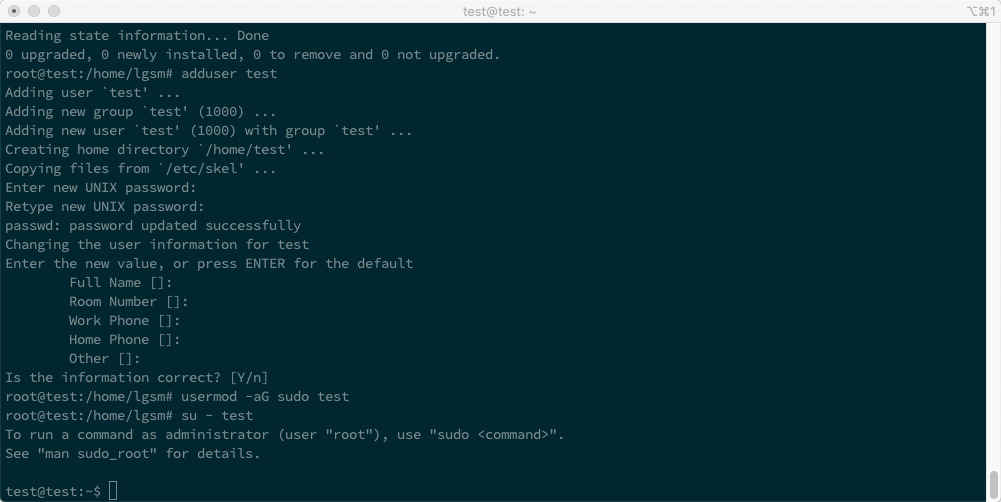
Installing and configuring LinuxGSM
Let's consider an example of setting up LinuxGSM using "Counter-Strike", also known as "CS 1.6" https://linuxgsm.com/lgsm/csserver
Go to the instructions page for "Counter-Strike" linuxgsm.com/lgsm/csserver.
In the "Dependencies" tab, copy the code under "Ubuntu 64-bit".
As of the time of writing, this code looks like this:
sudo dpkg --add-architecture i386; sudo apt update; sudo apt install mailutils postfix curl wget file tar bzip2 gzip unzip bsdmainutils python util-linux ca-certificates binutils bc jq tmux lib32gcc1 libstdc++6 lib32stdc++6 steamcmd
Installing dependencies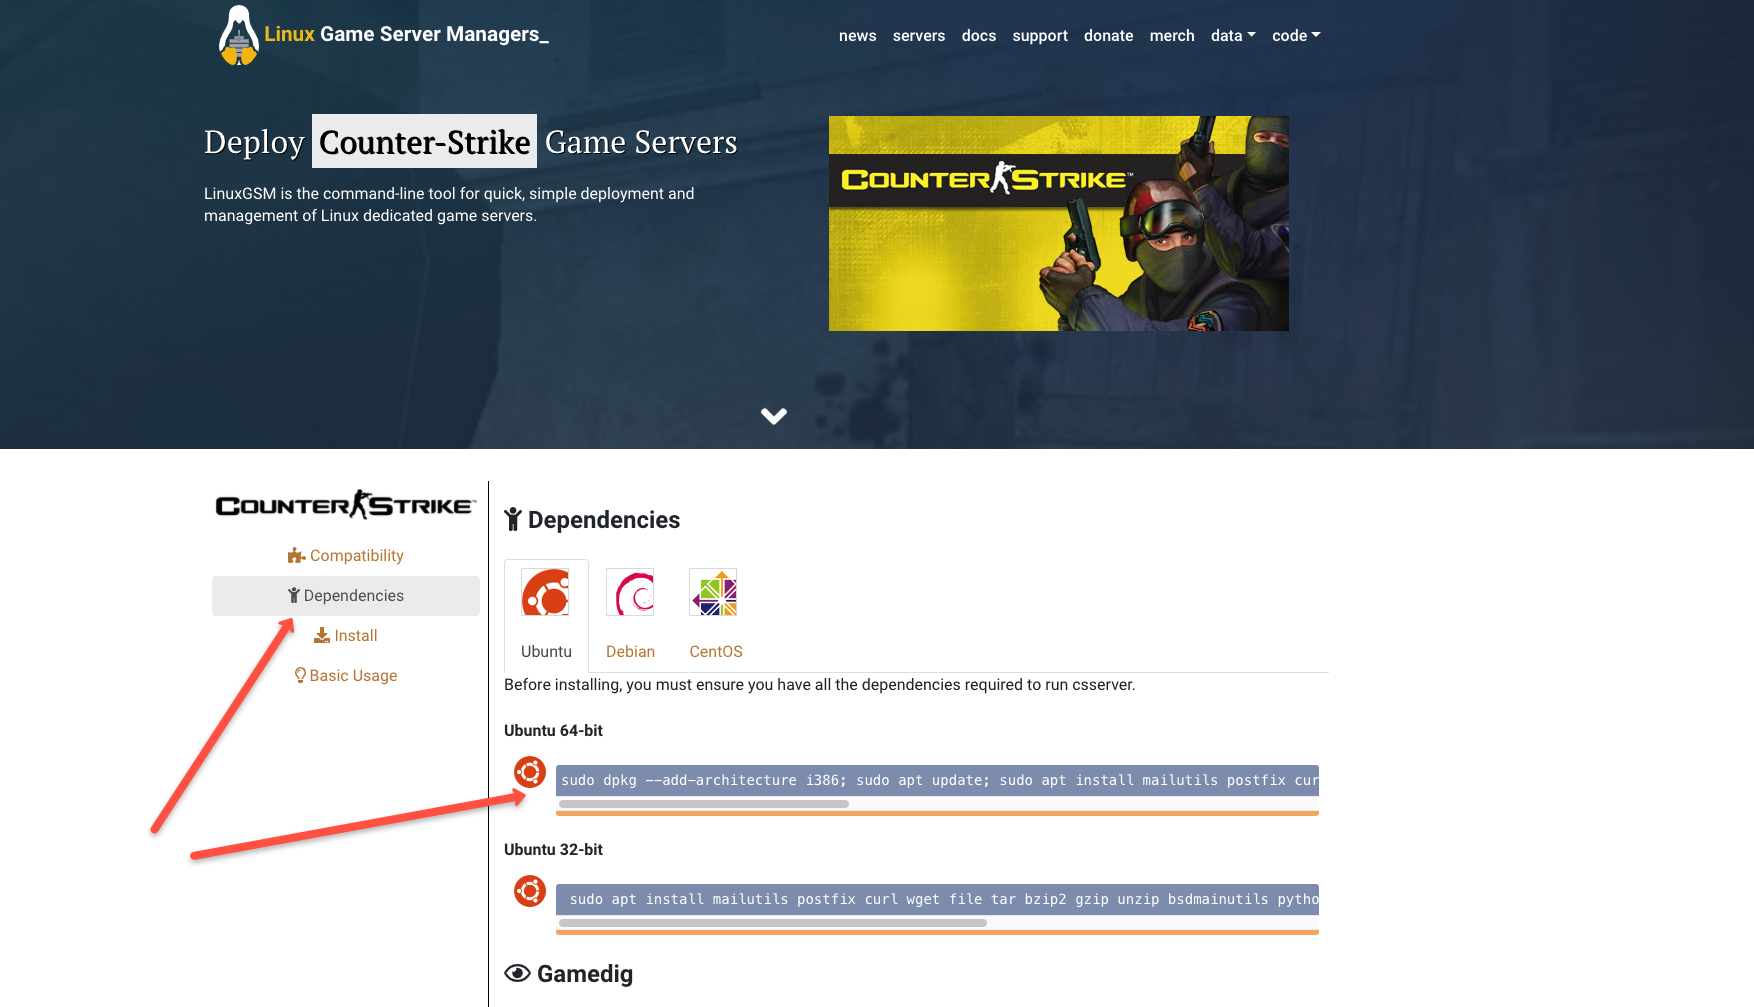
During the installation, you need to agree to the "Steam License":
Steam License
Go to the "Install" tab and copy the code from step 2 (we skip step 1, user "test" already exists):
Install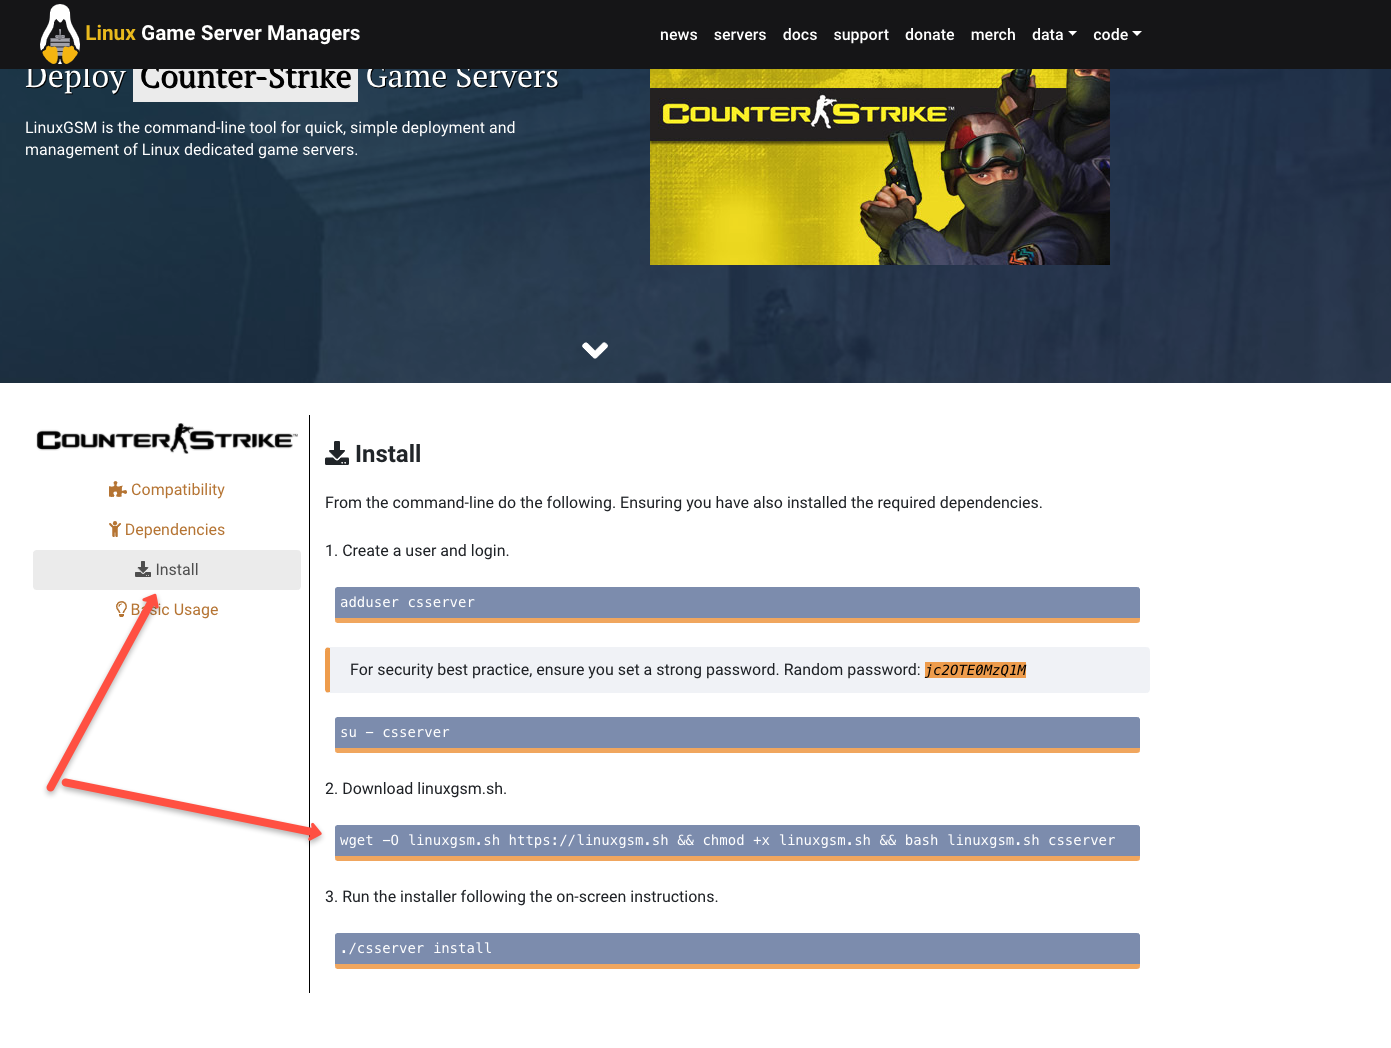
wget -O linuxgsm.sh https://linuxgsm.sh && chmod +x linuxgsm.sh && bash linuxgsm.sh csserver
Waiting for the download:
Downloading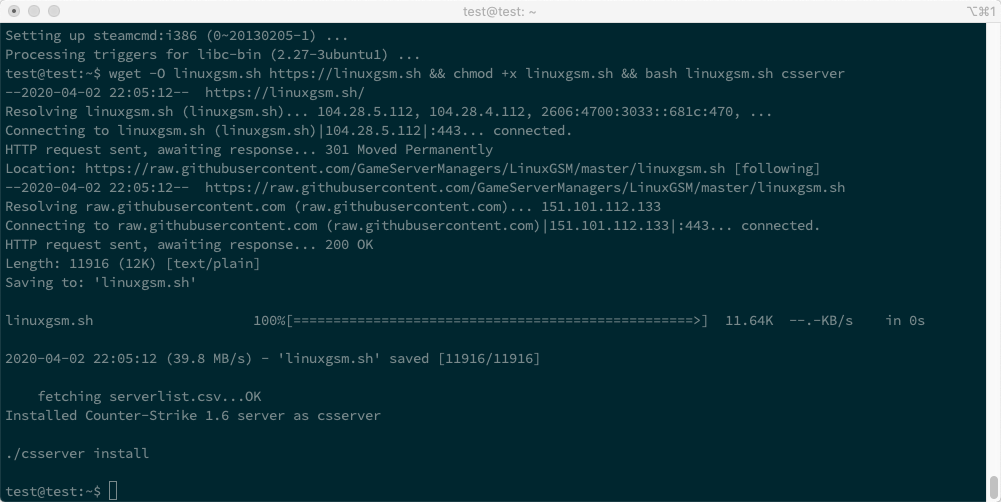
And we start the installation:
./csserver installIf everything went smoothly, we will see the cherished "Install Complete!"
Install Complete!
Starting… and we see the error "Multiple IP addresses found."
./csserver startMultiple IP addresses found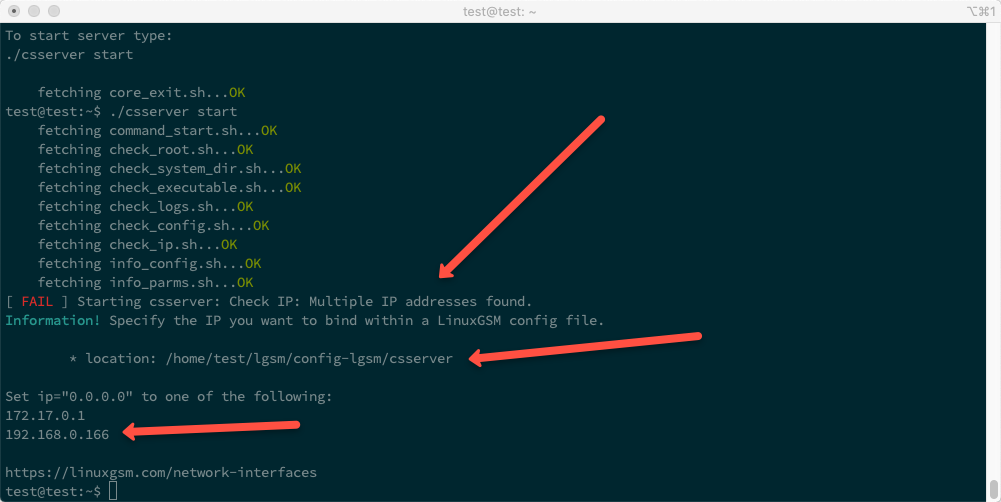
Next, we need to explicitly specify to the server which IP to use.
In my case, it is:
192.168.0.166We go to the folder whose path was in the message as "location":
cd /home/test/lgsm/config-lgsm/csserverAnd check what files are in this folder:
lsList of files in the csserver folder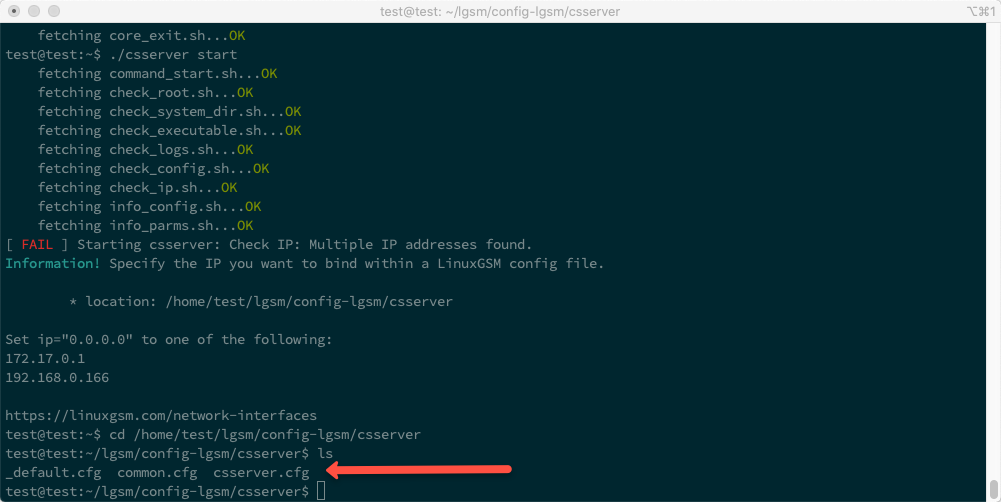
Copy the contents of the file "_default.cfg" into the file "csserver.cfg":
cat _default.cfg >> csserver.cfgAnd open the file "csserver.cfg" for editing:
nano csserver.cfgEditing the csserver.cfg file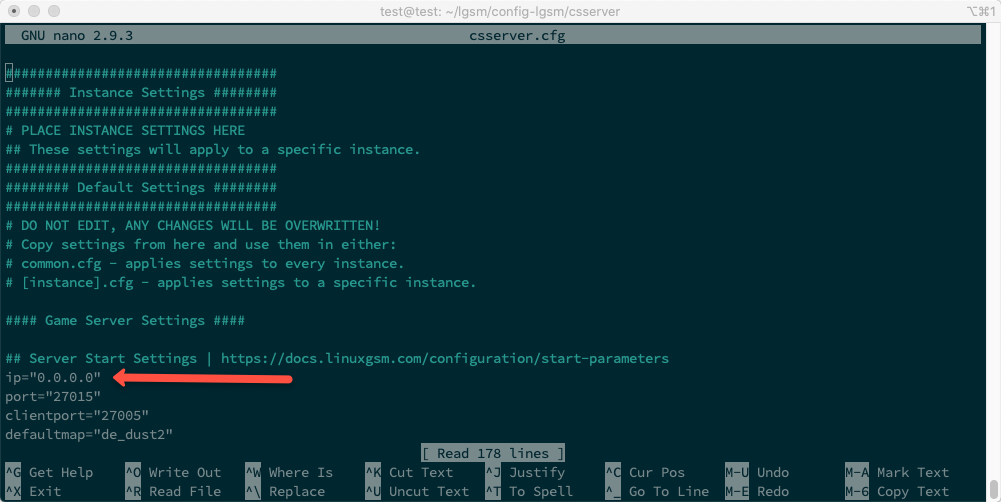
Find the line:
ip="0.0.0.0"And replace the IP address with the one suggested, in my case it's "192.168.0.166".
It will look something like this:
ip="192.168.0.166"Press the key combination:
Ctr + XAnd after the prompt to save, click:
YReturn to the user's folder "test":
cd ~And try to start the server again. Now the server should start without issues:
./csserver startServer Launch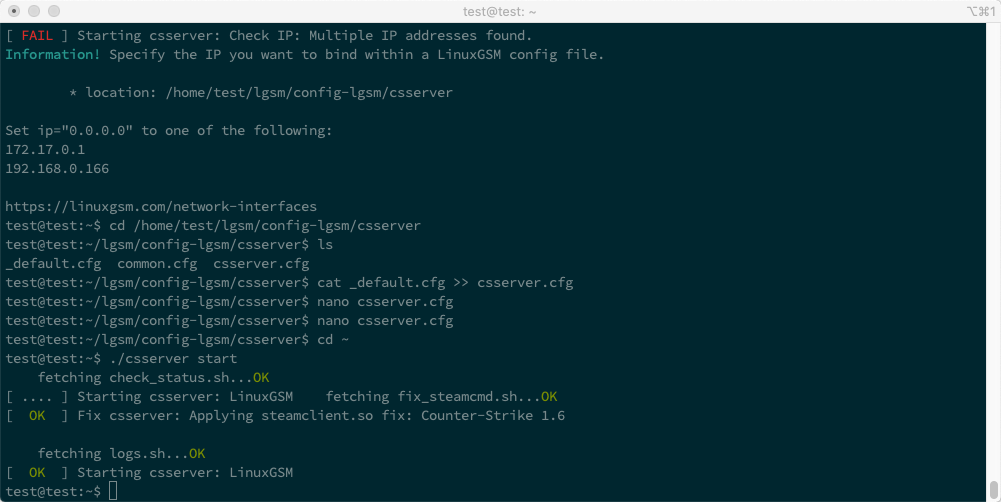
To view more detailed information, use the command:
.\/csserver detailsDetailed information about server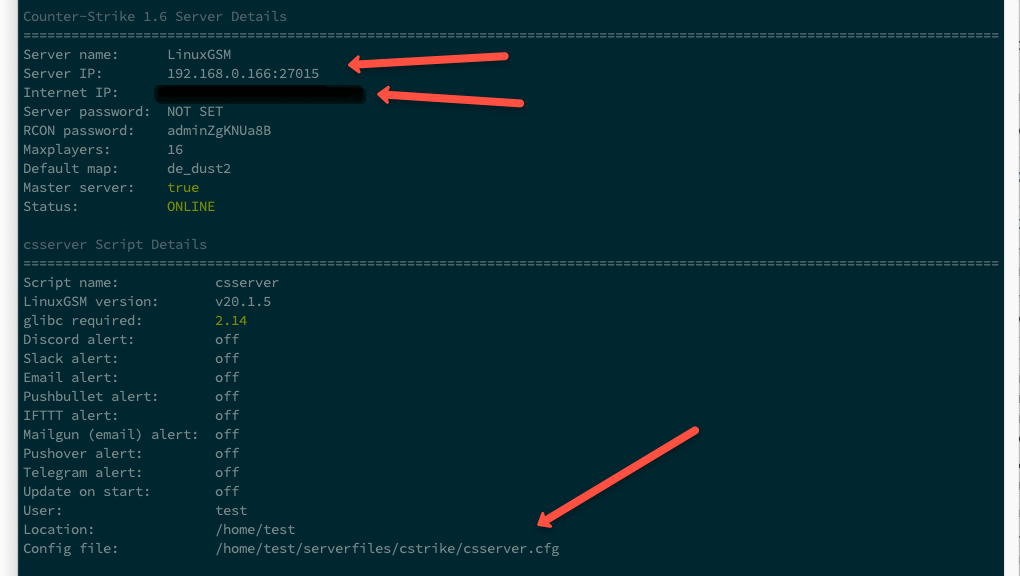
It is worth noting some important parameters:
- Server IP: 192.168.0.166:27015
- Internet IP: xxx.xx.xxx.xx:27015
- Config file: \/home\/test\/serverfiles\/cstrike\/csserver.cfg
At this stage, the game server is already available on the local network.
IP Address Forwarding Setup
Playing on a local network is good, but playing with friends online is better!
To forward the IP address received by the router from the provider, we use the NAT mechanism.
It is also worth noting that most providers use dynamic IP addresses for their clients.
For convenience and stable operation, it is advisable to obtain a static IP address.
Since I have a "TP-Link Archer C60" router, I provide an example of how to set up forwarding, as it is implemented in my router.
For other routers, I assume the forwarding setup is similar.
It's simple here — you need to specify forwarding from the external IP address to the internal server IP address for two ports:
- 27015
- 27005
In the admin panel of my router, it looks like this
Router Admin Panel
That's it, after saving the router settings, the game server will be available on the network via the external IP address for the specified ports!
Additional settings using CS 1.6 as an example
Using CS 1.6 as an example, I would like to give a few useful tips.
There are two files for server configuration
The first is located here:
~\/lgsm\/config-lgsm\/csserver\/csserver.cfgThe second is located here:
~\/serverfiles\/cstrike\/csserver.cfgThe first file contains general settings, such as the IP address, the map for the server's first load, etc.
The second file contains command settings that can be executed through the "Counter-Strike" console, for example, "rcon_password" or "sv_password".
In the second file, I recommend setting a password for connecting to the server via the CVar "sv_password" and setting a password for managing the server console itself via the CVar "rcon_password".
A list of all CVar variables can be viewed here http://txdv.github.io/cstrike-cvarlist
It is also likely that there will be a need to install additional maps, such as "fy_pool_day".
All maps for CS 1.6 are here:
~\/serverfiles\/cstrike\/mapsFind the desired map, upload it directly to the server (if it's in an archive, extract it), move the file with the extension '.bsp' to the folder with files '~\/serverfiles\/cstrike\/maps', and restart the server.
~.\/csserver restartBy the way, you can view all available server commands like this
~.\/csserver
Summary
I'm satisfied with the result. Everything works quickly and smoothly.
LinuxGSM has many additional settings, such as integration with Telegram and Slack for notifications, but some functionality still requires improvements.
Overall, I recommend using it!
file — continuous reading of events from one or more local files;
https://linuxgsm.com
https://docs.linuxgsm.com
https://digitalboxweb.wordpress.com/2019/09/02/serveur-counter-strike-go-sur-nas-synology
https://medium.com/@konpat/how-to-host-a-counter-strike-1-6-game-on-linux-full-tutorial-a25f20ff1149
http://txdv.github.io/cstrike-cvarlist
UPD
As noted by centralhardware not all Synology NAS can run Docker, here is the list of devices that can https://www.synology.com/ru-ru/dsm/packages/Docker.
Source: habr.com
