


I've never used Dr. Web. I have no idea how it works. But that didn't stop me from writing a number of automated tests for it (only my laziness prevented me from writing a hundred more):
- Dr. Web Installation Test;
- Test for restricting access to removable devices (USB flash drives);
- Test for access control to a directory between programs;
- Test for access control to a directory between system users (parental control).
Such and many other tests can be churned out like hotcakes, not just for Dr. Web and not just for antivirus software. In this article, I will explain how to do this.
Preparation
For the tests, we will need a virtual machine running Windows. I prepared it manually by performing the following actions:
- I installed Windows 10 Pro x64;
- During installation, I created the main user "testo" with the password "1111";
- I enabled auto-login for this user;
To automate the tests, I will use the Testo platform. You can read about what it is and how to use it . Right now, we need to import the ready-made virtual machine into the automated tests. It's very simple to do:

Here it's assumed that /path/to/win10.qcow2 — this is the path to the disk of the virtual machine that I prepared manually. This concludes the preparation, and the action begins.
Test #1 — Installing Dr. Web!
First, we need to address the issue of transferring the Dr. Web distribution to the virtual machine. This can be done (for example) using a USB flash drive:

All we need to do is place the Dr. Web installer in the folder ${DR_WEB_DIR} (the exact value of this parameter will be specified when launching testo). And Testo will take care of ensuring that this installer ends up on the USB flash drive.
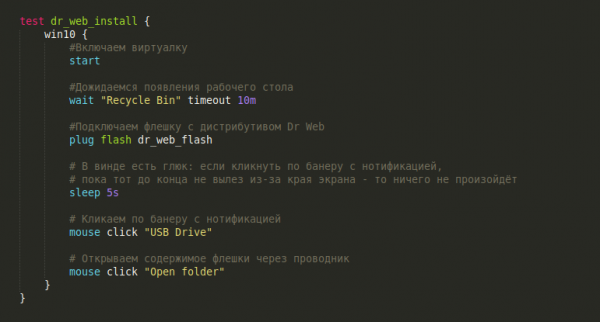
Now we can proceed to actually writing the test. For now, let's start the test with simple things: we will turn on the virtual machine (it will be off after creation), wait for the desktop to appear, connect the USB flash drive, and open its contents using Explorer:
Screenshot at the moment of scenario completion
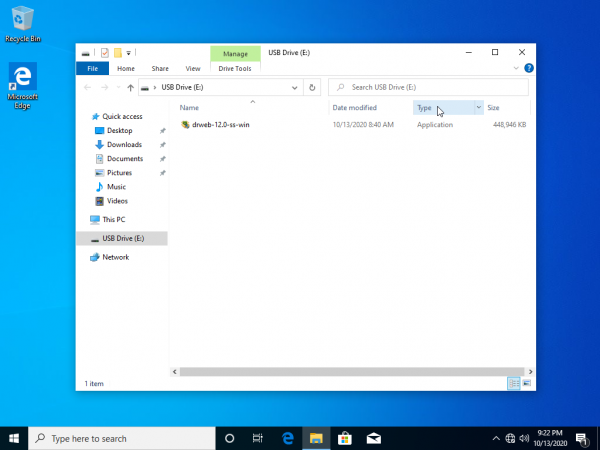
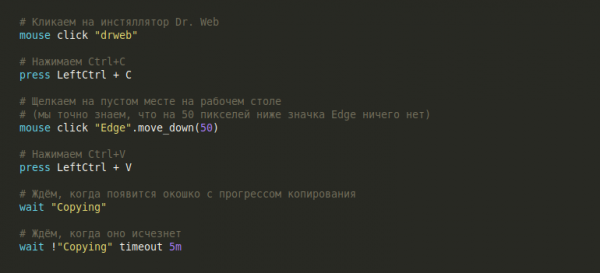
Of course, we can run the installer directly from here, from the flash drive. But we'll do it the proper way — we will copy the installer to the desktop and run the installer from there. How do we copy the file? How would a person do it?
Screenshot during the file copying process
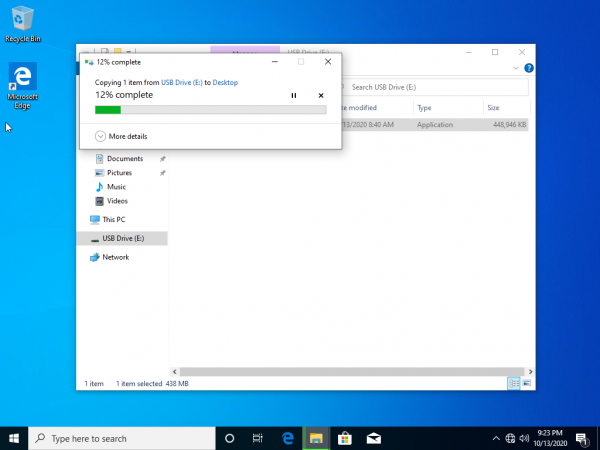
All done, the copying has been successfully completed! You can now close the window with the USB flash drive and remove it:
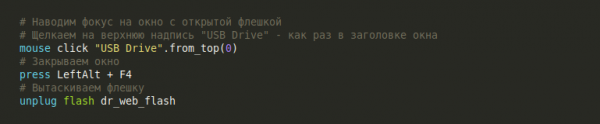
Screenshot after closing the explorer
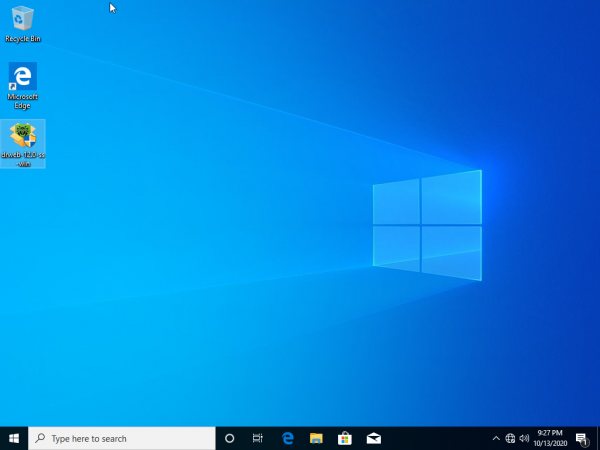
Now that the installer is on the desktop, we need to double-click on it to start the installation process. The installation itself involves simply clicking buttons and checking boxes, which is not very interesting:
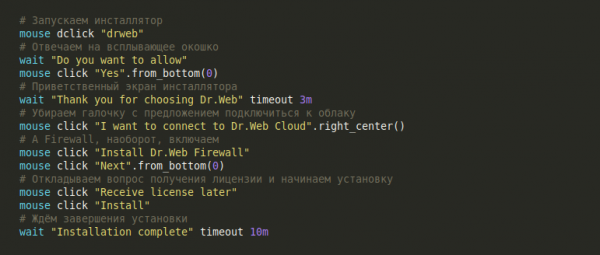
Screenshot at the end of the installation
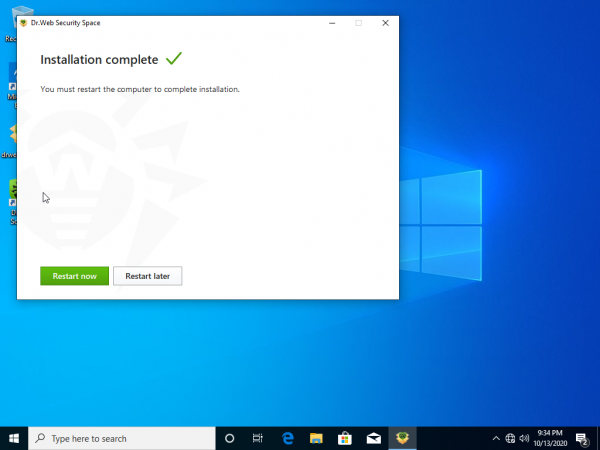
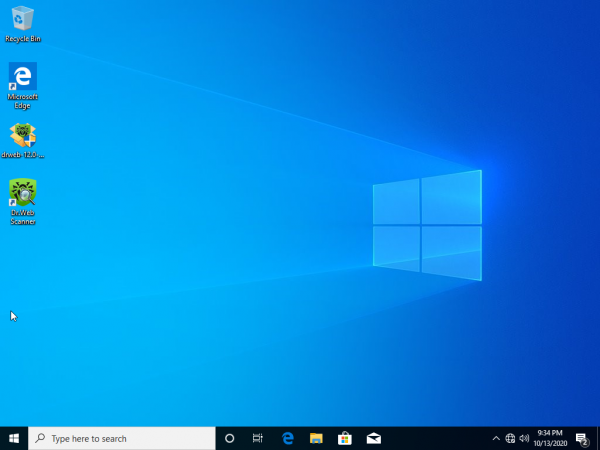
We finish our test with a reboot. And in the end, let's not forget to check that the Dr. Web icon appears on the desktop after reboot:

Screenshot after reboot
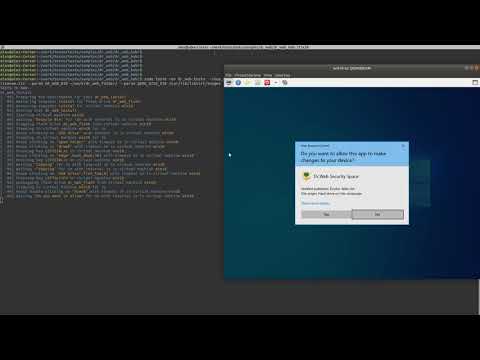
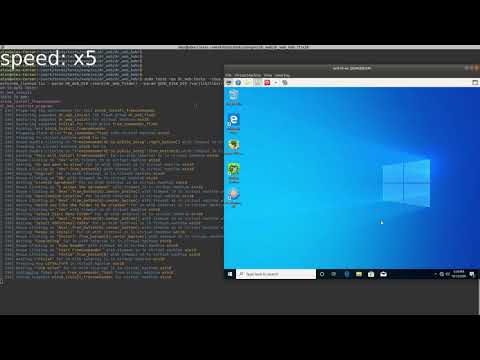
Great job! We have automated the installation of the Dr. Web antivirus! Let's take a short break and see how it looks in action:
Let's move on to feature testing.
Test No. 2 — Limiting access to USB drives
The first feature on the list is limiting access to USB drives. For this, we will plan a rather straightforward test:
- We will try to insert a USB flash drive and create an empty file on it — that should work. We'll remove the USB drive;
- We will enable the removable device blocking in Dr. Web Security Center;
- We will insert the USB drive again and try to delete the created file. The action should be blocked.
Let’s create a new USB flash drive, plug it into Windows, and try to create a folder. What could be simpler?
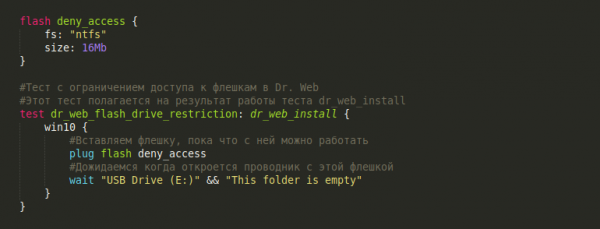
Screenshot at the moment of scenario completion
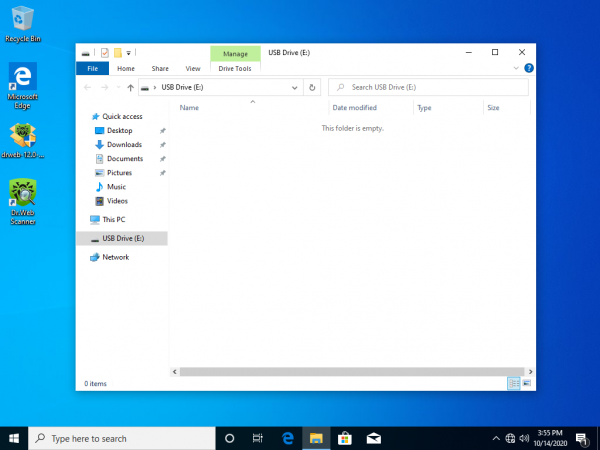
We create a new text file through the context menu of the explorer:
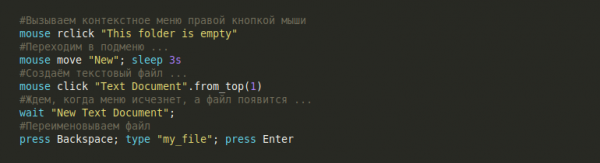
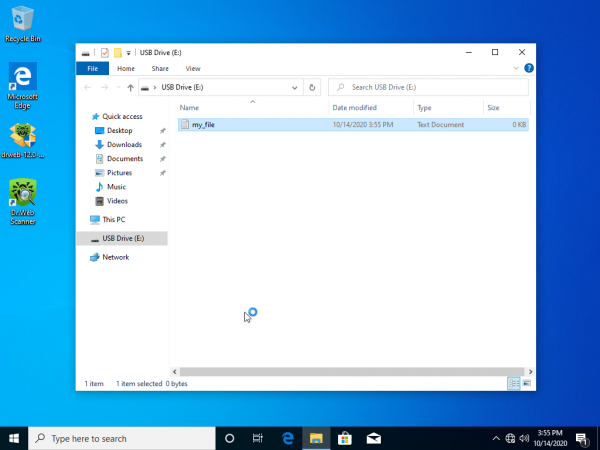
Screenshot after renaming the file
We safely disconnect the USB drive:

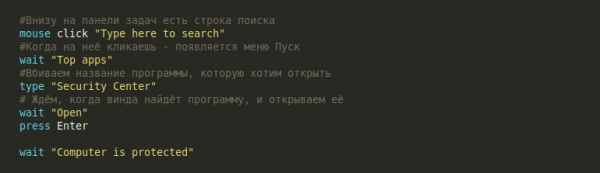
Now we have confirmed that we can work with the USB drive, so we can proceed to block it in the Dr. Web Security Center. For this, we first need to open the Security Center:
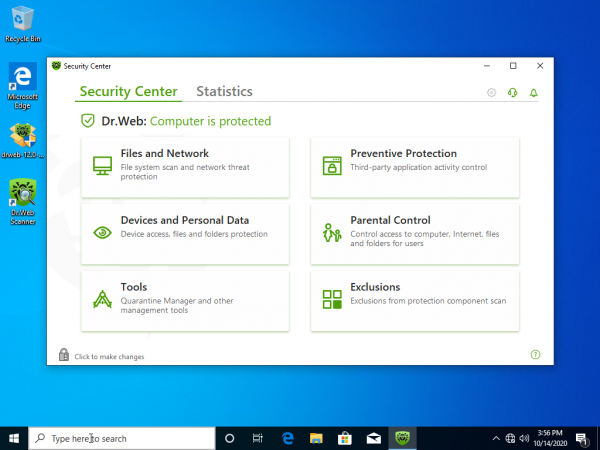
Screenshot of the Security Center window
We can notice that opening any application in Windows requires essentially the same steps (clicking on the search bar, waiting for the popular applications window to appear, typing the name of the desired application, waiting for it to show up in the list, and finally pressing Enter). Therefore, this group of actions can be highlighted in a macro open_app, where the name of the application to be opened will be passed as a parameter:
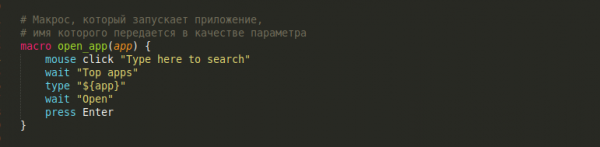
This macro will come in handy.
The first thing we will do when we open the Dr. Web Security Center is to enable the ability to make changes:

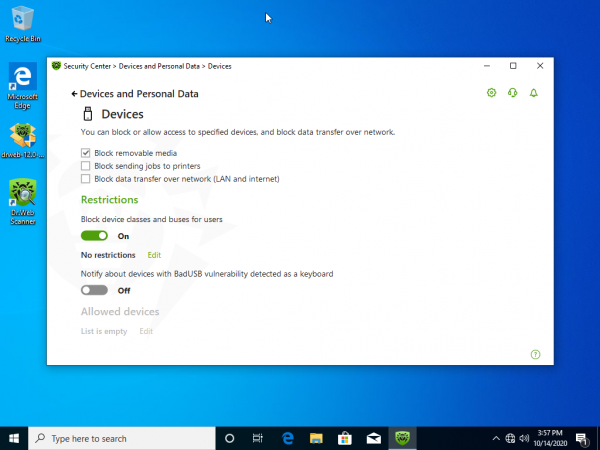
Now let's click through the menus and go to the "Configure device access rules" menu. In this menu, we will check the option "Block removable media."

Screenshot of the Devices and Personal Data window
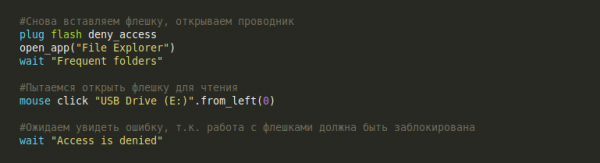
Let's try to open the flash drive now:
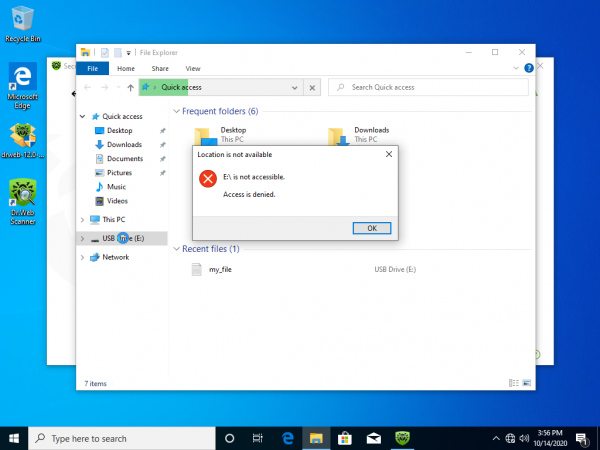
Screenshot of the error message
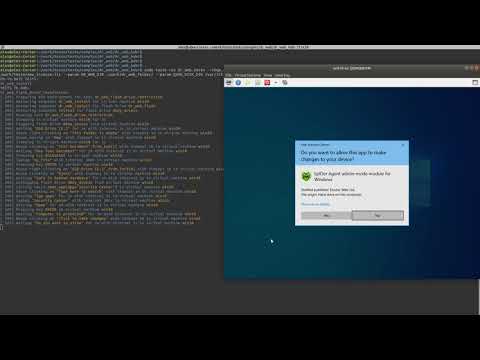
This way, little by little, we've written our first test for testing a quite tangible feature in Dr. Web. It's time to take a break and meditate while looking at the results of our efforts:
Test No. 3 — Access Restriction to Directory Between Programs
The main idea of this test case is to check how Dr. Web functions when access to a certain folder is restricted. Specifically, we need to protect the folder from any modifications, but add an exception for a third-party program. The test itself looks as follows:
- We will install a third-party program on the OS, for which we will later add an exception for access to the protected folder. Today's third-party program of the day is the file manager ;
- We create a folder with a file that we will protect at all costs;
- We will open the Dr. Web security center and enable protection for this folder;
- We will configure an exception for FreeCommander;
- Let's try to delete the file from the protected folder in the usual way (through Windows Explorer). It should not work;
- Let's try to delete the file using FreeCommander. It should work.
Phew, a lot of work. The sooner we start, the sooner we'll finish.
The first step, installing FreeCommander, is not much different from installing Dr.Web. The usual routine: we plugged in the flash drive, launched the installer, and so on. Let's skip this and go straight to the interesting part.
If you're still curious about how to install FreeCommander:
Let's start simple: we will create a flash drive where we will place the FreeCommander distribution, and then in the test, we will insert the flash drive into the OS and open it:
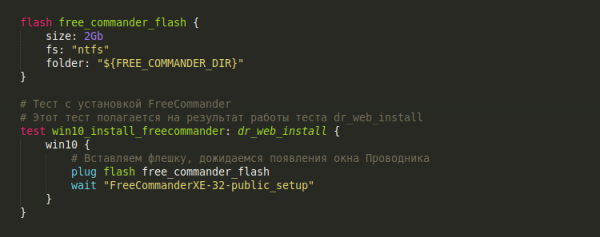
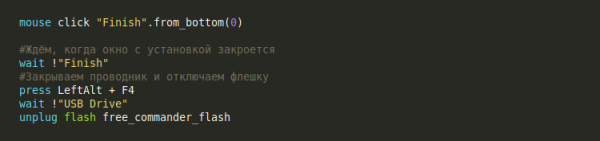
Next, a few clicks to start the installation:
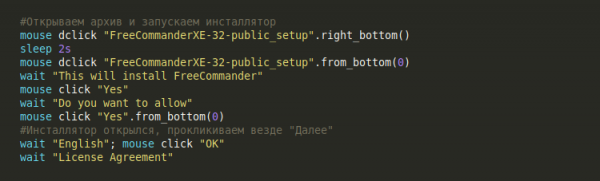
The installation is not very exciting; we just click "Next" everywhere, and at the end, don't forget to uncheck the options for viewing ReadMe and immediately launching FreeCommander.
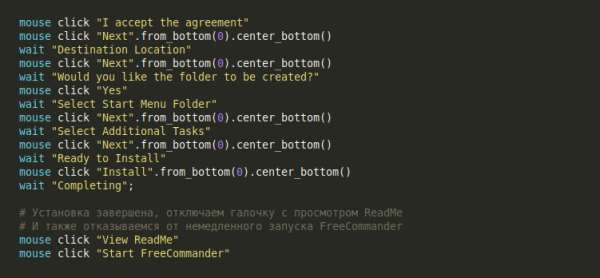
We end the test by closing all windows and removing the flash drive.
Done!
To work with Dr. Web, let's create a new test dr_web_restrict_program, which will rely on the results of the previous test. win10_install_freecommander.
Let's start the test by creating a folder named Protected on the desktop:
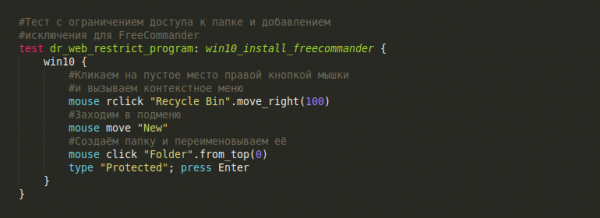
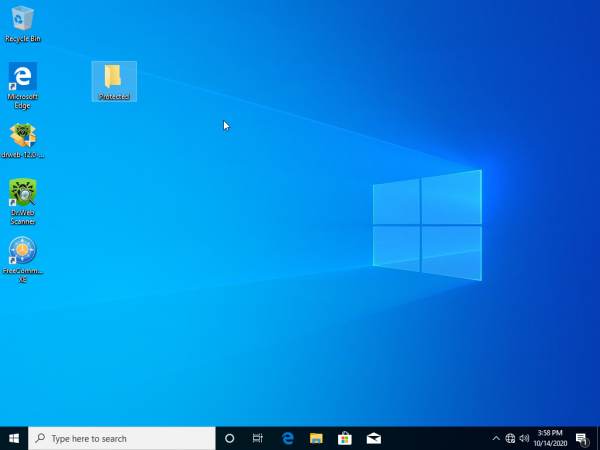
Screenshot after creating the folder
We enter the Protected folder and create a file there: my_file.txt, which will act as the protected file:
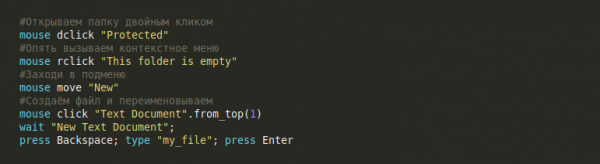
Oh, it would have been good to format this as a macro, but whatever ...
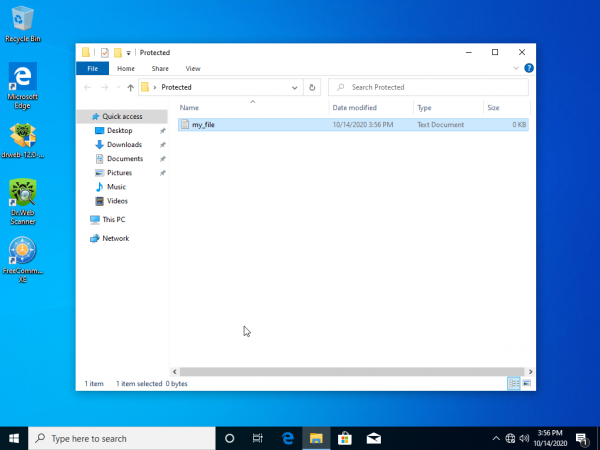
Screenshot after creating the file
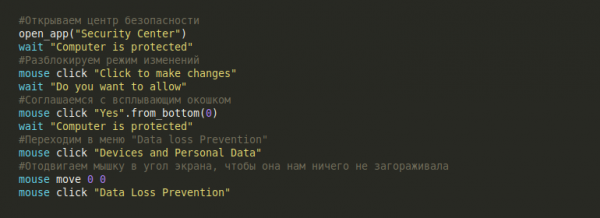
Great, now we need to enable folder protection. Let’s go down the familiar path and open Dr. Web, making sure to activate the change mode. Then we go to the "Data Loss Prevention" menu.
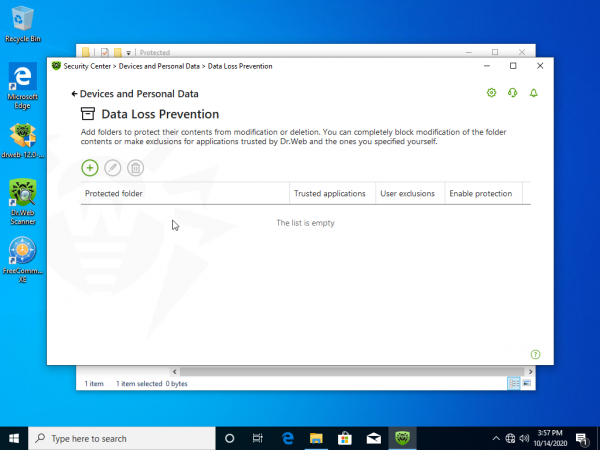
Screenshot of the Data Loss Prevention window
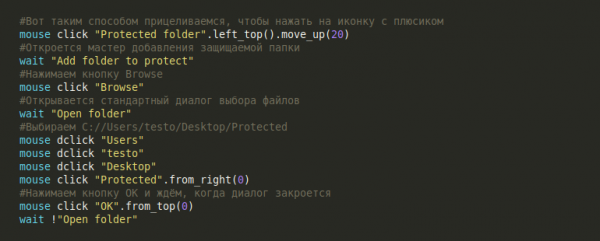
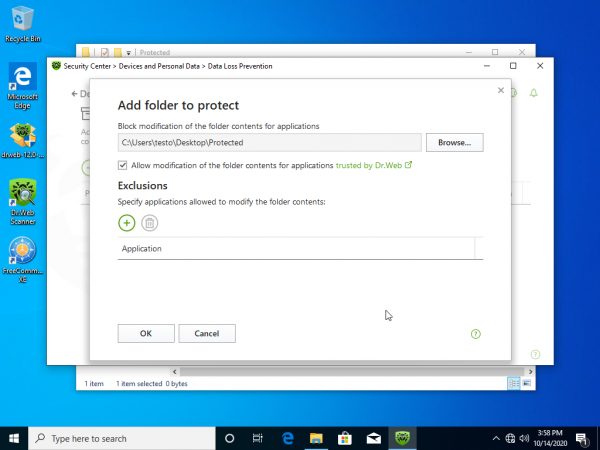
Let’s work a bit with the mouse and add our folder Protected to the list of protected ones:
Screenshot with the wizard for adding a protected folder
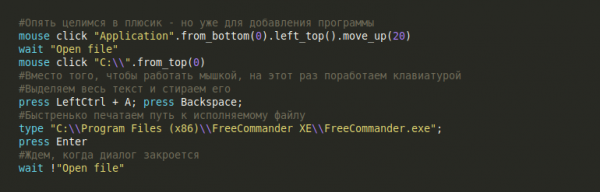
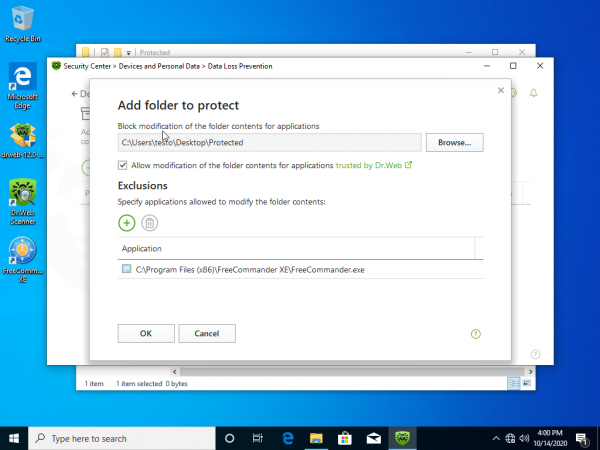
Now we need to set up an access exception for FreeCommander. A bit more work with the mouse:
Screenshot with the added exception program
Now let’s carefully close all windows and try to delete the file "my_file.txt" in the usual way:
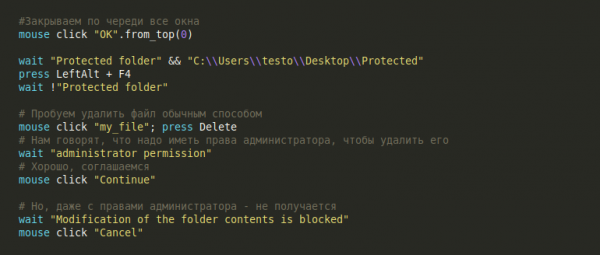
Screenshot with the message from Dr.Web
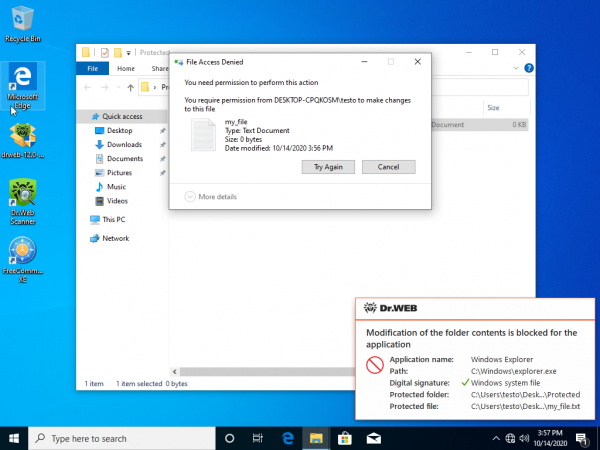
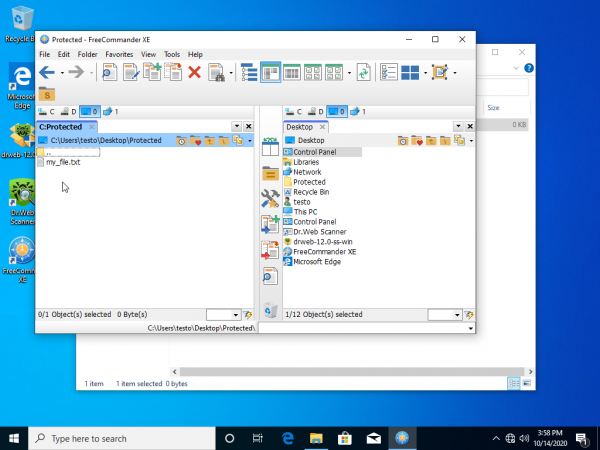
But it didn’t work — it means Dr. Web actually did its job! Half of the test is done, but we still need to check if the exception for FreeCommander will work. To do this, we open FreeCommander and go to the Protected folder:
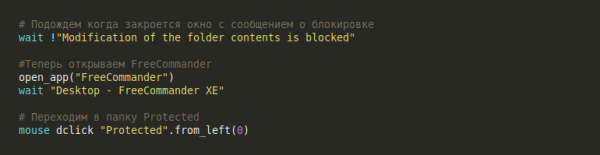
Screenshot with the FreeCommander window
Now let’s try to delete the file my_file.txt:
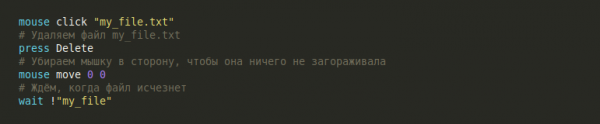
Screenshot after deleting the file
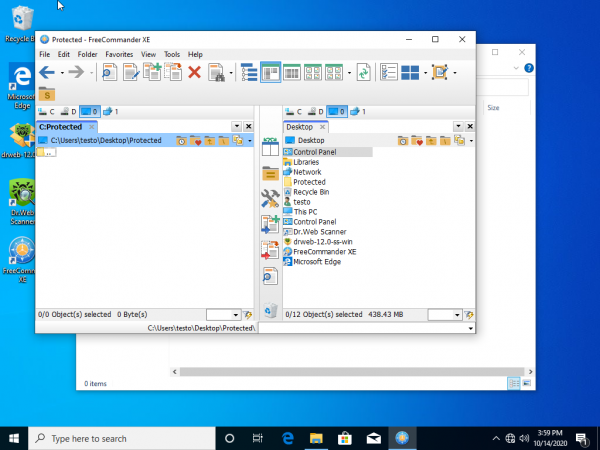
The exception for FreeCommander works!
Great job! A big and complex test case — and everything is automated. A bit of relaxation:
Test №4 — Parental Control
We will build the last test case of the day as follows:
- Create a new user MySuperUser;
- Log in as this user;
- Create a file
my_file.txton behalf of the new user; - Open the Dr. Web security center and enable parental control for this file;
- In parental control, limit the permissions of the user MySuperUser for the file he created;
- Try to read and delete the file
my_file.txton behalf of MySuperUser and see the result.
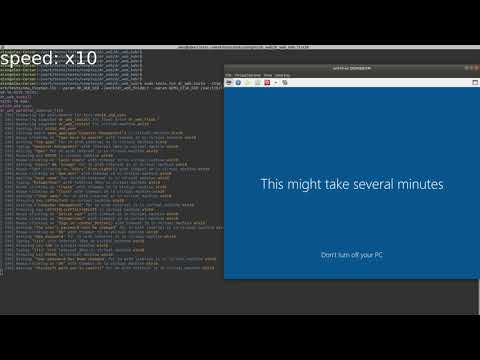
I won't provide the test scenario here. It follows the same principle as the previous tests: actively working with the mouse and keyboard. Meanwhile, we don't care what we are automating — whether it's Dr.Web or creating a new user in Windows. But let’s see what such a test run will look like:
Conclusion
→ You can view the sources of all tests
Moreover, you can run all these tests on your machine. For that, you will need the Testo test scenario interpreter. You can download it. .
Dr. Web turned out to be a decent training experience, but I would like to draw inspiration for future endeavors from your wishes. Please write your suggestions in the comments on what automated tests you would like to see in the future. In the next article, I will try to automate them, and we'll see how it goes.
Source: habr.com
