

Hello Habr.
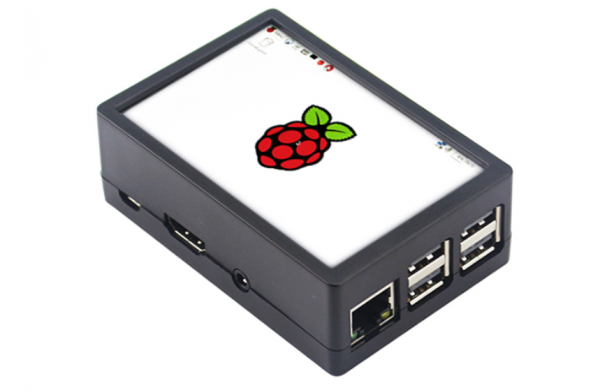
Almost everyone probably has a Raspberry Pi at home, and I dare say that for many it might be lying unused. However, Raspberry Pi is not just a valuable device; it's also a quite powerful fanless computer with Linux. Today, we will explore useful capabilities of Raspberry Pi that require no coding at all.
For those interested, details are below. This article is aimed at beginners.
Note: the article is intended for beginners but with at least a basic understanding of what an IP address is, how to access Raspberry Pi via SSH using PuTTY or any other terminal, and how to edit files with the nano editor. This time, as an experiment, I won't overload readers with Python code; there won’t be any programming. For everything written below, just the command line will suffice. I will gauge how in-demand this format is based on reader feedback.
Of course, I won’t be discussing the completely obvious things like FTP server or network shares. Below, I've tried to highlight something a bit more useful and original.
Before we install anything, an important tip: having the correct power supply (preferably a branded one at 2.5A, not a no-name charger from a phone) and a heatsink for the processor are crucial for the stable operation of Raspberry Pi. Without this, the Raspberry may freeze, and errors may occur when copying files, etc. The insidiousness of such errors is that they manifest only occasionally, such as during peak CPU load or when writing large files to the SD card.
Before installing any components, it is advisable to update the system; otherwise, old addresses for the apt command may not work:
sudo apt-get updateNow we can proceed to the installation and configuration.
1. WiFi Access Point
Raspberry Pi can be easily turned into a wireless access point, and you won’t need to buy anything; the WiFi is already built-in. To do this, you need to install 2 components: hostapd (Host access point daemon, access point service) and dnsmasq (DNS/DHCP server).
Install dnsmasq and hostapd:
sudo apt-get install dnsmasq hostapdAssign a static IP address that Raspberry Pi will have in the WiFi network. To do this, you need to edit the file dhcpcd.conf by entering the command sudo nano /etc/dhcpcd.conf. You need to add the following lines to the file:
interface wlan0
  static ip_address=198.51.100.100/24
  nohook wpa_supplicant
As you can see, in the WiFi network, our Raspberry Pi will have the address 198.51.100.100 (it's important to remember this if a server is running on it, which needs to be entered in the browser).
Next, we need to activate IP forwarding, for which we execute the command sudo nano /etc/sysctl.conf and uncomment the line net.ipv4.ip_forward=1.
Now we need to set up the DHCP server — it will distribute IP addresses to connected devices. We enter the command sudo nano /etc/dnsmasq.conf and add the following lines:
interface=wlan0
dhcp-range=198.51.100.1,198.51.100.99,255.255.255.0,24h
As we can see, connected devices will have IP addresses in the range 198.51.100.1… 198.51.100.99.
Finally, it's time to set up Wi-Fi. We edit the file /etc/default/hostapd and enter the line DAEMON_CONF="/etc/hostapd/hostapd.conf". Now let's edit the hostapd.conf file by entering the command sudo nano /etc/hostapd/hostapd.conf.
We enter the access point parameters:
interface=wlan0
driver=nl80211
ssid=Raspberry Pi
hw_mode=g
channel=7
wmm_enabled=0
macaddr_acl=0
auth_algs=1
ignore_broadcast_ssid=0
wpa=2
wpa_passphrase=12345678
wpa_key_mgmt=WPA-PSK
wpa_pairwise=TKIP
rsn_pairwise=CCMP
Here, it is important to pay attention to the parameters "ssid" (access point name), "wpa_passphrase" (password), "channel" (channel number), and "hw_mode" (operating mode, a = IEEE 802.11a, 5 GHz, b = IEEE 802.11b, 2.4 GHz, g = IEEE 802.11g, 2.4 GHz). Unfortunately, there is no automatic channel selection, so the least congested WiFi channel must be chosen manually.
Important: in this test example, the password 12345678 is specified; in a real access point, something more complex should be used. There are programs that perform dictionary password attacks, and an access point with a simple password can be compromised. Sharing internet access with outsiders may also have legal consequences.
Everything is ready; we can activate all services.
sudo systemctl unmask hostapd
sudo systemctl enable hostapd
sudo systemctl start hostapd
sudo systemctl reload dnsmasq
Now we should already see the new WiFi access point in the list of networks. However, to have internet access, we need to enable packet forwarding from Ethernet to WLAN, for which we enter the command sudo nano /etc/rc.local and add the iptables configuration line:
sudo iptables -t nat -A POSTROUTING -o eth0 -j MASQUERADE
That's it. Restart the Raspberry Pi, and if everything was done correctly, we should see the access point and be able to connect to it.
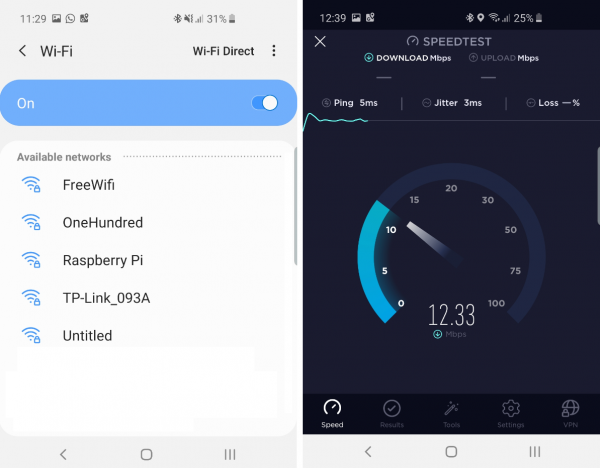
As you can see, the speed is not too bad, and using such WiFi is quite feasible.
By the way, a small tip: you can change the network name of the Raspberry Pi by executing the command sudo raspi-configBy default, it is set to (surprise:) raspberrypi. This is probably common knowledge. However, not everyone knows that this name is also available on the local network, but you need to add '.local'. For instance, you can access the Raspberry Pi via SSH by entering the command putty pi@raspberrypi.local. However, there is one nuance: this works on Windows and Linux, but does not work on Android — you will still have to enter the IP address manually.
2. Media Server
There are a thousand and one ways to create a media server on Raspberry Pi; I will only cover the simplest one. Suppose we have a favorite collection of MP3 files, and we want it to be accessible on the local network for all media devices. We will install the MiniDLNA server on the Raspberry Pi, which can do this for us.
To install it, enter the command sudo apt-get install minidlna. After that, you need to configure the file by entering the command sudo nano /etc/minidlna.conf. There, you need to add just one line indicating the path to our files: media_dir=/home/pi/MP3 (the path can, of course, be different). After closing the file, we restart the service:
sudo systemctl restart minidlna
If we did everything correctly, we will have a ready media server on the local network, from which you can play music through a desktop WiFi radio or via VLC Player on Android:

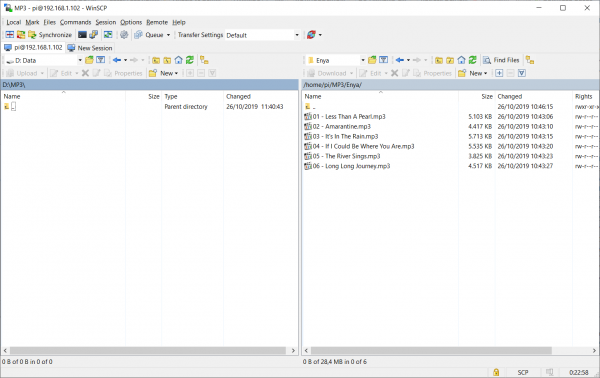
Advice: it is very convenient to upload files to Raspberry Pi using WinSCP — this program allows you to work with RPi folders as easily as with local ones.
3. SDR Receiver
If we have an RTL-SDR or SDRPlay receiver, we can use it on the Raspberry Pi with the GQRX or CubicSDR program. This will provide an autonomous and silent SDR receiver that can work around the clock.
I apologize for the quality of the screenshot from the television screen:
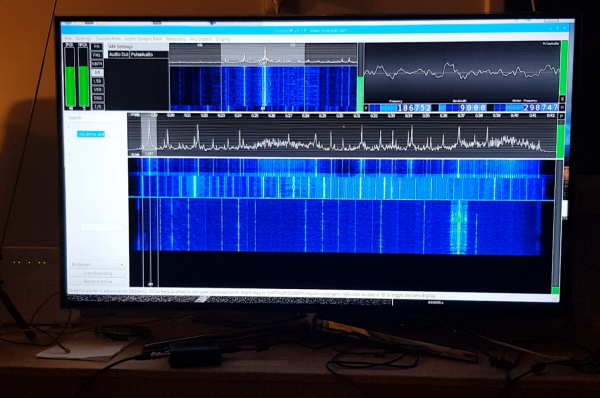
With RTL-SDR or SDRPlay, it is possible to receive various radio signals with a frequency of up to 1 GHz (even a bit higher). For example, you can listen to not only regular FM radio but also the communications of pilots or other services. By the way, radio amateurs can use Raspberry Pi to receive, decode, and send WSPR and other digital mode signals to the server. .
A detailed discussion of SDR radio goes beyond the scope of this article; you can read more about it .
4. Smart Home Server
For those who want to make their home smarter, you can use the free OpenHAB program.
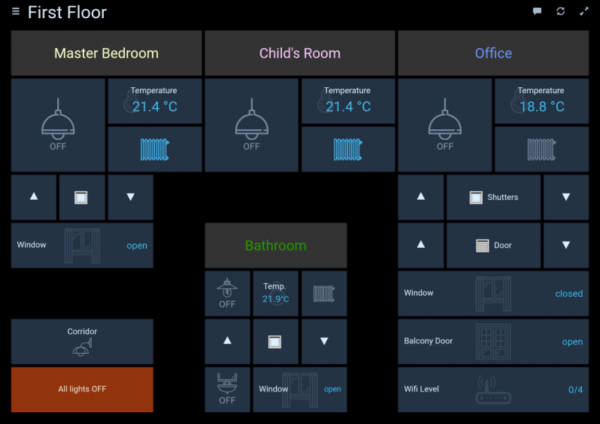
This is not just a program, but a whole framework with various plugins and scripts that allow you to manage different devices (Z-Wave, Philips Hue, etc.). Interested individuals can explore the details on the official site. .
By the way, since we're on the topic of 'smart homes', an MQTT server can run quite well on a Raspberry Pi, which can be used by various local devices.
5. Client for FlightRadar24
If you are an aviation enthusiast living in a region where FlightRadar coverage is lacking, you can help the community and all travelers by setting up a receiver at your place. All you need is an RTL-SDR receiver and a Raspberry Pi. As a bonus, you will get free access to a Pro account on FlightRadar24.
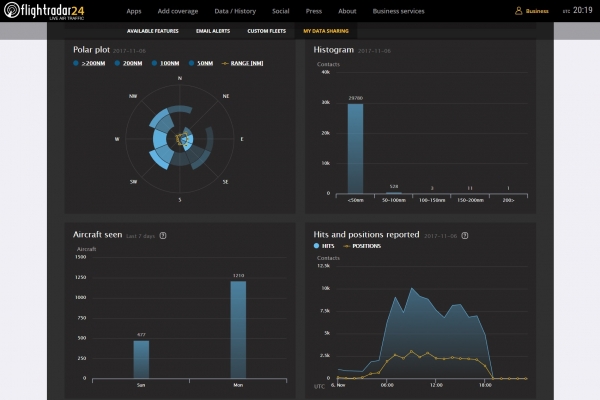
Detailed instructions on Habr.
Conclusion
Of course, this is far from an exhaustive list. The Raspberry Pi boasts decent computational power and can be used for a wide range of tasks, from a retro gaming console or video surveillance to license plate recognition or even as a service for astronomical all-sky cameras. By the way, the content applies not only to the Raspberry Pi but also to various 'clones' (Asus Tinkerboard, Nano Pi, etc.), and all programs will likely work there as well.
If there's interest from the audience (which will be gauged by the article ratings), the topic could be continued.
And as usual, wishing everyone successful experiments.
What is the validator game or 'how to launch a proof-of-stake blockchain'
Source: habr.com
