

When I was young, I always wanted to have Lego techies to build cool stuff with. Autonomous tanks with spinning turrets that fire Lego bricks. But then I didn’t have such a set.
And there weren’t even regular Lego bricks. I only had a friend whose brother had all these expensive toys.
And now I have a son of that age. And he builds tanks that ... stupidly forward until they crash into the wall 🙂
And now, it's time for the ESP32 and the magic of the soldering iron - let's assemble the right remote control for them!
No, of course I know about the existence of such remotes. But none of them suit me perfectly. They are either infrared, with 80s technology, or too large. Or expensive ones. And most importantly, I won’t be able to tell my son about any of them: “I did it especially for you!”
So let's make a new, improved remote control to rule everyone!
Ingredients:
- ESP32-WROOM-32D | WiFi, BLE and processor with I/O - enough to control two и .
- DRV8833 | double H-bridge with enough power for the motors.
- TPS62162 | step down voltage to 17V, also for fun when soldering the WSON-8 2x2mm case
- CP2104 | for ESP32 programming
- for connecting motors and diodes. Cut the wires and solder them on the bottom, and glue the Lego connector on top.
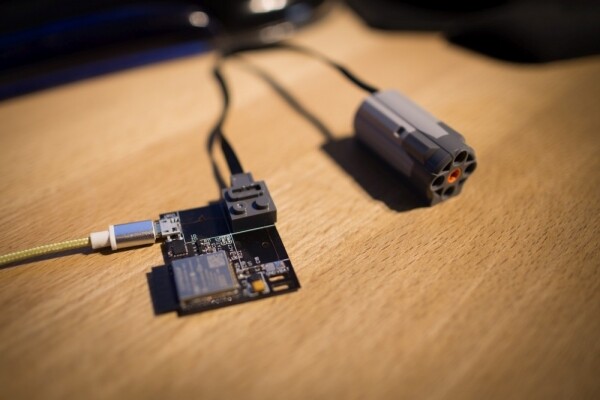
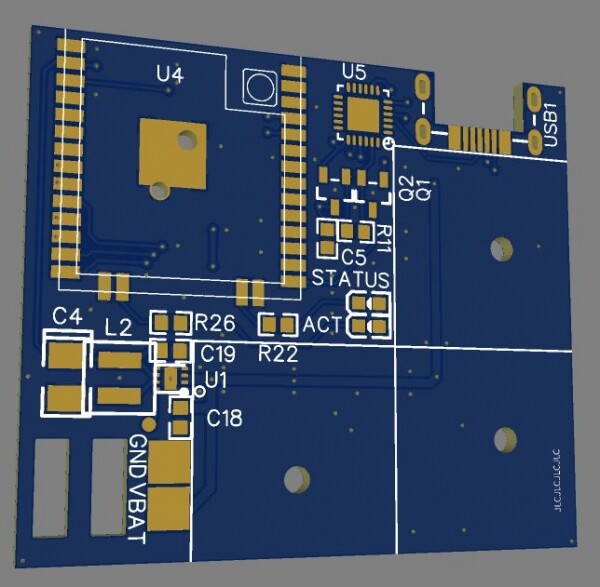
All this will be placed on a rather small board - here is its appearance in the EasyEDA editor:
The wire, which is visible in the title photo, is needed not to correct some errors, but to supply power from USB. It may not be enough for the motor, but, unfortunately, contacts from China have not yet come to me. Therefore, I first check the operation of the LEDs. For beauty in the photo, I just put the connector from the motor on the board.
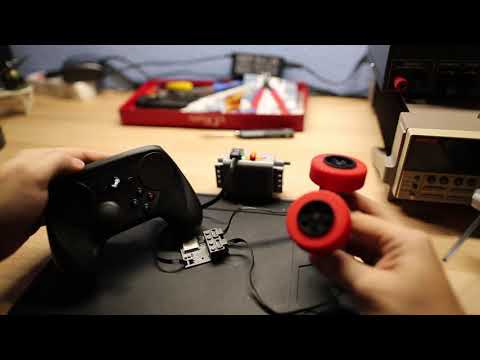
Version 1.1 of my board (unlike version 1.2 already on EasyEDA) had no LEDs, so I soldered two anti-parallel diodes to the output so I could see what was happening. If you look closely, the video shows the alternate switching on of a pair of diodes 0603, indicating forward / backward movement.

As for the remote control, at first I just wanted to assemble an additional board with buttons and another ESP32 - a classic remote control.
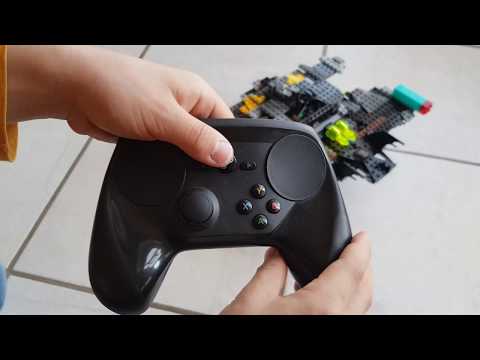
However, then I remembered that the Steam Controllers have a Bluetooth Low Energy (BLE) mode of operation. I decided to deal with this issue, and after a few hours I learned how to receive packets from the controller.
To do this, you just need to look for a HID device that calls itself the SteamController and connect to it. And then use an undocumented service from Valve and a few , allowing the transmission of packets.

I also came across an undocumented report format that I parsed manually.

After about an hour, the meaning of the flags and values \u32b\uXNUMXbbecame clear to me, and I managed to blink the LED using the Steam controller and ESPXNUMX. ¯_(ツ)_/¯
Files
- Schematic and PCB on EasyEDA
- Sources for Arduino:
v1.0: "trial approach"
- the first option for which I chose the wrong voltage regulator. The TPS62291 only takes the voltage up to 6V. I was developing several projects in parallel, and I forgot that the device needs to work with 9V.
v1.1: "good enough"
- this option is visible in the videos, and everything works
v1.2: "final"
- added indicator LEDs to the output and optimized the size and layout of the board
The following short video shows the connection phase (1-3 sec after power up) and control of the motor outputs. Connector from Lego is not connected yet. It will go to the empty space next to the other connectors, marked with a white rectangle.
My son now regularly uses this controller to control the machines he has assembled.
During the stress test, I encountered only one problem: I thought that the “fast decay” mode [fast decay] of the motor driver would work best, but because of it, after a few seconds of operation, the motor speed dropped very much. So I changed the code so that it uses "slow decay" [slow decay].
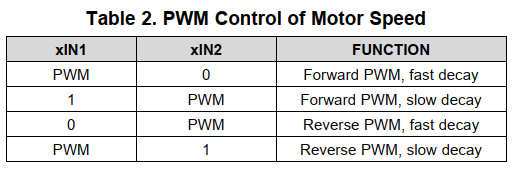
While I'm not sure how the DRV works and why the motor spins fast at first, and then after 10 seconds it starts to gradually slow down. Perhaps the MOSFETs are heating up and their resistance is rising too much.
I hope this example of how to use the Arduino effortlessly inspires other people and allows them to introduce their children to electronics.
Source: habr.com
