

Hello, Habr!
In this article, I will explain how to easily host a static website using Yandex technologies, namely Object Storage.
By the end, you will have a website live on the internet, accessible via an external link.
This article will be helpful if you are
- A beginner developer who is just learning programming;
- A developer who has created a portfolio and wants to host it publicly to show friends and employers.
About Me
Recently, I was developing a SaaS service, similar to a marketplace, where people find personal trainers for fitness sessions. I used the Amazon Web Services (AWS) stack. But the deeper I got into the project, the more nuances I uncovered about various startup organization processes.
I encountered the following issues:
- AWS was costing a lot of money. After working for 3 years in Enterprise companies, I got used to such joys as Docker, Kubernetes, CI/CD, blue-green deployment, and, as a startup programmer, I wanted to implement the same. In the end, I found out that AWS was costing about $300-400 monthly. The most expensive part was Kubernetes, around $100, even with the minimum setup of one cluster and one node.
P.S. You don't need to do this at the beginning. - Later, considering the legal side, I learned about the law 152-FZ, which stated approximately the following: "Personal data of Russian citizens must be stored within the territory of the Russian Federation", otherwise, there will be penalties, which I wanted to avoid. I decided to address these issues before being notified from above.:)
Inspired by the migration of infrastructure from Amazon Web Services to Yandex.Cloud, I decided to delve deeper into Yandex's stack.
For me, the key features of Yandex.Cloud were as follows:
- 2-3 times cheaper (according to the article above and public pricing)
- , which the great Amazon cannot currently offer.
I looked into other competitors of this service, but at that time, Yandex had the advantage.
Having introduced myself, let's get down to business.
Step 0. Prepare the site
First, we need a website that we want to host on the internet. As I am an Angular developer, I will create a simple template of an SPA application, which I will then host online.
P.S. If you are knowledgeable about Angular or familiar with its documentation , proceed to .
Let's install Angular-CLI to create SPA sites with Angular:
npm install -g @angular/cliLet's create an Angular application using the following command:
ng new angular-habr-object-storageNext, we navigate to the application folder and run it to check its functionality:
cd angular-habr-object-storage
ng serve --open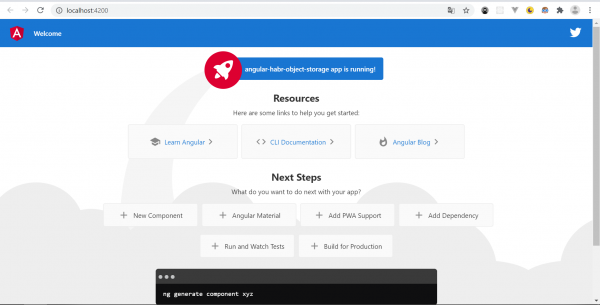
The application is created, but it is not yet ready for hosting. We will build the application into a small production build to remove all unnecessary files and keep only the necessary ones.
In Angular, this can be done with the following command:
ng build --prodAs a result of this command, a folder appeared in the root of the application dist with our website.
It's working. Now let's move on to hosting.
Step 1.
Go to the website and click the 'Connect' button.
Note:
- You may need a Yandex email to use the service (but this is not guaranteed)
- For some features, you will need to add money to your account (minimum 500 rubles).
After successful registration and authorization, we are in the personal account.
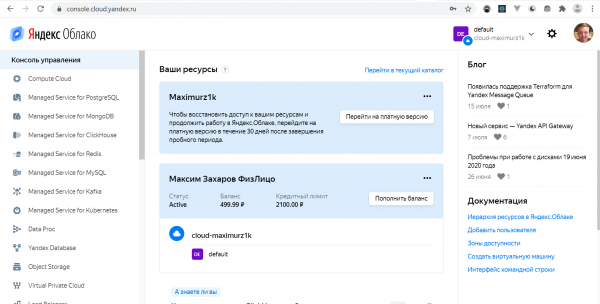
Next, in the left menu, find the 'Object Storage' service, which we will use for hosting the website.
A quick overview of the terms:
- Object Storage is a file storage compatible with Amazon's AWS S3 technology, which also has its API for managing storage from code and, like AWS S3, can be used to host a static website.
- In Object Storage, we create 'buckets', which are separate storages for our files.
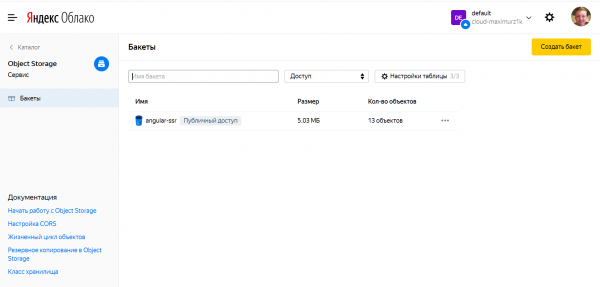
Let's create one of them. To do this, in the service console, click the 'Create Bucket' button.
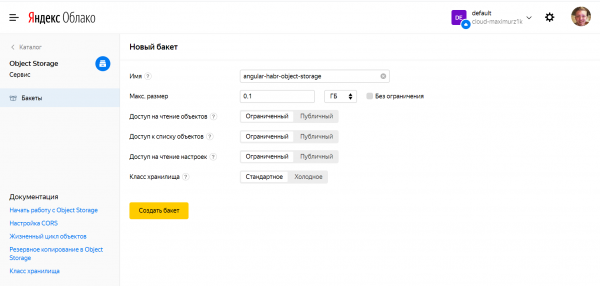
In the bucket creation form, there are the following fields, let's go through them:
- Bucket name. For simplicity, we will name it the same as the Angular project —
angular-habr-object-storage - Max size. We set it to the size of our website, as hosting is not free and we will pay Yandex a small fee for every allocated gigabyte.
- Object read access. We set it to 'Public' since users should be able to access each file of our static website to properly render the layout and run scripts, etc.
- Object list access and Read settings access. We leave it as 'Restricted'. This is needed to use the bucket as an internal storage for application files.
- Storage class. We leave it as "Standard." This means that our site will be frequently visited, and therefore files constituting the site will often be downloaded. Moreover, this factor affects performance and payment (insert link).
Click "Create bucket" and the bucket has been created.
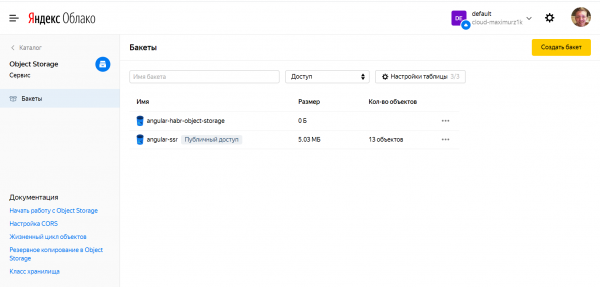
Now we need to upload our site to the bucket. The easiest way is to open a folder next to our site and drag and drop it directly onto the page. dist This is more convenient than clicking the "Upload objects" button, because in that case, the folders won't be transferred, and you'll have to create them manually in the correct sequence.
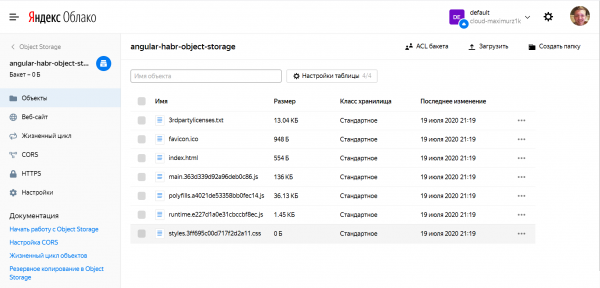
So, the site is uploaded to storage; we can allow users to access the storage as if it were a site.
To do this, on the left in the menu, click on the "Website" tab.
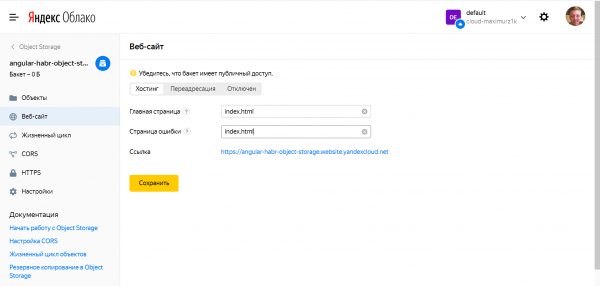
On the bucket settings page as a site, we select the "Hosting" tab. Here we specify the main page of the site, which is usually index.html. If you have a SPA application, then all errors are likely handled on the main page as well, so we will specify index.html on the error page too.
We can immediately see the link through which our site will be accessible. Click save.
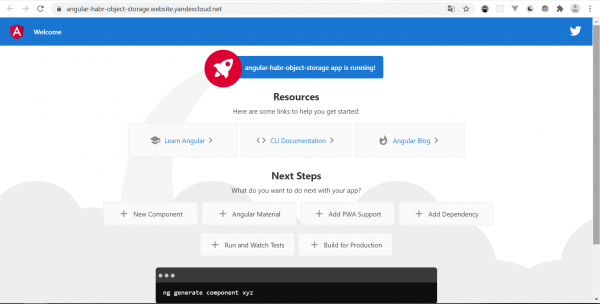
In about 5 minutes, by following the link, we see that our site is now available to anyone interested.
Thank you to everyone who read to the end! This is my first article; I plan to further describe other Yandex services and their integration with frontend and backend technologies.
Please write in the comments how interested you are in learning about other Yandex services or about using Angular in modern development.
Source: habr.com
