

As you start creating more and more Kubernetes services, tasks that initially seem simple can become complicated. For instance, developer teams cannot create services or deployments with the same name. If you have thousands of pods, simply listing them will take a lot of time, not to mention ensuring proper management. And that's just the tip of the iceberg.
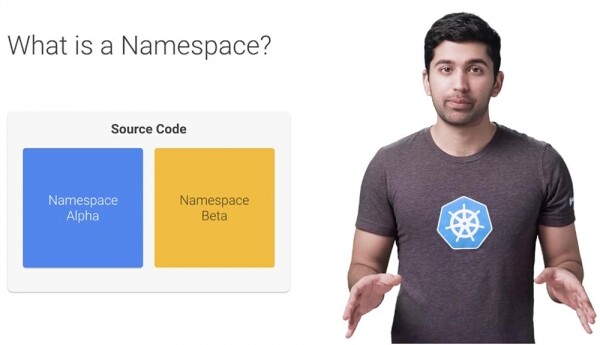
Let's look at how namespaces help simplify resource management in Kubernetes. So, what exactly is a namespace? A namespace can be thought of as a virtual cluster within your Kubernetes cluster. You can have multiple isolated namespaces within a single Kubernetes cluster. They can truly assist you and your teams with organization, security, and even system performance.
In most Kubernetes distributions, the cluster comes out of the box with a namespace called "default." In reality, there are three namespaces that Kubernetes deals with: default, kube-system, and kube-public. Currently, kube-public is not used very frequently.
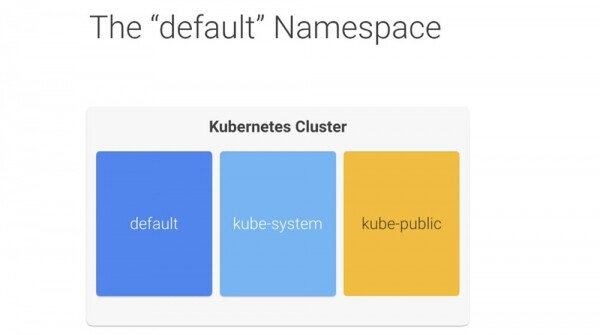
It’s a good idea to leave the kube namespace alone, especially in a managed system like Google Kubernetes Engine. It uses the "default" namespace as a place where your services and applications are created. There's nothing particularly special about it, except that Kubernetes is configured to use it out of the box, and you cannot delete it. It works well for getting started and systems with low performance, but I would not recommend using the default namespace in larger production systems. In such cases, one team of developers could easily overwrite another's code and disrupt another team’s work without even realizing it.
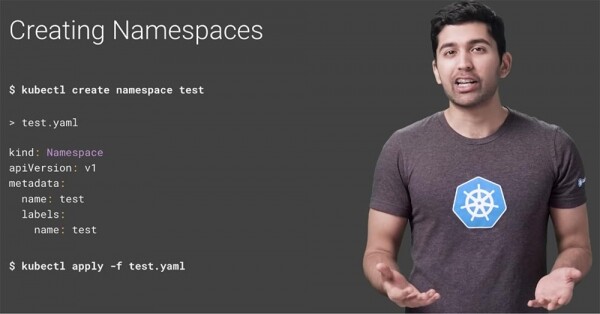
Therefore, you should create several namespaces and use them to segment your services into manageable units. A namespace can be created with a single command. If you want to create a namespace named test, use the command $ kubectl create namespace test, or simply create a YAML file and use it like any other Kubernetes resource.
You can view all namespaces using the command $ kubectl get namespace.
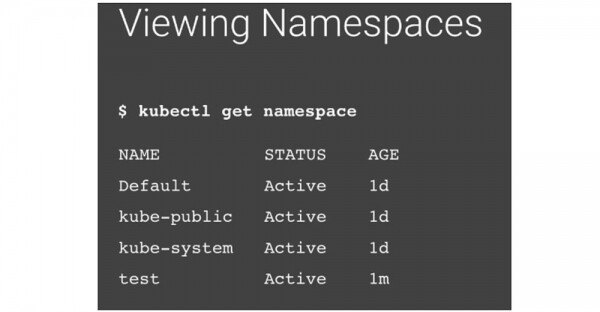
After executing it, you will see three built-in namespaces and a new namespace called 'test'. Let's look at a simple YAML file intended to create a pod. You may notice that there is no mention of the namespace.
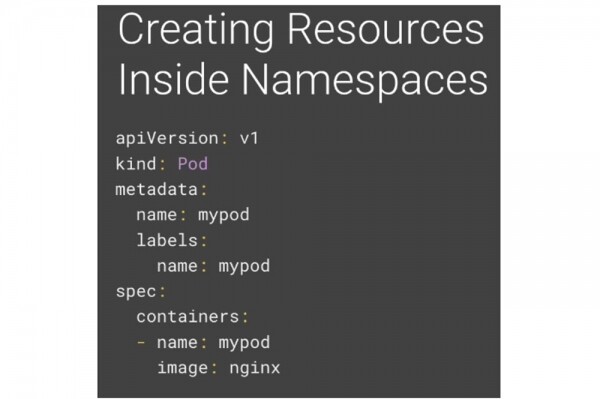
If you use kubectl to apply this file, it will create a mypod module in the currently active namespace. This will be the default namespace until you change it. There are two ways to tell Kubernetes which namespace you want to create your resource in. The first way is to use the namespace flag when creating the resource.

The second way is to specify the namespace in the YAML declaration.
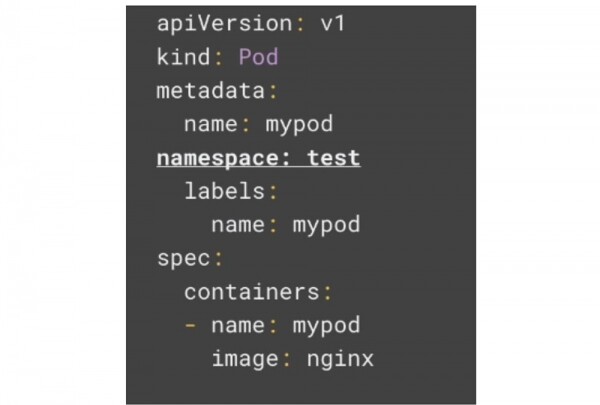
If you specify the namespace in the YAML, the resource will always be created in that namespace. If you try to use a different namespace while using the namespace flag, the command will fail. Now, if you try to find your pod, you won't be able to.

This happens because all commands are executed outside the currently active namespace. To locate your pod, you need to use the namespace flag, but this quickly becomes tedious, especially if you're a developer in a team that uses its own namespace and doesn't want to use that flag for every single command. Let's look at how this can be addressed.
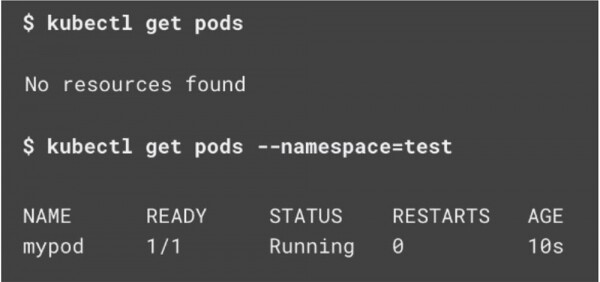
Out of the box, your active namespace is called default. If you do not specify the namespace in the resource YAML, all Kubernetes commands will use this active default namespace. Unfortunately, managing the active namespace with kubectl can often be challenging. However, there is a very useful tool called Kubens that simplifies this process significantly. When you run the kubens command, you will see all namespaces with the currently active namespace highlighted.
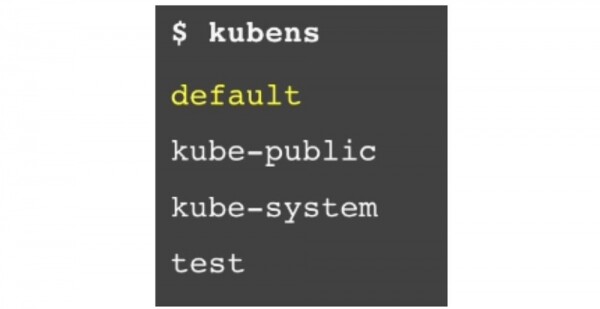
To switch the active namespace to the test namespace, you simply run the command $ kubens test. If you then run the command $ kubens again, you will see that the new active namespace – test – is now highlighted.
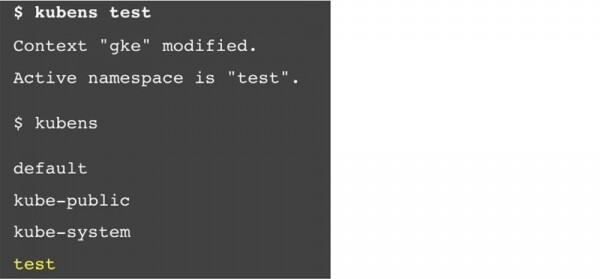
This means you don't need a namespace flag to see a pod in the test namespace.

Thus, namespaces are hidden from each other but not isolated from one another. A service in one namespace can easily communicate with a service in another namespace, which is often very useful. The ability to communicate between different namespaces means that your developers' service can interact with another dev team's service in a different namespace.
Typically, when your application wants to access a Kubernetes service, you use the built-in DNS service discovery and simply specify the service name to your application. However, you can create a service with the same name in multiple namespaces, which is not allowed.
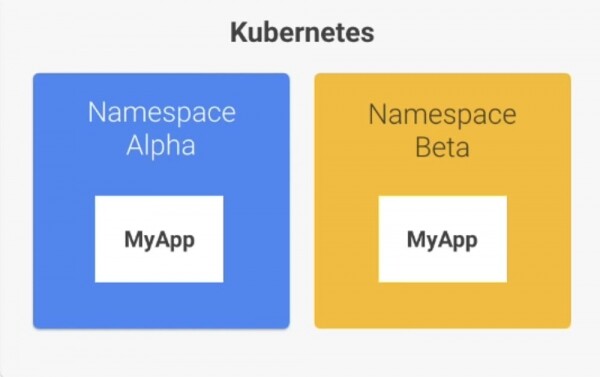
Fortunately, this can be easily worked around by using the fully qualified DNS address. Services in Kubernetes expose their endpoints using a common DNS pattern. It looks something like this:

Generally, you just need the service name, and DNS will automatically resolve the full address.

However, if you need to access a service in another namespace, just use the service name plus the namespace name:

For example, if you want to connect to a database service in the test namespace, you can use the address database.test.
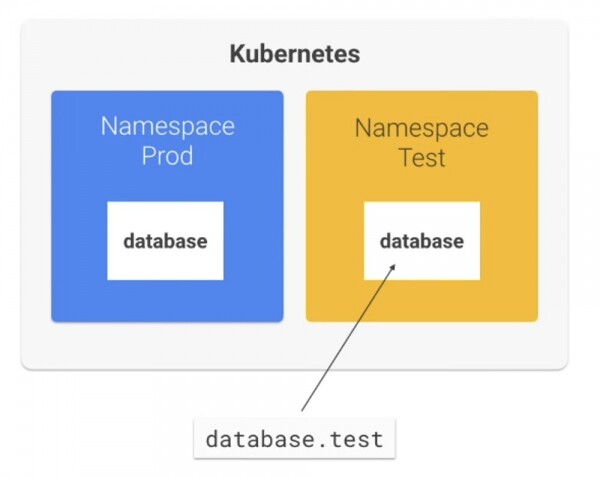
If you want to connect to a database service in the prod namespace, you use database.prod.
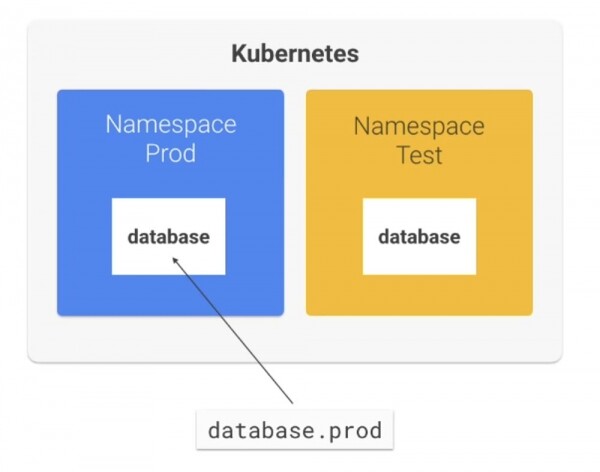
If you truly want to isolate and restrict access to a namespace, Kubernetes allows you to do this using Kubernetes Network Policies. I'll discuss this in the next series.
I often get asked how many namespaces should be created and for what purposes? What exactly is a managed data fragment?
If you create too many namespaces, they will simply get in your way. If there are too few, you'll lose all the advantages of such a solution. I think there are four main stages that every company goes through in the process of establishing its organizational structure. Depending on the stage of development your project or company is at, you can adopt the appropriate strategy for creating namespaces.
Imagine that you are part of a small team working on developing 5-10 microservices, and you can easily gather all the developers in one room. In this situation, it makes sense to run all production services in the default namespace. Of course, for greater flexibility, you could use two namespaces — one for production and one for development. And most likely, you are testing your development on your local machine using something like Minikube.
Suppose the conditions have changed, and now you have a rapidly growing team that is working on more than 10 microservices at the same time. There comes a point when you need to use multiple clusters or namespaces, separately for production and development. You can break the team into several subgroups so that each has its own microservices, and each of these teams could choose its own namespace to facilitate the management of development and software releases.
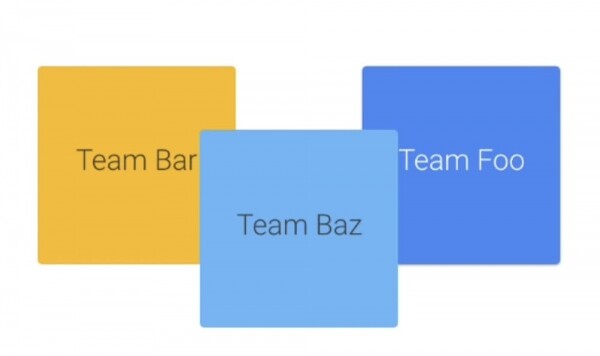
As each team member gains insight into how the system works as a whole, coordinating each change with all the other developers becomes increasingly difficult. Trying to spin up the full stack on your local machine becomes more challenging day by day.
In large companies, developers often do not know who is working on what specifically. Teams communicate through service contracts or use Service Mesh technology, which adds an abstraction layer over the network, similar to the configuration tool Istio. Attempting to run the entire stack locally is practically impossible. I strongly recommend using a continuous delivery (CD) platform like Spinnaker in Kubernetes. Thus, the moment comes when each team certainly needs its own namespace. Each team may also choose several namespaces for the dev and prod environments.
Finally, there are large entrepreneurial companies where one group of developers doesn't even know about the existence of other groups. Such a company might hire external developers who interact through well-documented APIs. Each such group contains several teams and multiple microservices. In this case, it is necessary to utilize all the tools I mentioned earlier.
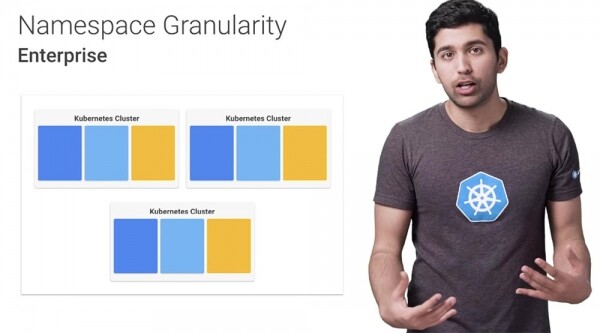
Programmers should not deploy services manually and should not have access to namespaces that do not concern them. At this stage, it makes sense to have several clusters to reduce the 'blast radius' of poorly configured applications, to simplify billing processes and resource management.
Thus, the proper use of namespaces by your organization allows Kubernetes to be more manageable, controlled, secure, and flexible.

A little advertisement 🙂
Thank you for staying with us. Do you enjoy our articles? Want to see more interesting content? Support us by placing an order or recommending us to your friends, , a unique entry-level server alternative that we have created for you: (options available with RAID1 and RAID10, up to 24 cores and up to 40GB DDR4).
Dell R730xd at half the price in the Equinix Tier IV data center in Amsterdam? Only with us in the Netherlands! Dell R420 — 2x E5-2430 2.2GHz 6C 128GB DDR3 2x960GB SSD 1Gbps 100TB — from $99! Read about how
Source: habr.com
