

This article provides a detailed guide on how to install and configure Apache, Python, and PostgreSQL to run a Django project on MS Windows. Django includes a simplified development server for local code testing, but for production tasks, a more secure and robust web server is required. We will configure mod_wsgi to interact with our project and set up Apache as a gateway to the outside world.
It is important to note that the installation and configuration will be performed on MS Windows 10 with a 32-bit architecture. This 32-bit setup will also work universally on 64-bit systems. If you require a 64-bit installation, repeat the same steps for the 64-bit distributions of the software; the sequence of actions will be identical.
For our Django project, we will use the Severcart program. It is designed for managing cartridge movements, tracking printing equipment, and handling supply and maintenance contracts. All software and module installations will be done in the C:severcart directory. The location is not critical.
Python
The first step is to download and install Python from the Python website. Select Windows as the operating system and the 32-bit version. As of the writing of this article, the current version is 3.9.0rc2.
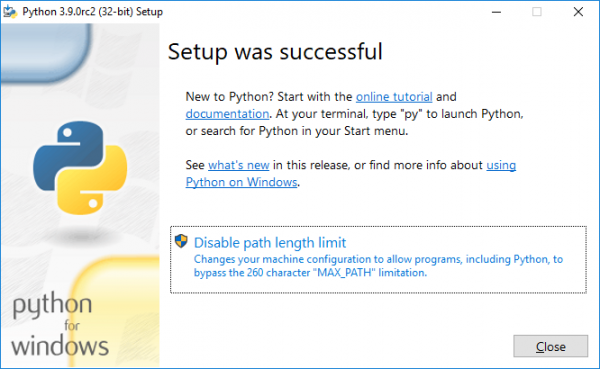
After downloading the installer, right-click on the installation file and select 'Run as administrator'. You should see the screen below.
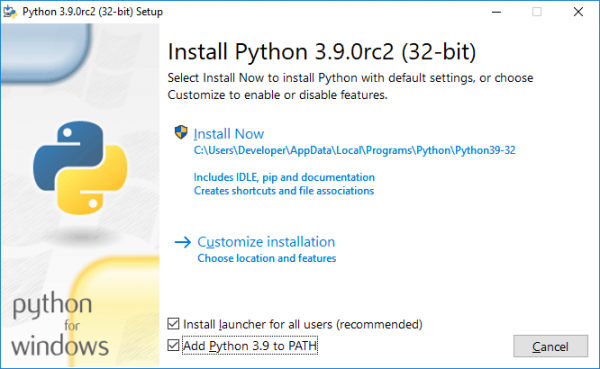
Check the boxes for 'Install launcher for all users (recommended)' and 'Add Python 3.9 to PATH', then click on 'Customize installation'.
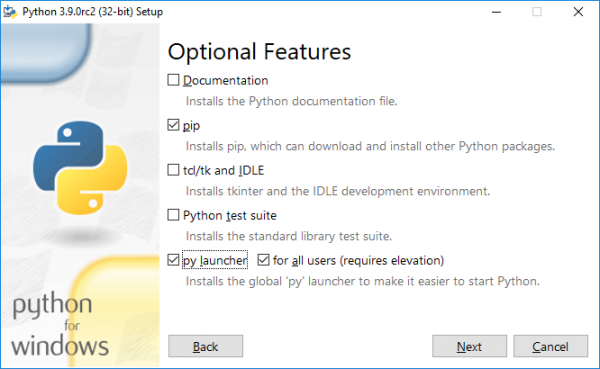
Check the boxes for 'pip', 'py launcher', and 'for all users (requires elevation)', then click 'Next'.
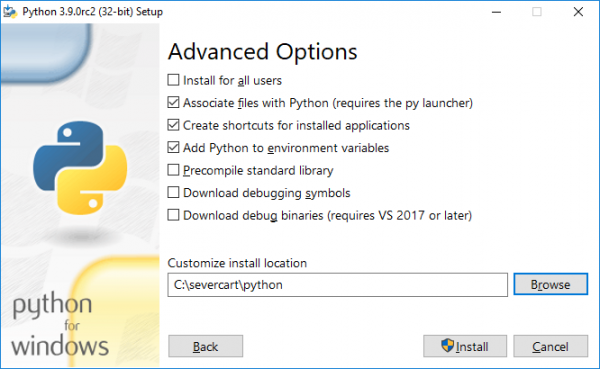
Select all input fields as shown in the image above and click 'Install'.
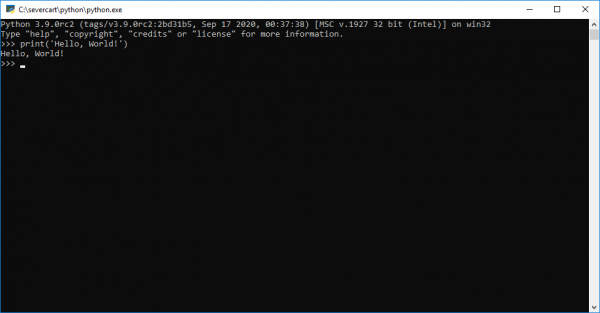
To ensure that the installation was successful, open cmd and type python. If the installation was successful, you should see a prompt similar to the one below.
Installing mod_wsgi
Download the compiled package of mod_wsgi from the website
The module acts as an intermediary between the Apache server and the Django project. The latest package will be named mod_wsgi-4.7.1-cp39-cp39-win32.whl. Note that the package is compiled for the 32-bit Windows CPython version 3.9. It is also worth mentioning that the obvious installation of the module pip install mod_wsgi will most likely result in an error, as a Visual Studio C++ compiler will be required during the installation process. We consider it impractical to install the entire compiler just for one Python package in Windows.
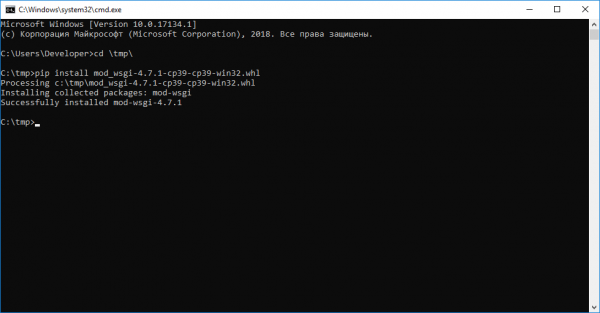
We install the module using the standard package manager pip in cmd or PowerShell:
pip install -U mod_wsgi-4.7.1-cp39-cp39-win32.whl
Apache
Download the distribution from the website .
The latest version of the web server is Apache 2.4.46 win32 VS16. Additionally, the program will require the pre-installed package "Visual C++ Redistributable for Visual Studio 2019 x86."
Unpack the Apache distribution to the C:\severcart\Apache24 directory, then change the line at number 37 to your own
Define SRVROOT "C:/severcart/Apache24"
Check Apache's operation by executing in the command line
C:/severcart/Apache24/bin> httpd.exe
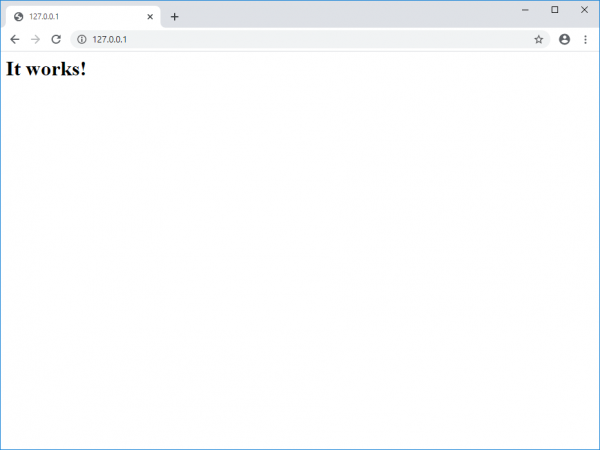
As a result, you should see in the browser at the address the line "It works!".
Install the Apache service by executing the following command in the command prompt as Administrator:
C:\severcart\Apache24\bin> httpd.exe -k install -n "Apache24"
Next, we will link the mod_wsgi module to Apache. For this, we will execute the following command in the command prompt
C:\Windows\system32> mod_wsgi-express module-config
As a result, the output will print the following lines:
LoadFile "c:/severcart/python/python39.dll"
LoadModule wsgi_module "c:/severcart/python/lib/site-packages/mod_wsgi/server/mod_wsgi.cp39-win32.pyd"
WSGIPythonHome "c:/severcart/python"
Create the file C:\severcart\Apache24\conf\extra\httpd-wsgi.conf and paste the printed lines above into it.
Link the new configuration to the main httpd.conf file
Include conf/extra/httpd-wsgi.conf
Save the changes and restart the Apache services
Net stop Apache24
Net start Apache24
PostgreSQL
Install PostgreSQL obtained from the website . The current version of the product is 12. The advantages of the Russian distribution over the canonical one are presented on the same website.
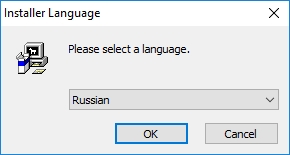
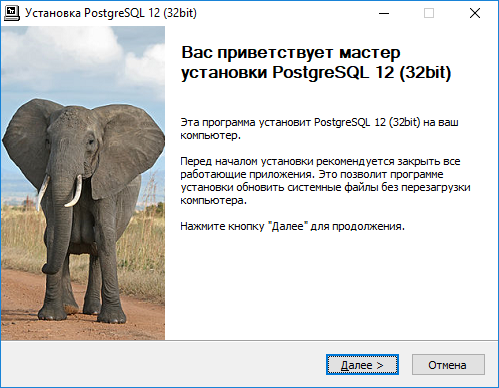
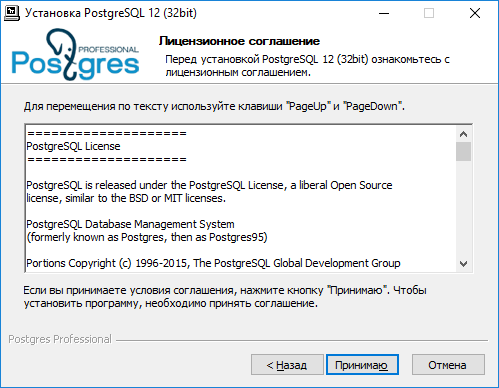
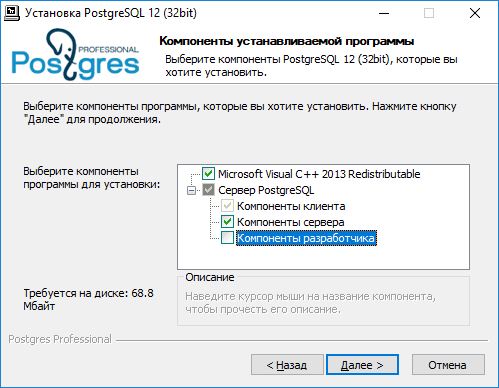
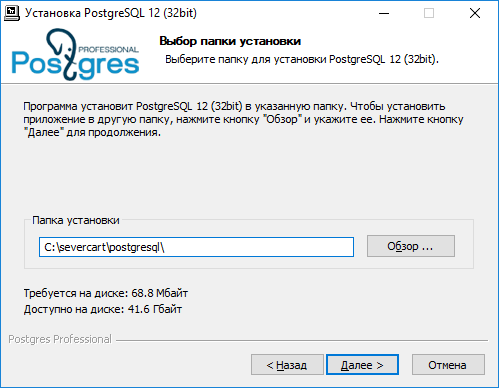
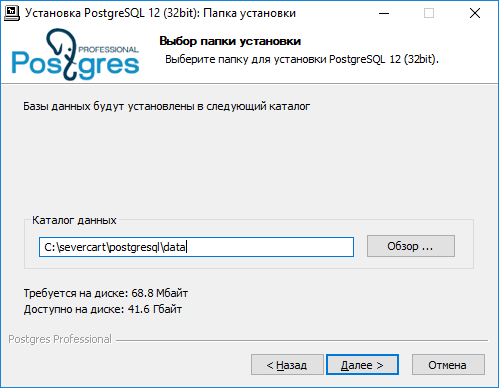
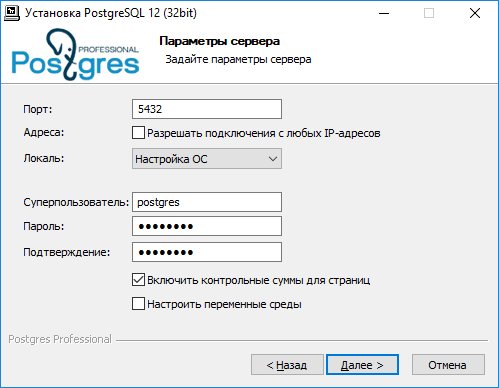
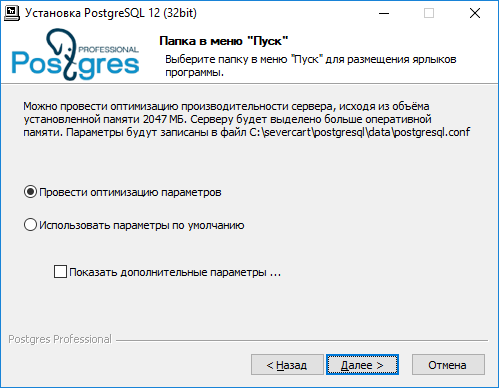
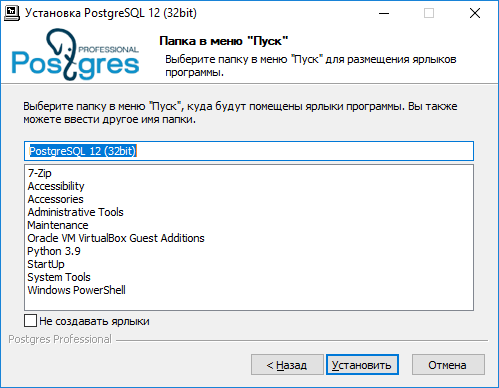
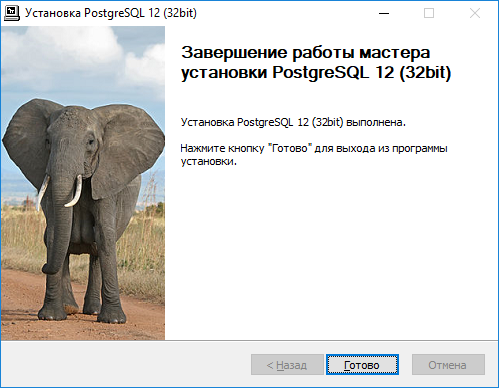
The installation steps are presented above and do not require comments. The installation is extremely simple.
Create a database in postgres, which will later store the data structures of the Django project
C:\severcart\postgresql\bin> psql -h 127.0.0.1 -U postgres -W

CREATE DATABASE severcart WITH ENCODING='UTF8' OWNER=postgres CONNECTION LIMIT=-1 template=template0;
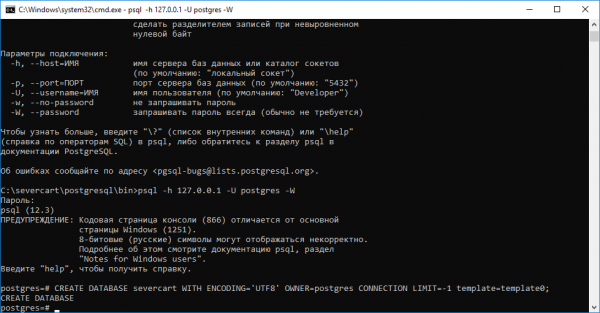
The database has been created. Now let's deploy the Django project.
Install the web application
To do this, download the zip archive from the website. and extract it to the C:severcartapp directory
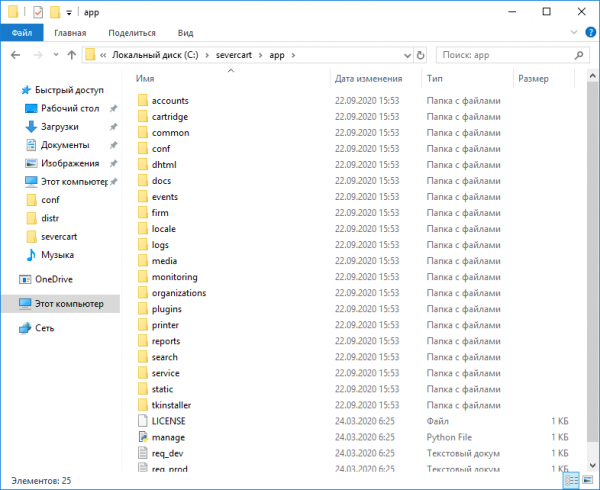
We make changes to the main configuration file C:severcartappconfsettings_prod.py to specify the database connection details
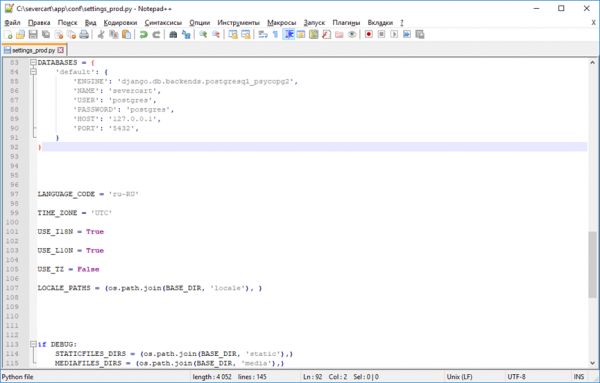
The Python dictionary DATABASES contains the database connection details. For configuration instructions, read here
We install required Python packages for the applications to run within the Django project
C:severcartapptkinstaller>python install.py
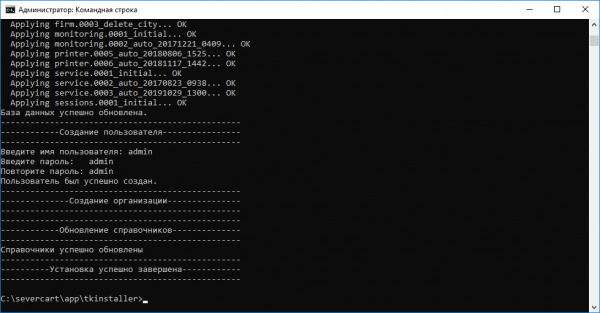
During the script execution, the database will be initialized with tables, constraints, indexes, and so on, and you will be prompted to create a user under which the program will run.
We connect the Django application to the Apache server by adding to the configuration file
httpd-wsgi.conf with the following text
Alias /static "c:/severcart/app/static"

Alias /media "c:/severcart/app/media"


    # for Apache 2.4
    Options Indexes FollowSymLinks
    AllowOverride None
    Require all granted


    # for Apache 2.4
    Options Indexes FollowSymLinks
    AllowOverride None
    Require all granted


WSGIScriptAlias / "c:/severcart/app/conf/wsgi_prod.py"
WSGIPythonPath "c:/severcart/python/"


    Require all granted
We restart the Apache service and check the application functionality
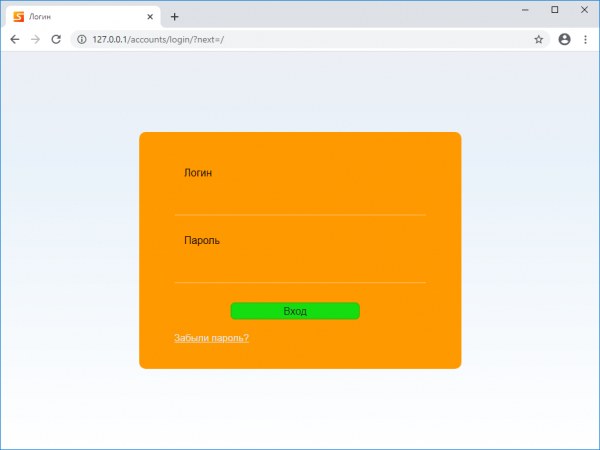
That's all. Thank you for reading.
In the next article, we will create a self-extracting installation archive in InnoSetup for the quick deployment of the Django project on the client's computer. For those who want to repeat all actions on all used distributions have been uploaded.
Source: habr.com
