

Good afternoon everyone! , we have looked at the main differences between Power Automate and Logic Apps. Today, we would like to move further and showcase interesting capabilities that can be implemented using these products. In this article, we will explore several cases that can be realized with Power Automate.
Microsoft Power Automate
This product offers a wide range of connectors to various services, as well as triggers for the automatic and instant starts of flows triggered by specific events. It also supports scheduling flows or starting them with the push of a button.
1. Automatic Registration of Requests
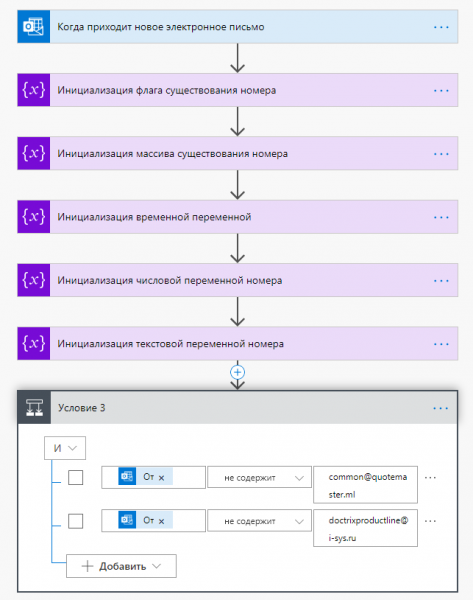
One of the cases could be the automatic registration of requests. The trigger for the flow, in this case, would be receiving an email notification to a specific inbox, after which the further logic is processed:
When setting up the trigger 'When a new email arrives', you can use various filters to determine the required event to start the trigger:
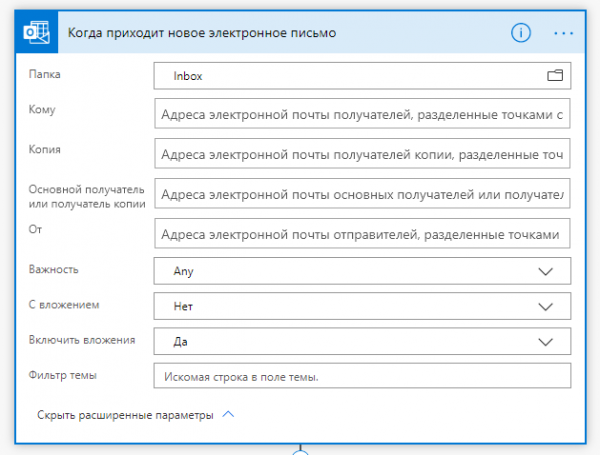
For instance, you can start the flow only for emails with attachments or for emails that are marked as high importance. Additionally, you can trigger the flow if an email arrives in a specific folder of the mailbox. Furthermore, it's possible to filter emails by a specific substring in the email subject.
Once the necessary calculations are completed and all required information is obtained, you can create an item in the SharePoint list using substitutions from other actions:
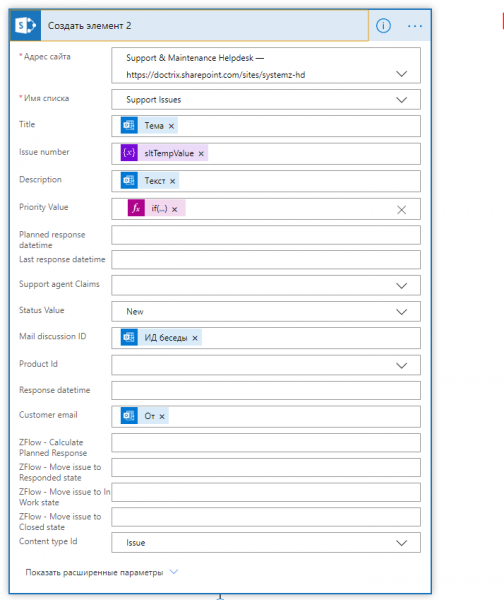
Using such a flow, you can easily capture necessary email notifications, break them down into components, and create records in other systems.
2. Triggering an Approval Flow with a Button from PowerApps
One of the standard scenarios is sending an object for approval to the approvers. To implement such a scenario, you can create a button in PowerApps that triggers a Power Automate flow when pressed:
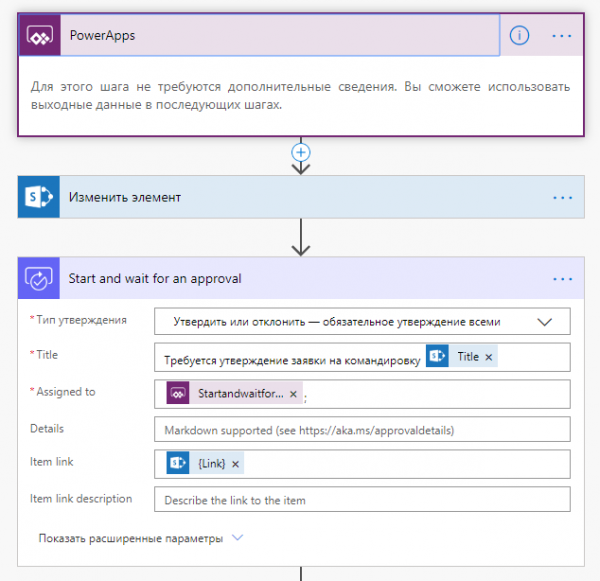
As you can see, in this flow, the starting trigger is PowerApps. A distinctive feature of this trigger is that you can request information from PowerApps while inside the Power Automate flow:
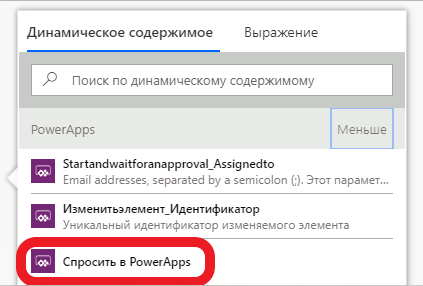
Here's how it works: when you need to retrieve any information from PowerApps, you click on the 'Ask in PowerApps' option. After that, a variable is created that can be used in all actions of this Power Automate flow. You just need to pass the value for this variable inside the flow when launching the flow from PowerApps.
3. Starting the flow using an HTTP request
The third case I would like to discuss is starting a Power Automate flow using an HTTP request. In some cases, especially for various integration scenarios, it is necessary to start a Power Automate flow via an HTTP request, passing various parameters into the flow. This is quite simple to do. The action 'When an HTTP request is received' is used as a trigger.
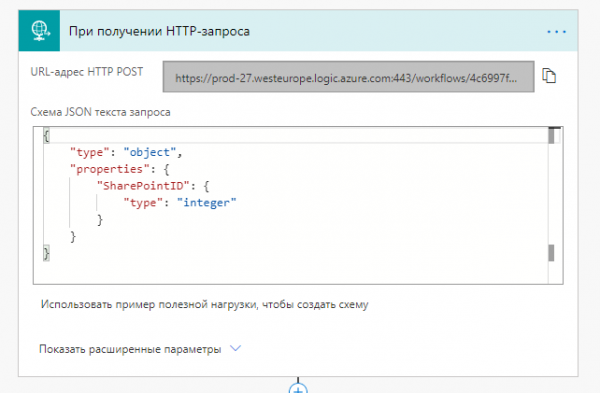
The HTTP POST URL is automatically generated upon the first save of the flow. This is the address to which the POST request must be sent to start the flow. Various information can be passed as parameters when starting, for example, in this case, the SharePointID attribute is being passed externally. To create a similar schema, you need to click on the 'Use sample payload to create schema' option, and then insert a sample JSON that will come into the flow.
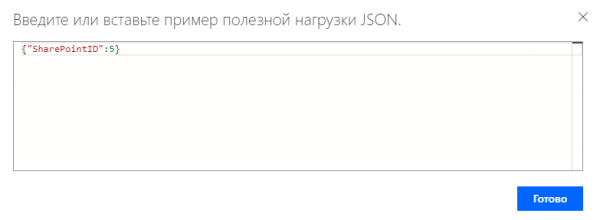
After clicking on 'Done', a JSON request schema is generated for this action. Now the SharePointID attribute can be used in all actions of this flow as a substitution.
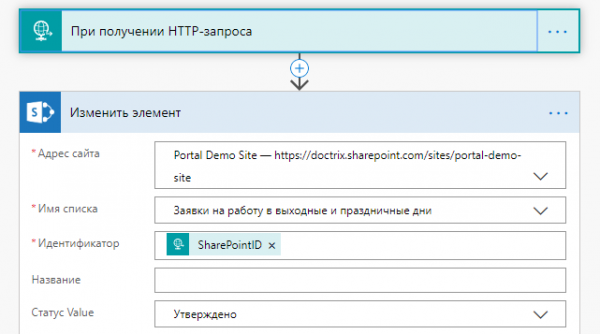
It is worth noting that the trigger 'When an HTTP request is received' falls under the Premium connectors category and is only available with the purchase of a separate plan for this product.
In the next article, we will discuss various cases that can be implemented using Logic Apps.
Source: habr.com
