

Cable installation and patch panel termination in the server room
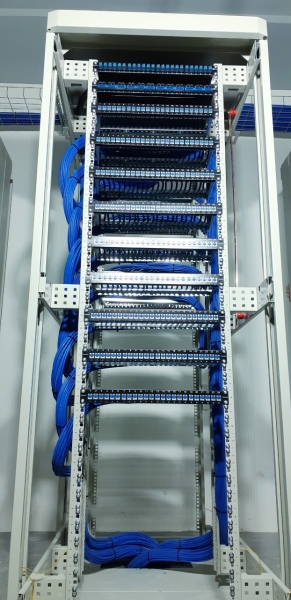
In this article, I share my experience in organizing a server room with 14 patch panels.
There are many photographs under the cut.
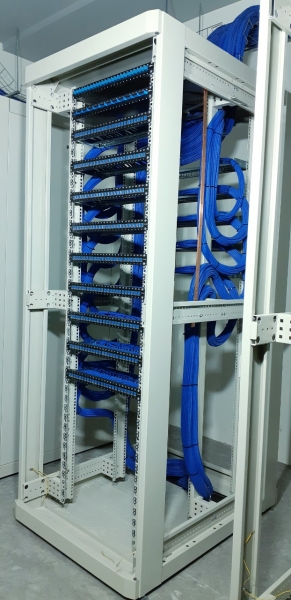
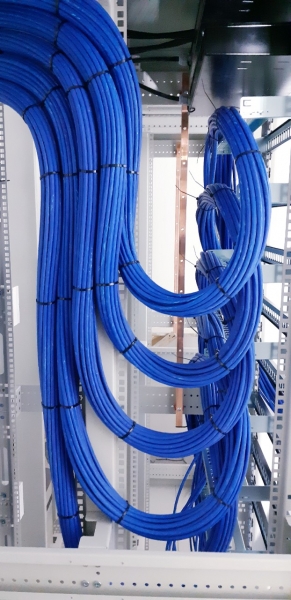
General information about the facility and server room
Our company DATANETWORKS won the tender for building the structured cabling system in a new three-story office building. The network includes 321 ports and 14 patch panels. The minimum requirements for copper cabling and components are cat 6a, FTP, as per the new ISO 11801 standards, which state that at least category 6 cabling must be used for corporate networks.
We chose products from Corning. We selected modular patch panels because they are easier to maintain, and if one port fails, it can be easily replaced without losing useful panel space. We used Corning sx500 modules, shielded, cat 6a, keystone-mounted type. We decided to purchase a 42U cabinet from CMS with perforated doors for better equipment ventilation and increased side space for optimal cable routing and network equipment installation. In the future, the width of the cabinet at 800 millimeters will come in handy. The cable route in the server room is built from a mesh tray measuring 300*50 mm, suspended on studs and clamps.
The network construction lasted for a year due to varying degrees of readiness of the facility. My partner and I visited several times to assist with the installation of the cable route and stretching the cable, but the main work was done by other installers. The final stage of our work on the site was the installation and termination of cables in the switching cabinet. The entire process took five days, three of which we spent laying cables in the trays and distributing them across the patch panels.
Preparing the cable for input into the rack and laying cable routes
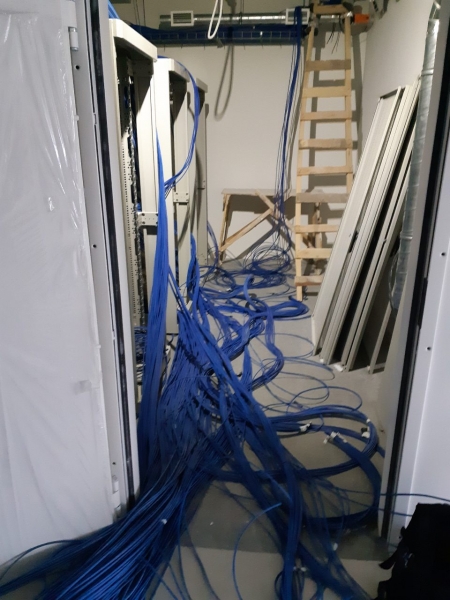
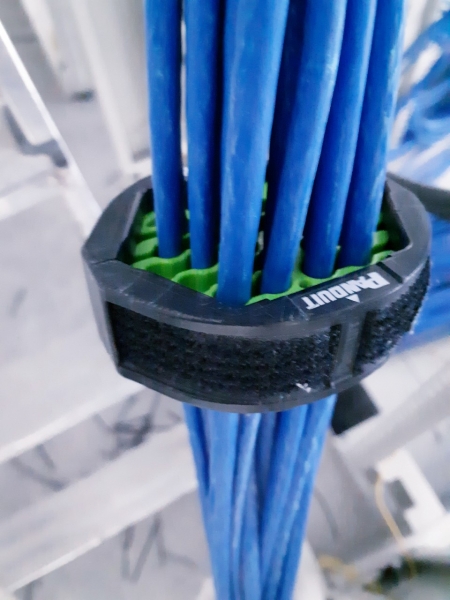
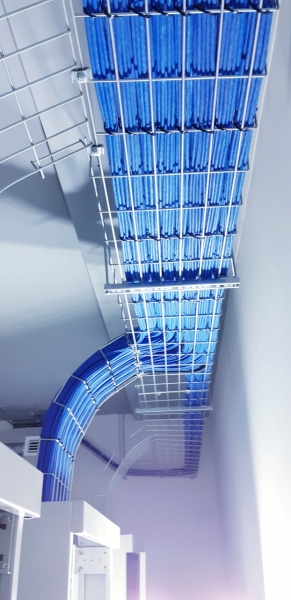
Upon entering the server room, we saw three cable inputs: two ran into the tray under the ceiling, and one came from the floor under the rack. Initially, we decided to shorten the links to approximately the needed length, allowing for a meter of slack for termination and marking. The lengths of some cables were obviously longer than necessary, making future organization and laying in the tray difficult. After cutting the excess length, we sorted the cables by patch panels, 24 links to one panel, and each bundle was 'combed' using a cable bundling tool from PANDUIT. Thinking through the sequence for feeding the cable bundles into the rack, we secured them at the elbow with cable ties every 25-30 centimeters. It’s advisable to understand the panel layout in advance and lay the cables sequentially to avoid tangling. This process took us two days; it is monotonous work, but it ultimately provides visual and technical order to the cable routes. When feeding into the rack, it was decided to leave a loop of extra cable for future convenience during service incidents.
Connecting modules, assembling and installing patch panels in the rack
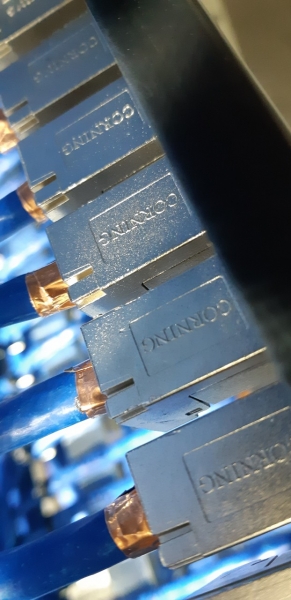
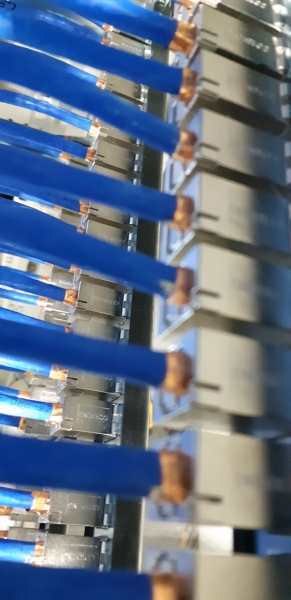
Once the cable reached the installation point for the patch panel, we secured the links to the panel organizer with cable ties according to the port number. Then, we cut the excess length of the cable again, leaving a few centimeters of slack for termination.
During my career, I've tried many different modules from various brands. I can say that the most convenient self-locking module is Legrand. They have a plastic handle that, when turned, engages the locking mechanism, leaving only the ends of the wires to be trimmed. However, these components are category 5e UTP, which isn't suitable for our needs. The module from Corning consists of two components and a copper self-adhesive tape for connecting the screen. The color scheme of the twisted pairs is well-organized and reduces the risk of mixing pairs during wiring. Testing revealed less than 10% errors, which is a normal result for 642 modules considering the screen. We spent about 15 hours on wiring—me on one side of the rack and my partner on the other. I had to work standing up the entire time, since it was impossible to set up a comfortable workstation due to the close proximity of the back of the rack to the patch panel wall. My partner worked sitting down, he was lucky. In our profession, we often have to work in uncomfortable conditions and postures. Sometimes it's hot, sometimes cold, cramped, too high, or too low. There have been times when I've had to lay cables while crawling or hanging from a height on a safety harness. That's why I love my job—there are always new locations, tasks, and solutions that I often have to come up with on my own. Sitting in an office is definitely not for me after 8 years of such adventures. So, after installing 14 patch panels, it was time to bring everything together and see what had been achieved over the past five days. By attaching the panels and cable organizers to their units (while preemptively leaving space for the switch installation), seeing the result brings immense pleasure; I can call it euphoria. I think the client derives less pleasure than I do when the work is done well. Sometimes you don’t get everything perfect, and then it's hard to sleep because you can't stop thinking about it, so I've concluded that it's better to do things right the first time. I hope that's your rule in work too!
Network testing using the Fluke Networks DTX-1500.
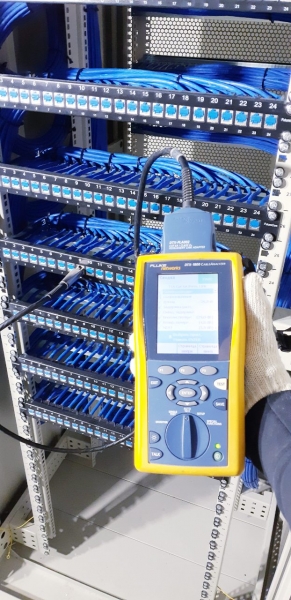
Network testing for integrity and color coding can be performed with several devices. There are simple testers with a continuity check and color matching function, but to obtain network certification and a manufacturer's warranty on the components (in our case, 20 years from Corning), it's necessary to test the network with a DTX-1500 device according to international standards ISO or TIA. The device must be calibrated once a year, which we successfully perform; otherwise, the results are invalid. Unlike an ordinary tester, Fluke shows which pairs are swapped, the length of the link, signal attenuation, and other information. In case of an error, Fluke indicates where the issue has occurred on the cable, significantly simplifying component servicing. The device is not cheap, but it is essential for building a large structured cabling system. After testing is complete, the results are sent to the manufacturer for review, and if everything is good, they provide a warranty on their products.
Once testing is completed, all errors are corrected, and the area is cleaned, the site can be considered closed for the installer. The five-day business trip is over, and we happily headed home. From here, the work of managers and designers begins to provide documentation.
From the author:
I wish you to enjoy your work and the projects you complete successfully. I personally feel ashamed when a job is done poorly; it's always on my mind, causing unease. I've come to realize that it's easier to just do it well from the start. I hope this is your rule in work as well.
Source: habr.com
