

Often, it is necessary to install the 3CX PBX in the cloud, but your chosen cloud provider is not on the list like 3CX (for example, Mail.ru Cloud Solutions). No worries! This is not difficult to do; you just need to find out if the provider supports Openstack infrastructure. 3CX, among other companies, the development of Openstack and supports the Openstack API and standard Horizon interface for monitoring and management.
So, to install 3CX you will need:
- An Openstack API Compliant Cloud Provider with an activated account
- API access credentials for the PBX Express service, including Openstack API URL
Let's consider the installation of cloud 3CX using the provider Dreamhost as an example.
Creating an OpenStack Hosting Account
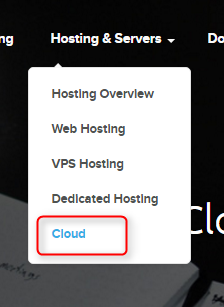
1. Go to and navigate to the Hosting & Servers > Cloud section. On the opened page, click Get started with DreamCompute.
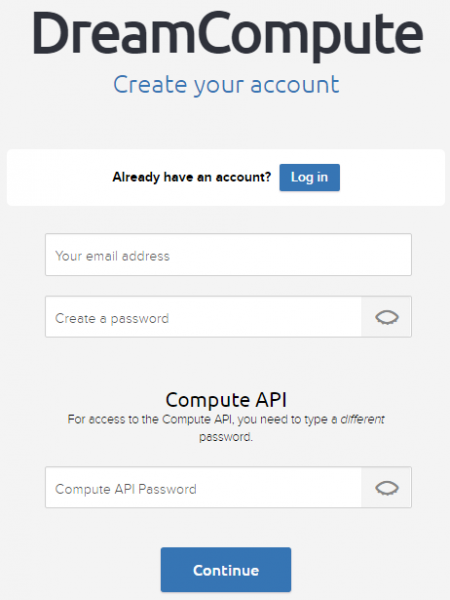
2. Fill in your credentials. A separate password is required for the Compute API, which is used by the PBX Express service to exchange data with the Dreamhost Openstack platform. Any Openstack provider will ask for similar information.
3. After registration, you will receive an email with the information required for verification and activation of your account. Typically, operators request a scanned copy of your passport or credit card details.
Configuring the OpenStack Account for 3CX PBX Express
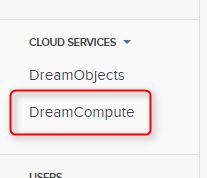
4. After account verification, log in to the control panel, navigate to the Cloud Services section, and click DreamCompute.
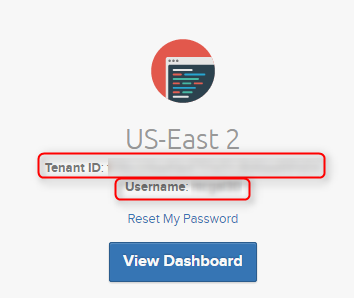
5. Here you will see the tenant ID and username (Tenant ID and Username). Note them down — you will need this information when installing 3CX via the PBX Express service. Then click View Dashboard.
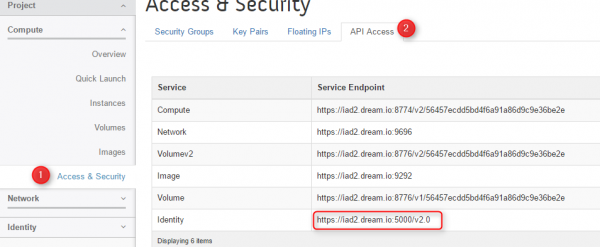
6. In the control panel, go to Access & Security > API Access page. Here note the URL in the Identity field — this URL is how PBX Express accesses the Dreamhost OpenStack cloud.
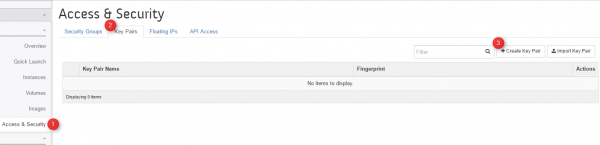
7. Also in the Access & Security section, go to the Key Pairs tab and click Create Key Pair.
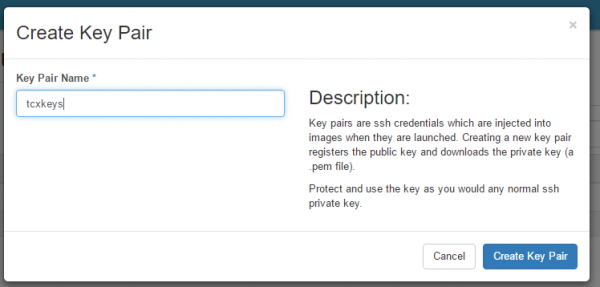
8. In the pop-up window, enter a name for the key pair and click Create Key Pair. The keys will be created and downloaded to your disk.
Installing Cloud 3CX via PBX Express Service
9. Now everything is ready for installing the cloud PBX 3CX through the service . At one stage of the PBX Express Wizard, you will be prompted for your Openstack hosting parameters. Using these parameters, PBX Express will automatically create a VPS server with 3CX installed. For Dreamhost, the following parameters are specified:
- Select Hosting — VPS cloud provider (OpenStack API v2 compliant)
- Cloud Provider API URL — URL from step 6
- User name — username from step 5
- Password — tenant ID from step 5
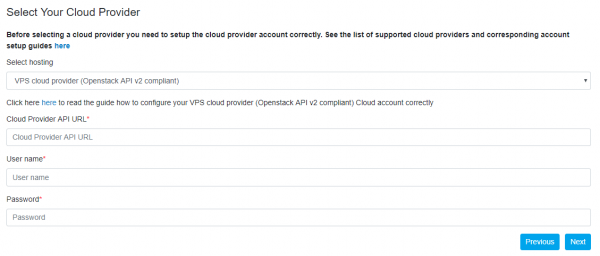
10. On the next page, if you are unsure what to specify, simply click Next. If you are familiar with these parameters, you can specify the server location, and the SSH key pair to be used. The installed image must only be Debian-9.
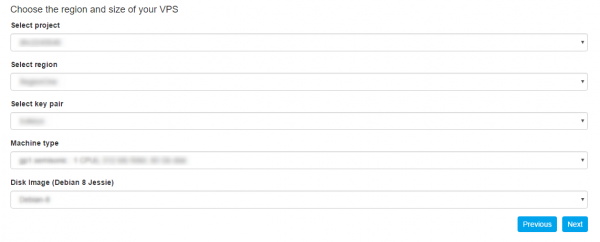
Then click Next and provide your personal details. Shortly, your cloud PBX will be ready — you will receive a corresponding notification via email. Save it — it contains important information.
Now you can continue setting up the PBX — connect , etc.
Source: habr.com
