

In I touched on the topic of "cottage" internet and devices for obtaining this internet. However, not everyone has a cellular tower within sight, and a cellular operator's modem can sometimes turn out to be completely useless. Special routers, amplifiers, and directional antennas come to the rescue here. In this material, I will explain how to achieve a level of internet comfort comparable to urban standards.
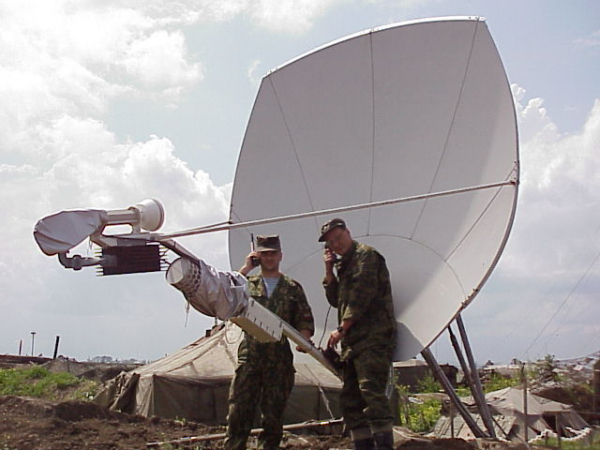
First, let's go through the types of antennas used for organizing radio communication. There are three types and various modifications of them.
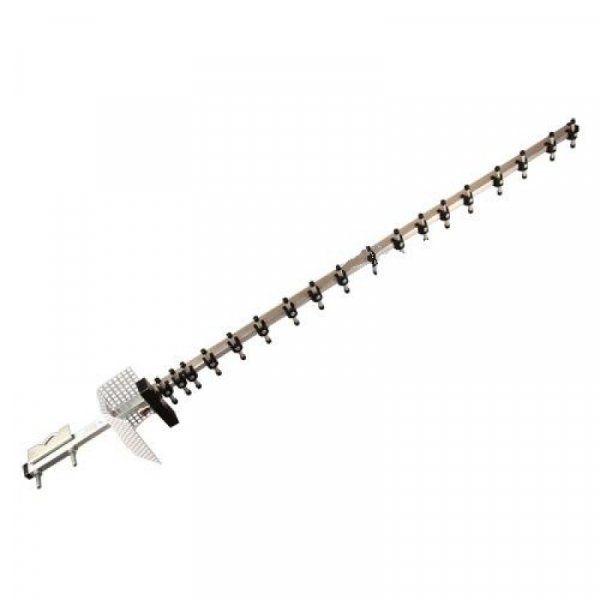
Wave Channel or YAGI
Pros: simplicity of manufacture, low cost
Cons: poorly captures reflected signals, susceptible to deformation (if not in a protective casing)
Applications: Mainly, stationary communication in a relatively narrow frequency range
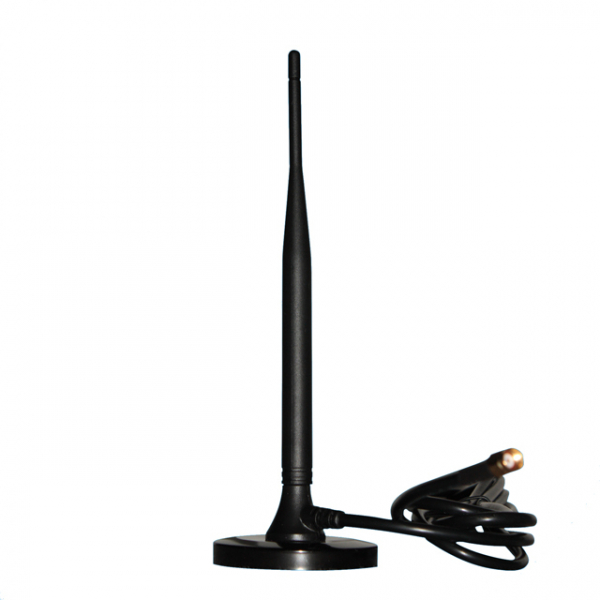
Omnidirectional or OMNI antennas
Pros: install and forget
Cons: low gain based on materials used, picks up noise from all directions
Applications: typically, an omnidirectional antenna is used for broadcasting a signal rather than receiving. Exceptions include mobile objects such as cars or yachts. Or when it is not possible to catch a signal (dense urban development, multiple different signals around)
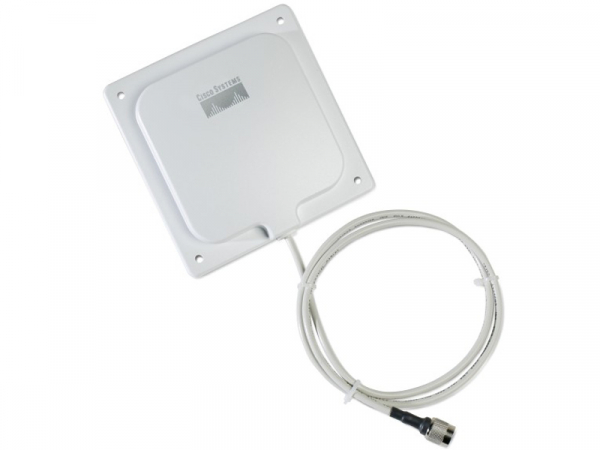
Panel antennas
Pros: small space volume, large signal reception area (especially helpful when the signal is weak or reflects from various surfaces). Greater variability in design, both in frequencies and characteristics like gain and radiation patterns
Cons: cost, high wind resistance
Applications: from operator antennas to DIY models, often antennas are integrated directly onto the circuit board
When I started looking for solutions to improve internet speed, I spoke with many specialists. As a result, I compiled a brief list of things that definitely deserve attention:
0. Recall the school physics about waves and follow logical reasoning
1. Before estimating or enhancing anything, it's essential to measure internet speed early in the morning, during the day, at prime time in the evening (around 8 PM), and late at night. If fluctuations exceed 30%, it means the base station is overloaded. The only solution is to find a less congested base station. And even then, it’s not guaranteed.
2. Carefully consider possible solutions — the pros and cons are critical.
3. Don't be greedy. Yes, the initial costs may seem exorbitant. Here, the principle of 'necessary and sufficient' comes into play.
4. Avoid getting tied to locked devices. Programs may be poorly written, and another operator may provide better service than the one you chose. Therefore, only original or unlocked devices + definitely original software.
5. Thoroughness. It's worth checking all operators — one of them can often surprise you (there were instances when MegaFon and MTS were completely congested, while Beeline consistently provided 15+ Mbps for downloads/uploads).
6. Patience. Setting up the system is not a matter of three minutes, especially if you don't do it every day. Every degree, every centimeter up or down can result in differences of a couple of megabits. Experienced engineers firmly hold the antenna while tightening the mounts — otherwise, the direction may slightly drift, negatively affecting speed.
7. If possible, trust a professional — it's better to rely on experts. You might stumble when assessing equipment compatibility (software, power supply, connectors, etc.), or make mistakes when terminating cables, selecting pigtailed connectors for modems, or aligning antennas.
8. Time. It can take anywhere from one day to a week.
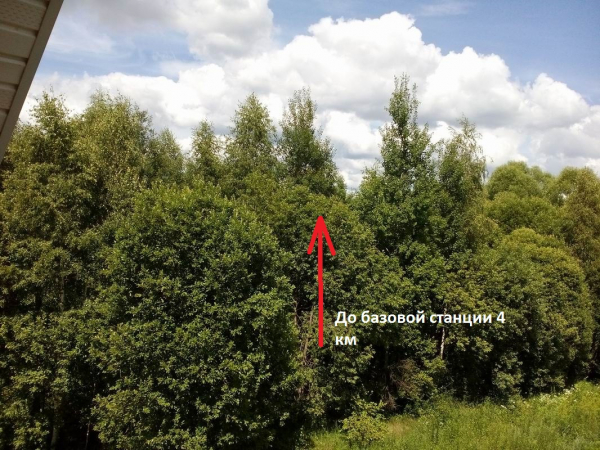
Having absorbed the theory, I moved on to practice. The conditions are as follows: the nearest LTE tower is straight ahead at a distance of 3-4 km, but trees obstruct the signal. And while the absence of leaves in winter positively affects the signal, in summer, the quality of the connection noticeably deteriorates. I am not keen on raising the mast with the antenna and dealing with lightning protection for now. There are no other obstacles to the signal other than the trees. The tree line is short, about 100 meters.
View of the base station
My first step towards good internet was the antenna.
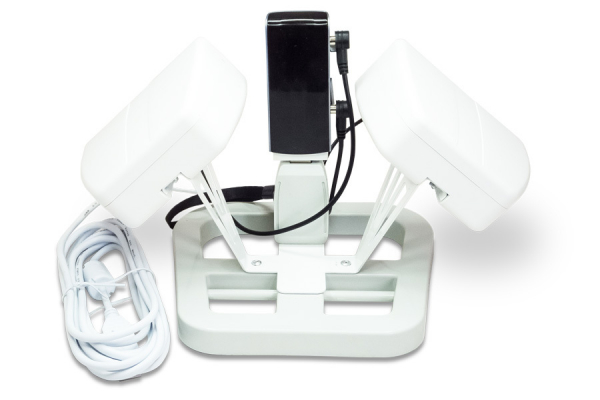
Specs:
Antenna type: Indoor
Antenna type: Wave channel
Supported communication standards: LTE, HSPA, HSPA+
Operating frequencies, MHz: 790-2700
Maximum gain, dBi: 11
Voltage standing wave ratio, not more than: 1.25
Wave resistance, Ohm: 50
Dimensions assembled (without mounting unit), mm: 160x150x150
Weight, not more than, kg: 0.6
Inside view of the antenna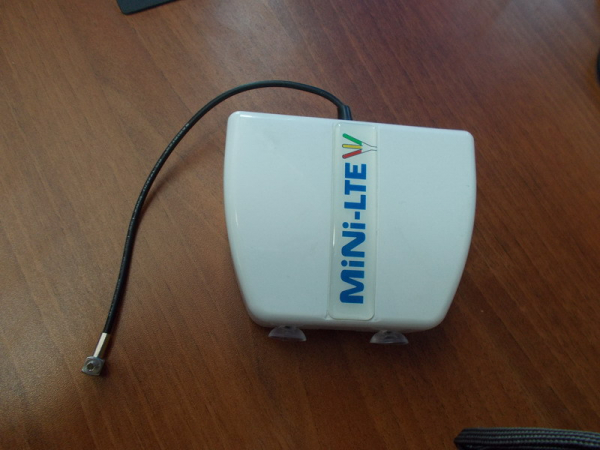
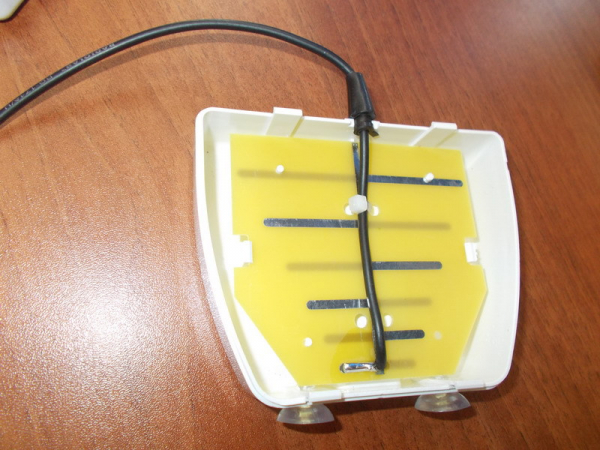
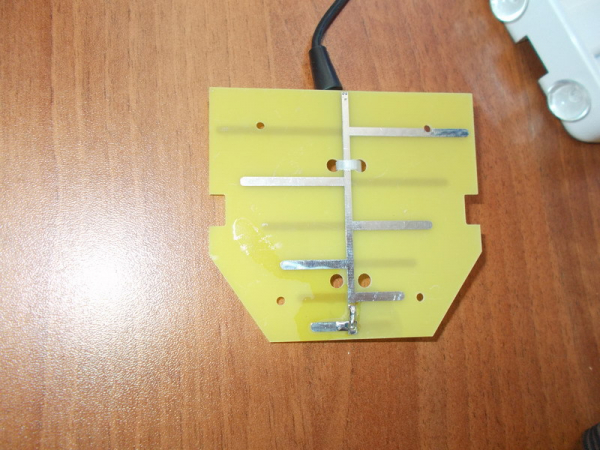
The manufacturer is based in Saratov and offers quite a wide range of devices. I was attracted by the broad frequency range, support for 3G and 4G, and the presence of two antennas, making it suitable for my Huawei E5372 router. With a clear orientation, it could be placed on the windowsill, aimed at the base station, and enjoy a stable connection. I must say, the reception became noticeably stronger, and the signal level improved. The result I achieved: 3G is caught excellently, 4G is available, but the signal reception is very weak. It's suitable for work only in 3G or when there are no leaves on the trees. I was also dissatisfied with the lack of an Ethernet port, as I needed to connect a hardware VoIP phone.
Pros: compact, includes a USB extension for connecting USB modems, good amplification level, directional
Cons: Requires installation at a window, the amplification factor does not match the claimed specifications.
Price: 1590 rub + router 5700 (Huawei E5372)

Specs:
Antenna type: Outdoor
Antenna type: Panel
Supported communication standards: LTE, WCDMA, HSPA, HSPA+, DC-HSPA
Operating frequencies, MHz: 1700-2700
Maximum gain, dBi: 15-18
Voltage standing wave ratio, not more than: 1.5
Wave resistance, Ohm: 50
Dimensions assembled (without mounting unit), mm: 450x450x60
Weight, not more than, kg: 3.2
Antenna photo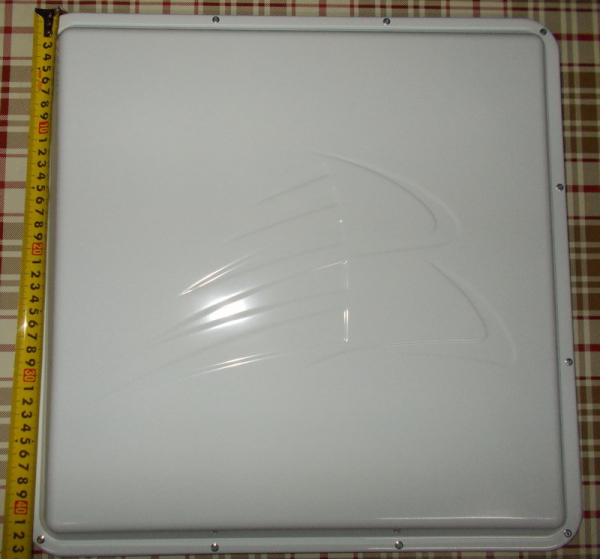
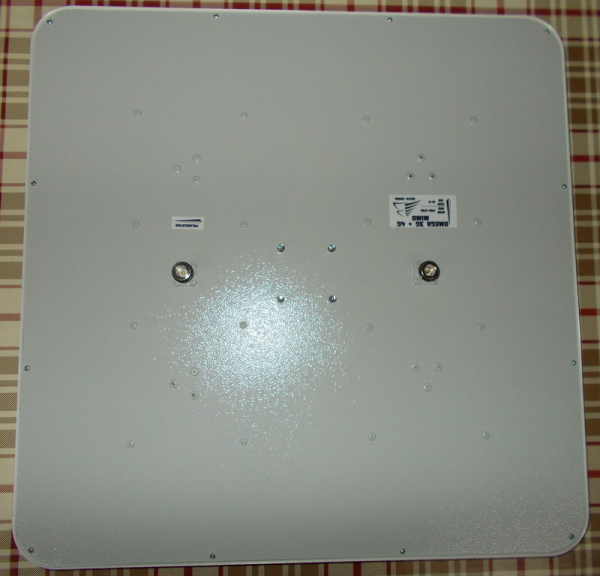
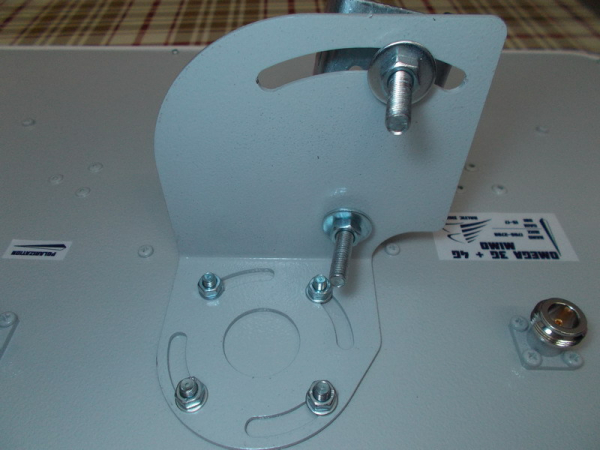
This isn't just an antenna; it's fantastic. When I saw the box, I thought it was a very large pizza, and when I picked it up, I realized it was quite heavy. The airtight case of the square antenna has a side length of 45 centimeters and is made of UV-resistant plastic. The antenna is designed for mast mounting and vertical tilt, as well as changing the polarization angle by 45 degrees — all with standard mounting. Given the considerable sail size of this antenna and its weight exceeding 3 kg, the mounting hardware is impressive. The antenna operates in 3G and 4G networks with MIMO support. Its serious dimensions allow for a quite plausible amplification factor, ensuring a stable connection. I will discuss the speed further below, comparing the two sets that I have on hand. This antenna is working for me alongside the Zyxel Keenetic LTE router. Overall, I am very satisfied with the device.
Pros: High amplification factor, convenient mounting, waterproof outdoor design
Cons: heavy weight, high sail area
Price: 4200 rub + router 7000 (Zyxel Keenetic LTE) (this price does not include cable assemblies. I took the cable assembly +2400 rub
Zyxel LTE 6101 vs Zyxel Keenetic LTE+3G/4G OMEGA MIMO
Zyxel LTE 6101
Since I had the opportunity to compare two sets of equipment, one self-assembled and the other ready-made, I wanted to understand whether it was worth spending 25,000 rubles on the ready-made Zyxel LTE 6101 device or investing some time and effort to assemble a set of a router, cables, and an antenna myself for 11,200 rubles.
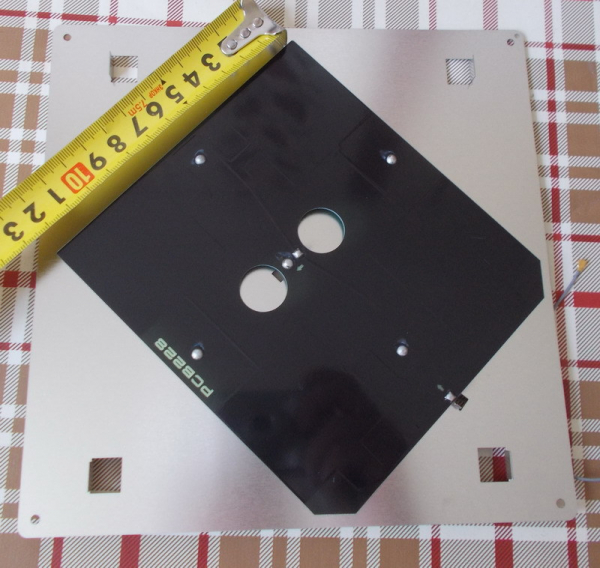
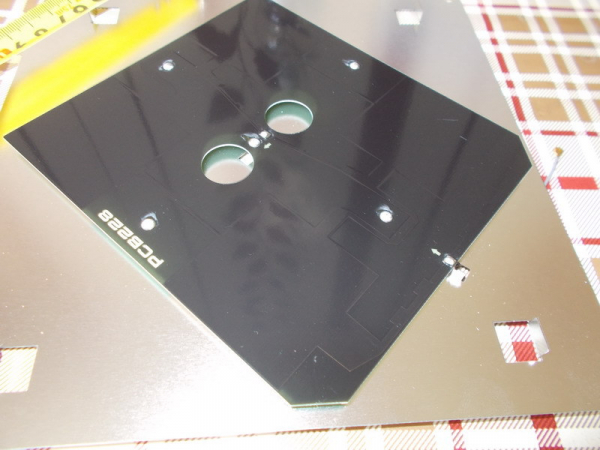
I disassembled the external unit of the Zyxel LTE 6101, which contains the LTE modem with an antenna. This layout allows for the shortest possible cable length from the antenna to the modem, thereby reducing signal loss in the cable. The external unit is sealed to IP65 standards and can withstand heavy rain, thanks to rubber gaskets at all junction points, including plugs and cable entry points. Power for the modem in the external unit is supplied via POE technology, meaning there will only be one cable—Ethernet—running from the external unit. Its length can be up to 100 meters, but I tested a 30-meter cable, which was more than enough to comfortably position the equipment in a large house. The second unit, the router, is somewhat unusual. You won't be able to connect another router to work with the external unit, so you have to be prepared that the device is sold as a package. On its own, it looks good, has a couple of gigabit Ethernet ports, and a separate blue port for connecting the external unit. Both the external and internal units have grounding screws, which protect the equipment from surges and spikes during thunderstorms. The ease of setup and comfort of operation are top-notch. The device is a plug-and-play type. Naturally, I couldn't resist disassembling the external unit. Photos under the cut.
Disassembling the external unit of the Zyxel LTE 6101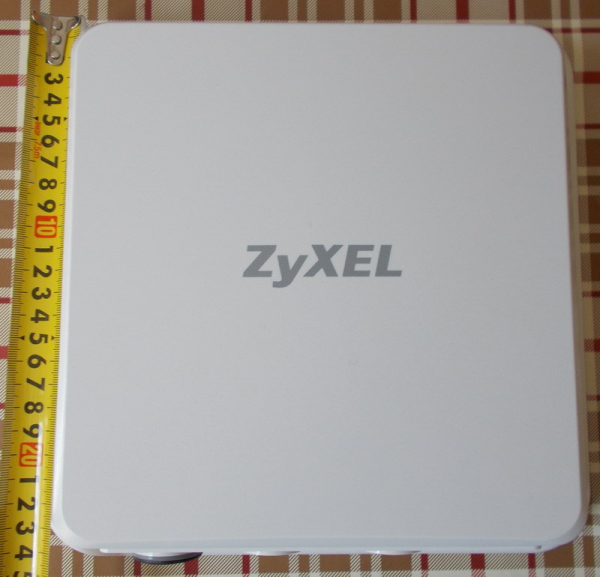
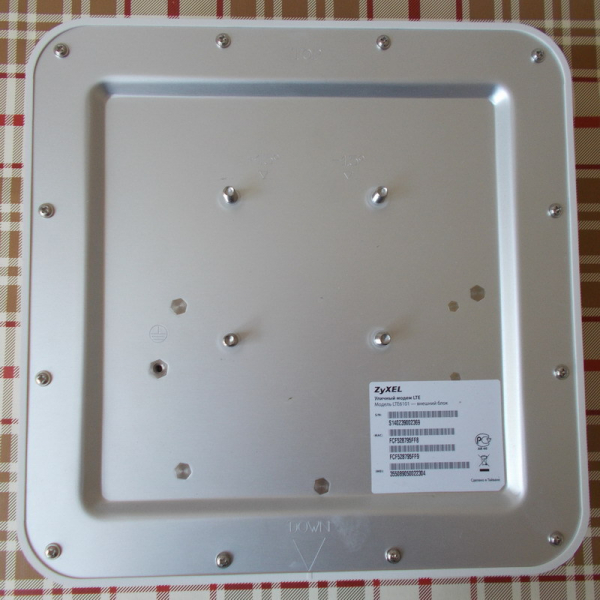
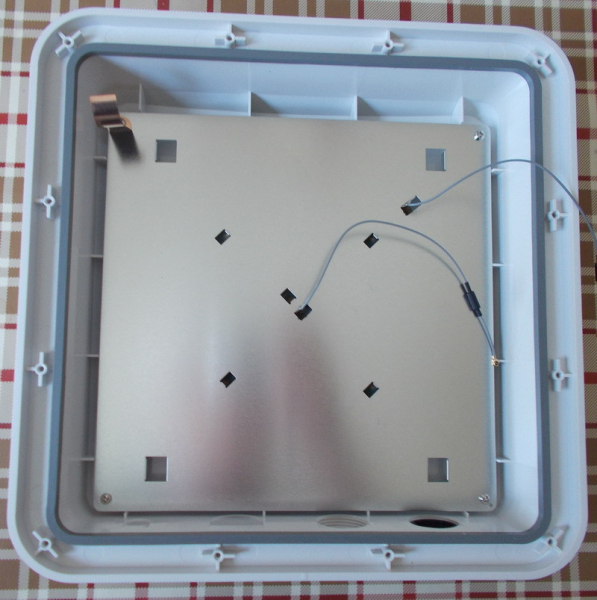
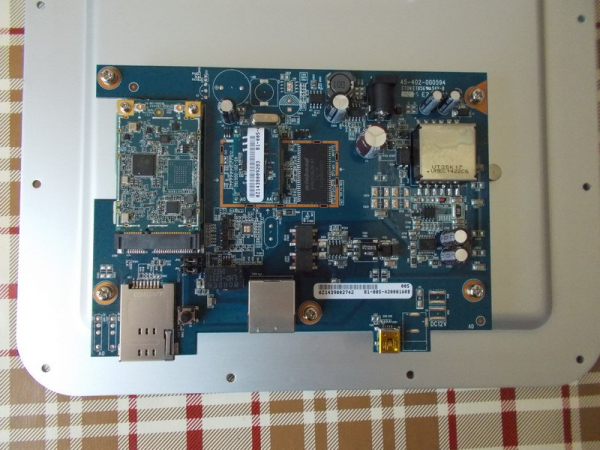
Zyxel Keenetic LTE
The second stage was the self-assembly of a similar kit based on the Zyxel Keenetic LTE. This is the only Keenetic in the series that has a built-in 4G modem; all others require an external USB modem. The Internet access source may also be a network provider that distributes access via Ethernet or Wi-Fi. In my case, only the LTE Internet connection is used, so we insert the SIM card into the corresponding slot and turn on the router. Under normal circumstances, where network coverage is good, the signal level will be displayed on the front panel, and network access will appear immediately or after a short setup through the web interface. In my case, the signal strength is too weak, so it was necessary to use an external antenna. On the back panel of the router, there are a couple of connectors to connect the MIMO antenna and a switch from the internal antenna to the external one. After connecting the antenna , I received a connection even at a considerable distance from the base and through an obstacle in the form of a forest strip. However, it should be noted that with this setup, the router must be placed as close to the antenna as possible, as even in the best cable there will still be attenuation, which means the speed will be lower. This is the main difference between the Zyxel LTE 6101 and Zyxel Keenetic LTE+external antenna.
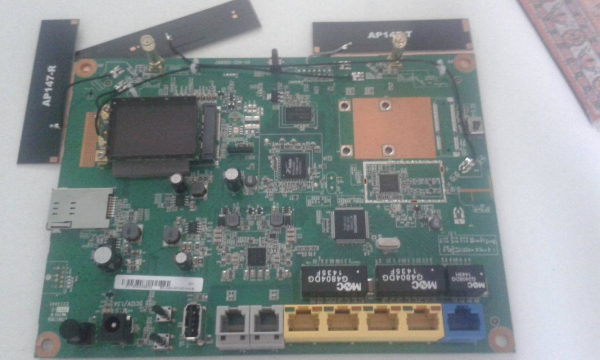
I also couldn't resist and opened the Zyxel Keenetic LTE for inspection. Photos under the cut
Disassembling Zyxel Keenetic LTE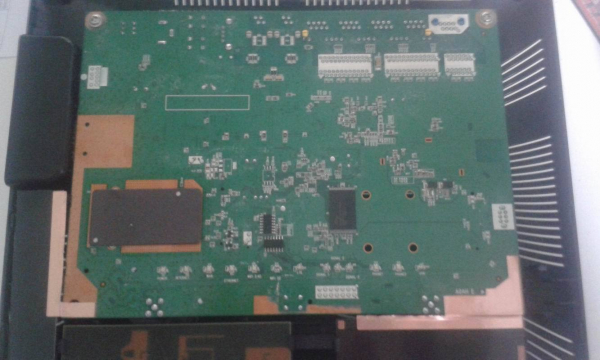
Polarization
If you take a close look at the photo of the disassembled external block from Zyxel LTE 6101, you can notice how the antenna is rotated 45 degrees relative to the body. To obtain a good signal level and maximum speed, the polarization of the receiving antenna must match the polarization of the base station antenna. The direction of polarization is necessarily indicated on the antenna with an arrow. For example, my connection speed increased by a third when I rotated the antenna 45 degrees. It is difficult to predict this in advance, so when installing, this fact should be taken into account, and different installation options should be tried.
And now it is quite reasonable to compare the three kits for 7290, 11200, and 25000 rubles.
Conclusions
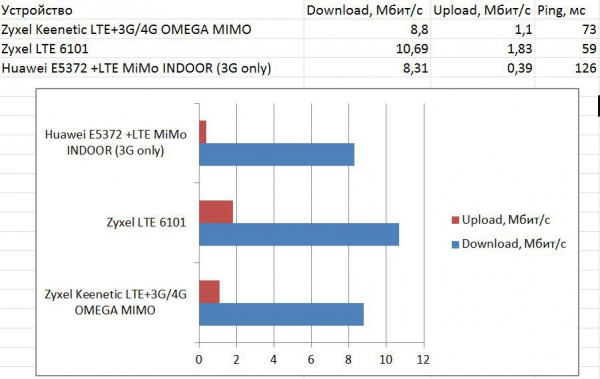
As seen from the screenshot, Zyxel LTE 6101 leads in speed. This is due to the modem's location near the antenna and the minimal cable length between them. It’s an interesting, capable device, but it isn’t budget-friendly. It’s suitable for those who are willing to pay for a stable and reliable connection.
In second place is Zyxel Keenetic LTE with an external antenna. This combination is undoubtedly very worthy, and its reception and transmission speeds are close to those of Zyxel LTE 6101. Therefore, for those for whom speed is not critical and who are willing to spend time laying cables and adjusting the antenna (which will also need to be done with Zyxel LTE 6101), this set will be noticeably more budget-friendly and functionally richer. At least because Zyxel Keenetic LTE has a built-in SIP telephony adapter and 5 gigabit ports.
The last set (LTE MiMo INDOOR + Huawei E5372) has a significant drawback due to the lack of Ethernet ports. Moreover, under current conditions, when foliage obstructs the signal, it couldn't catch 4G even with an external antenna, but the connection over 3G was quite decent. However, the latency is considerable, making VoIP calls not very comfortable. This option is suitable for those who only need internet for surfing.
BONUS
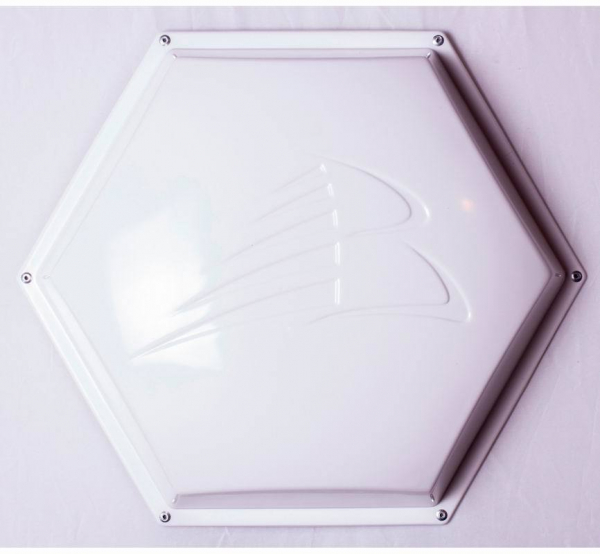
Specs:
Antenna type: Outdoor
Antenna type: Panel
Supported communication standards: LTE, WCDMA, HSPA, HSPA+, DC-HSPA
Operating frequencies, MHz: 790-960, 1700-2700
Maximum gain, dBi: 10-15
Voltage standing wave ratio, not more than: 1.5
Wave resistance, Ohm: 50
Overall dimensions (without mounting unit), mm: 310х270х90
Weight, no more than, kg: 1.5 kg
Antenna photo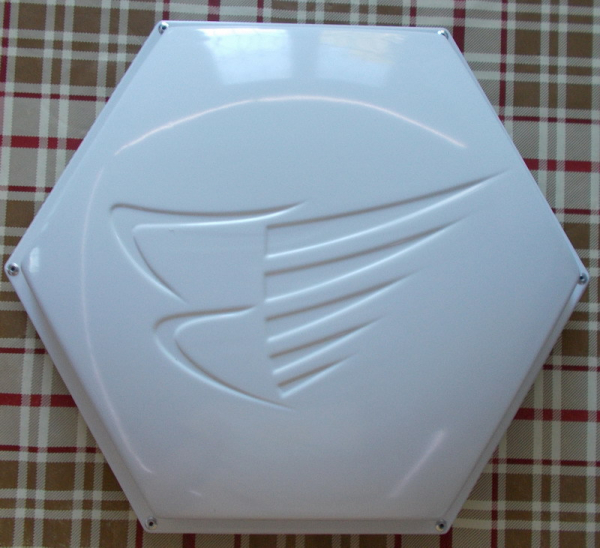
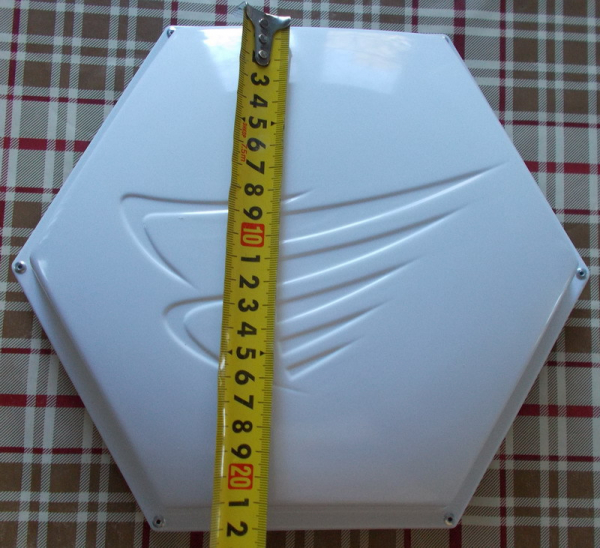
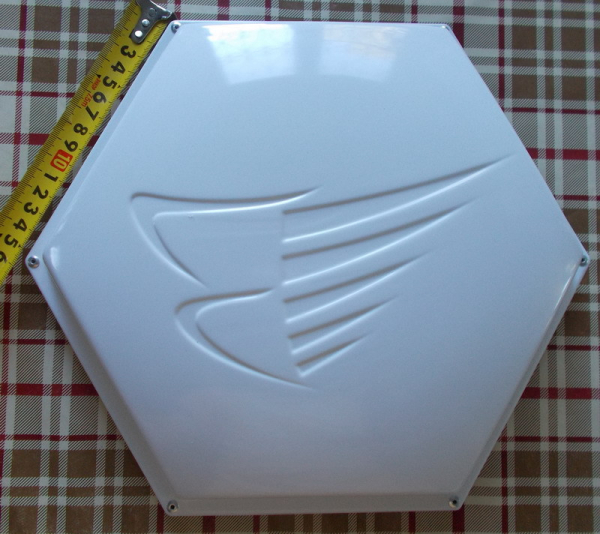
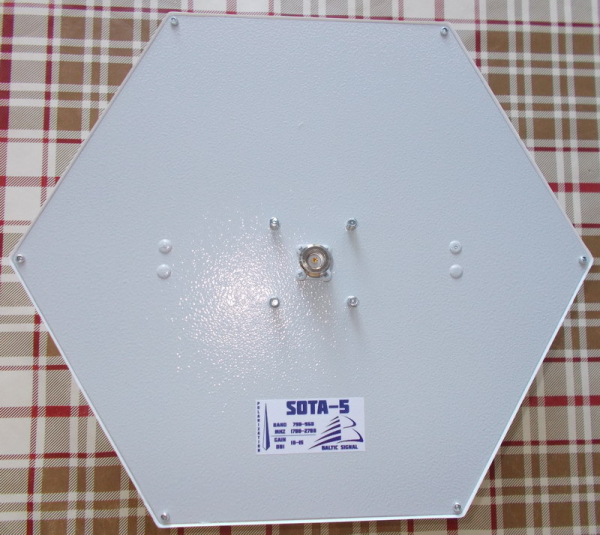
Once, a person approached me with a request to help distribute Wi-Fi at a summer house. The site is half a hectare, and the distance from the bathhouse with the gazebo to the house made it impossible for a simple router to provide a signal across the entire area. In this situation, either a second router in a suitable location with an Ethernet cable run or a repeater that can pick up the signal from the router and amplify it on-site would save the day. But there's a simpler and more reliable option — an external antenna for covering the area with Wi-Fi signal. I had the SOTA-5 antenna, and thanks to its multi-band capability, it turned out to be possible to use it not only for communication with cellular operators' base stations but also for receiving and transmitting Wi-Fi signals. The coverage area is quite large, and the radiation pattern allows fairly clear delimitation of the coverage zone without interfering with neighboring Wi-Fi networks. Fully waterproof design, convenient and reliable mounting, Russian production — everything one could wish for from such equipment.
Pros: Airtight, simple, reliable
Cons: Installed and forgot where I put it
Source: habr.com
