

Hello!
Today we will discuss the full-text search engine Elasticsearch (hereinafter ES), which
works with the Docsvision 5.5 platform.

1. Installation
You can download the latest version from the link:
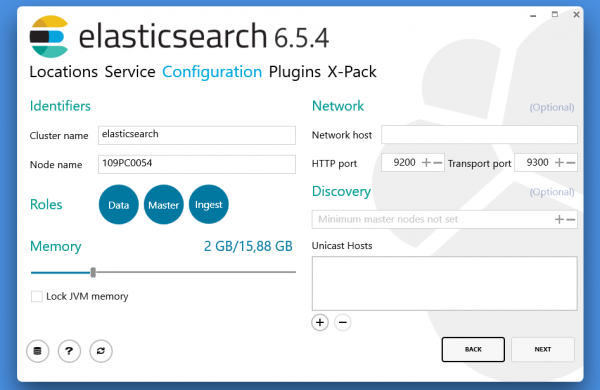
Screenshot of the installer below:
2. Checking functionality
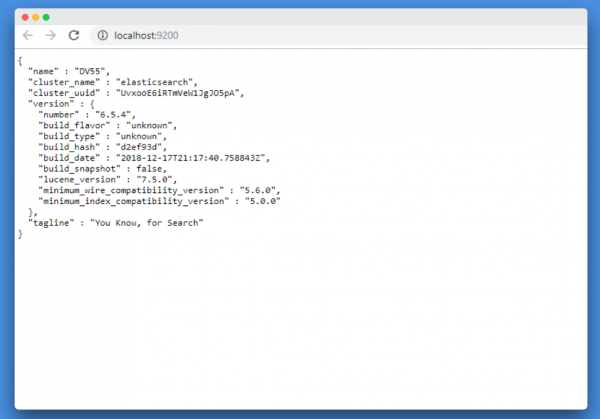
After installation is complete, go to the address
A page displaying the status of ES should appear below:
If the page does not open, make sure that the Elasticsearch service is running. In Windows, this
is the Elasticsearch service.

3. Connecting to Docsvision
Connecting to Elasticsearch is configured on the full-text indexing service page.
Here you need to specify:
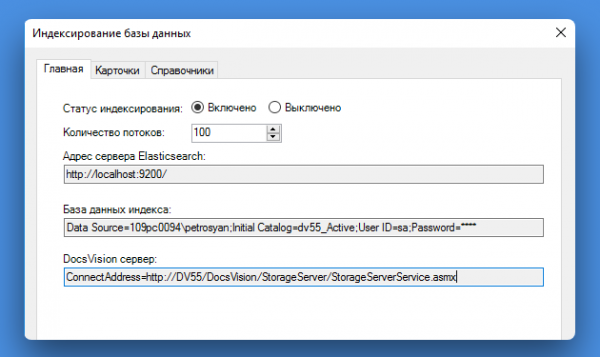
1. The address of the Elasticsearch server (set during installation).
2. The connection string to the database.
3. The address of Docsvision (in the format ConnectAddress=
asmx)
needs to be indexed.
You also need to ensure that the account under which the Docsvision service
Fulltext Indexing service is running has access to the Docsvision database on MS SQL.
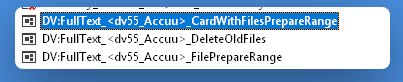
After connecting, make sure that tasks with the prefix:
‘DV:FullText__CardWithFilesPrepareRange’ have been created in the MS SQL database.
After completing the settings, the search box will be unlocked in the Windows client.
4. Elastic REST API
The administrator can get various information about the operation of Elasticsearch using the
provided REST API.
In the following examples, we will use Insomnia Rest Client.
Getting general information
Once the service has started and is working (http://localhost:9200/ in the browser), you can
execute the request:
You will get a response about the status of the Elasticsearch service (in the browser):
Response about the status in Insomnia:

Let's pay attention to Status — Green, Yellow, Red. The official documentation states the following about the statuses:
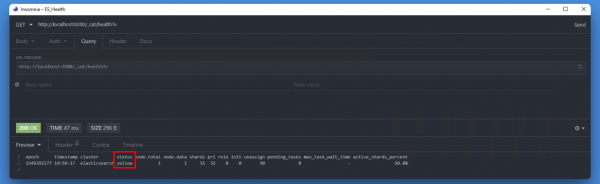
• Green — All is well (Cluster fully operational)
• Yellow — All data is available, but some replicas in the cluster are not yet assigned for them
• Red — Some data is unavailable for any reason (the cluster itself is functioning normally)
Getting statuses about nodes in the cluster and their state (I have 1 node):
All ES indices:

In addition to indices from Docsvision, there may be indices from other applications — heartbeat,

kibana — if you are using them. You can sort the necessary ones from the unnecessary. For example,
let's take only the indices that have rd% in their name:
let's take only the indices that have rd% in their names:

Elasticsearch Configuration
Retrieving Elasticsearch settings:
The result will be quite extensive, including paths to the logs:
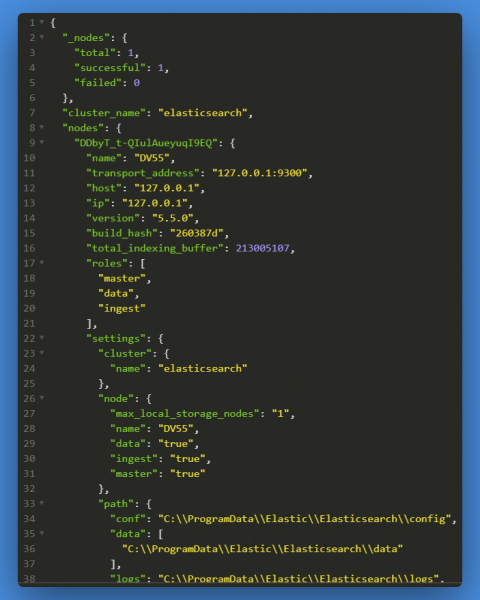
We already know how to get the list of indexes, Docsvision does this automatically, naming the index in the format:
<имябд+видИндексируемойКарточки>
It is also possible to create your own independent index:
However, this will not be a GET request, but a PUT request:
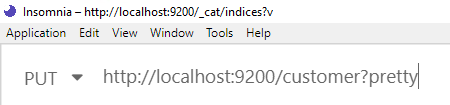
Result:
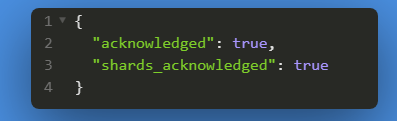
The following request will show all indexes, including the new one (customer):

5. Getting information on indexed data
Elasticsearch index statuses
After the initial setup from Docsvision is completed, the service should be ready to operate and begin indexing data.
First of all, let's check that the indexes are being filled and their size is larger than the standard 'bytes' using a familiar request:
as a result, we see: 87 'tasks' and 72 'documents' indexed, when referring to our EDM terminology:

After some time, the results are as follows (by default, the indexing job runs every 5 minutes):

We see that the number of documents has increased.
How can we tell that the required card has been indexed?
• Firstly, we need to ensure that the card type in Docsvision matches the data specified in the Elasticsearch settings.
• Secondly, wait for the indexing of the card array — it should take some time for the data to appear in the storage after being added to Docsvision.
• Thirdly, you can search for the card by CardID. This can be done with the following request:
If the card exists in the storage, we will see its 'raw' data, if not, we will see a response like this:
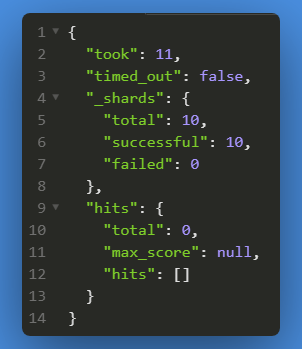
Searching for a card in the Elasticsearch node
Find a document by exact match of the Description field:
Result:
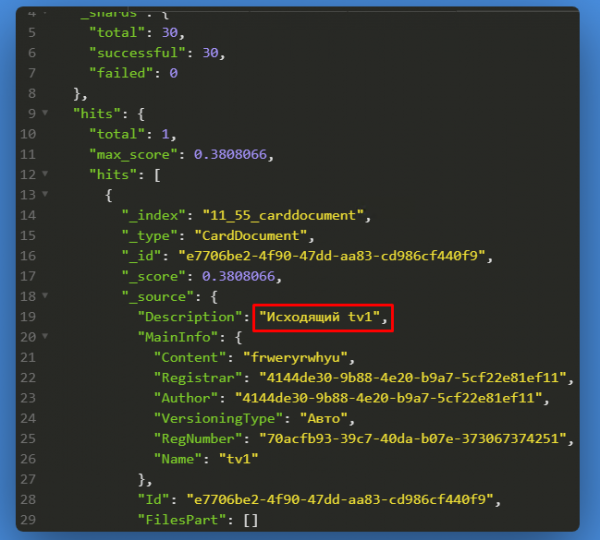
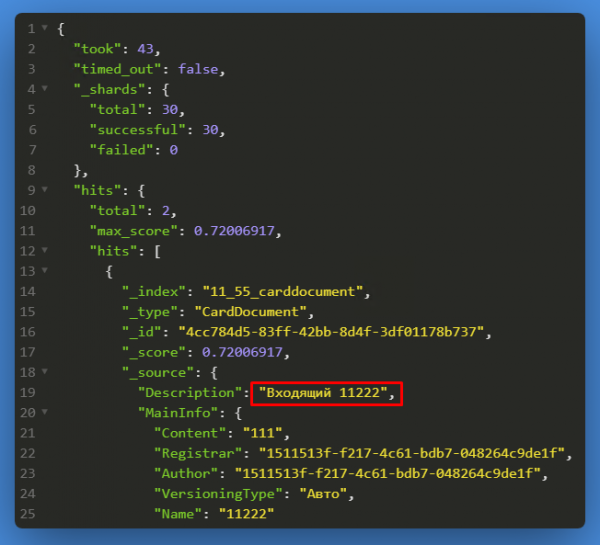
search for a document that contains 'Incoming' in the Description
Result:
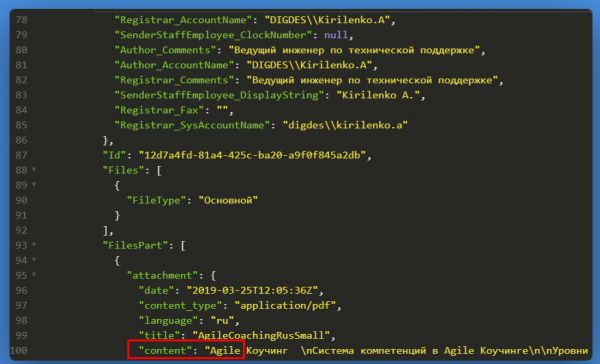
Searching for a card by the content of the attached file
result:
Let's find all cards of type document:
or all cards of type task:
Using constructs and and parameters returned by Elasticsearch in JSON format, we can build such a request:
It will show all task-type cards among users whose FirstName = Konstantin, located in the Orel Office.
Besides LIKE there are also other documented parameters:
unlike, fields, docs, content, etc.
They are all described .
That's all for today!
#docsvision #docsvisionECM
Useful links:
- Insomnia Rest client
Source: habr.com
