

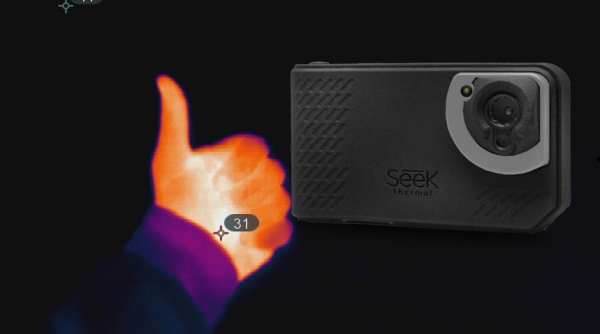
A comprehensive review of the portable Seek Thermal SHOT thermal camera — a device that helps detect and eliminate heat or cold leaks, spot wiring issues, identify localized heating or overheating of equipment, find game while hunting, and more. Seek Thermal has managed to create an affordable, compact, standalone device that comes with the full functionality of 'adult' professional models.
Hello!
I previously reviewed the younger model , which works as an attachment to a smartphone; this time I got my hands on a standalone thermal camera. , featuring a display, visible range camera, and Wi-Fi module. The thermal matrix resolution is 206 x 156 pixels. The thermal camera is useful for monitoring temperature differentials and promptly identifying problematic areas.
In the comments, there were questions about the price: with the code HSHOT (10% discount on the entire Seek Thermal range), the price for the SHOT is 44,910 rubles.
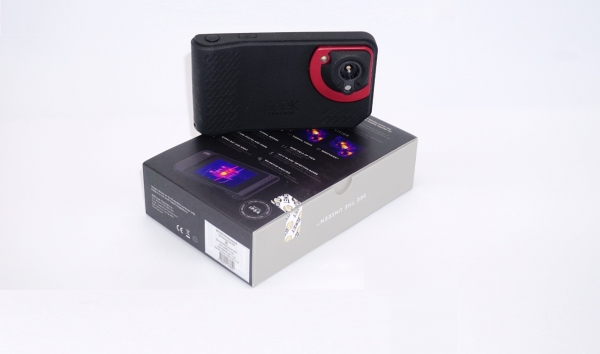
Links to the thermal camera range :
Specifications:
Brand: Seek Thermal
Model: SHOT
Microbolometer Resolution: 206 x 156 pixels
Optical Matrix Resolution: 640x480
Field of View (FOV): 36 degrees
Refresh Rate: 9 Hz
Display: 3.5″
Interfaces: USB-C, WiFi
Features: Flashlight, SeekFusion, Wi-Fi Streaming, Built-in Memory
Dust and Moisture Protection: IP54
App: Seek View
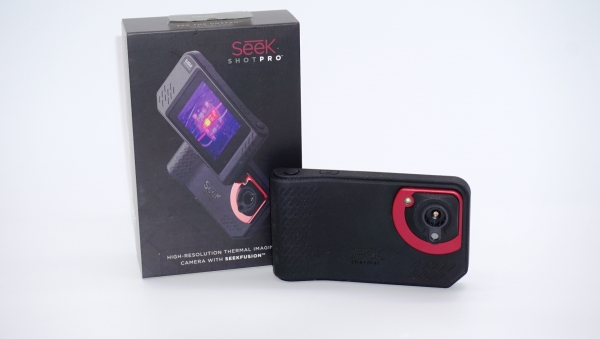
There are many application scenarios — from simply inspecting an apartment and walking around the house to searching for faulty radio components, checking electrical equipment, and even for hunting and security purposes. The advantages of an all-in-one device, such as this thermal camera in a rugged case (IP54) with a display, built-in analytical features, and an additional visible range camera, are obvious; for example, there's no need to carry a separate smartphone to connect to the thermal camera attachment like with the Compact series.
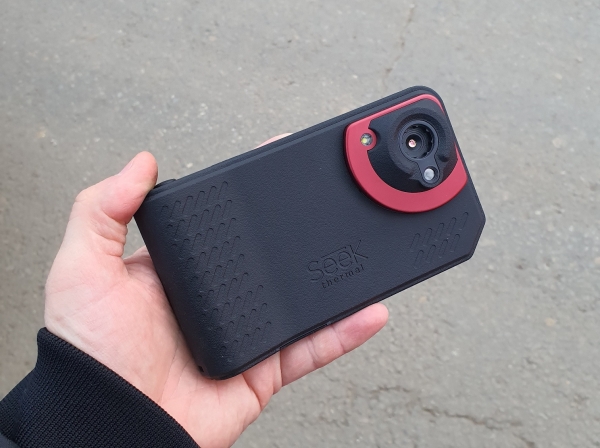
The Seek Thermal Shot thermal imager does not require a connection to a smartphone for operation — it is an autonomous device. The display resolution is convenient for use. With the touchscreen, it's easy to manage the device, set markers for temperature determination, highlight research areas, and so on. The screen resolution is 640 x 480 pixels. The device casing features rubber inserts and is generally protected from dust and moisture according to the IP54 standard. Compared to , the latter has a higher thermal matrix resolution (320 x 240 pixels).
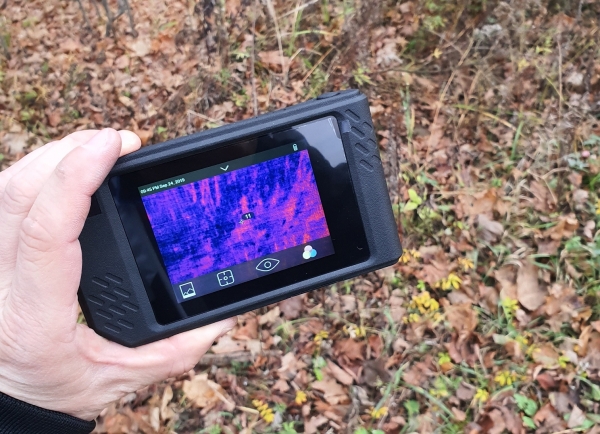
Included are a lanyard and a cable for synchronization and charging (USB-C).
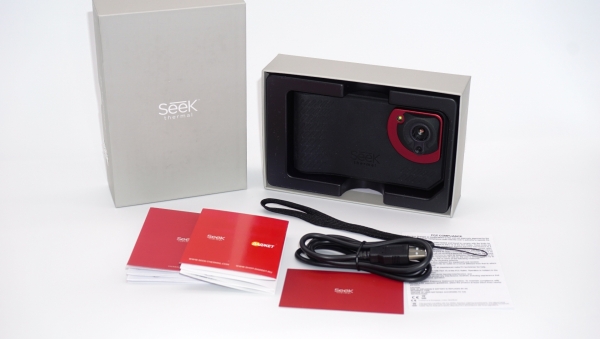
There is also a detailed instruction manual in Russian covering all device functions and terminology.
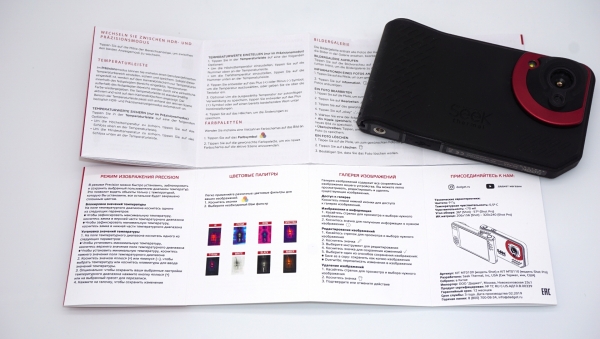
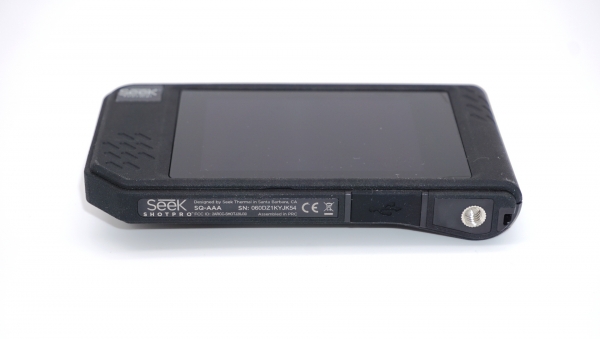
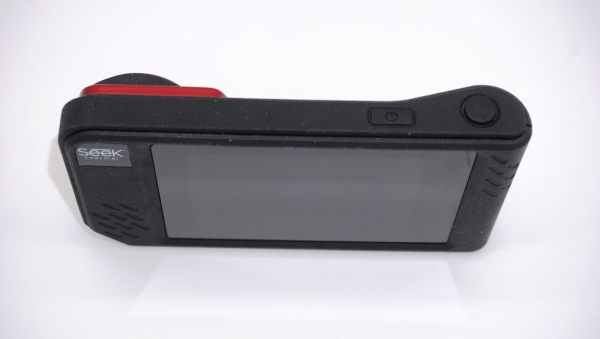
The exterior of the Seek Thermal Shot thermal imager.
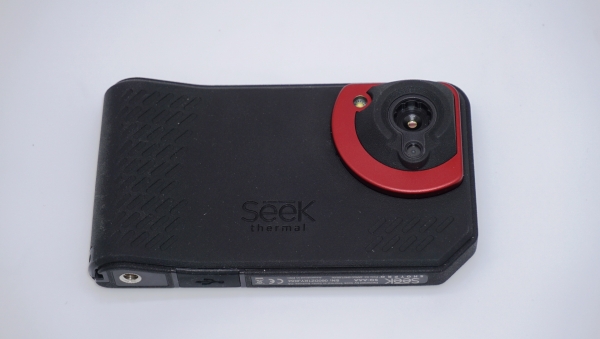
At the bottom is a USB-C port (under a rubber cover), and a thread for mounting on a photo tripod (1/4″).
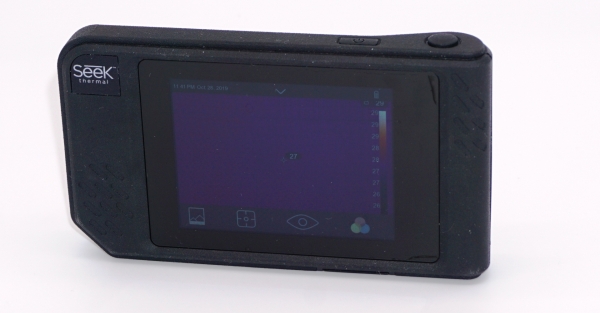
On the top panel (closer to the center) is the power on/off button, and to the right is the capture button.
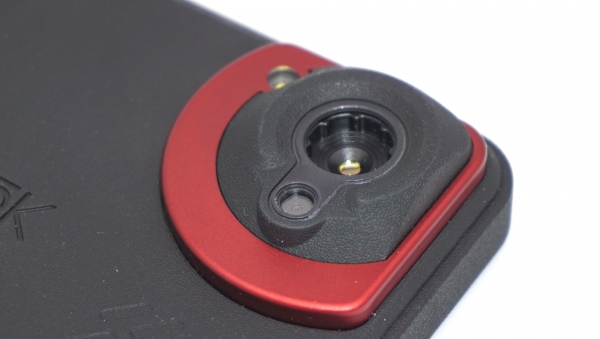
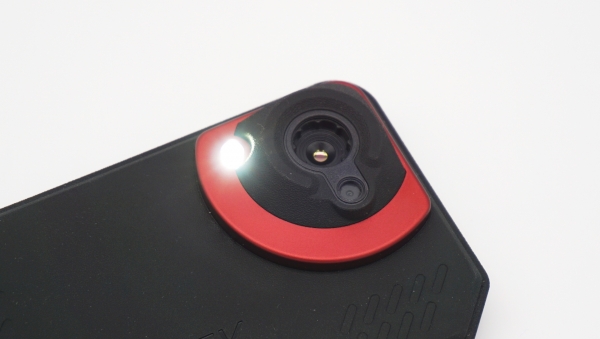
Unlike the Flir C2/C3 models, the Seek Thermal Shot/Shot Pro line has a larger display (3 inches versus 3.5) and the visible range matrix resolution is 640x480 for Shot compared to 320x240 for Flir. The case features a lens with a special IR lens for the microbolometer, just below it is the window for the visible range matrix. To the left is the backlight. The operating time on a single charge for the Seek Shot is about 4 hours. Such a powerful battery allows for long-term operation at low temperatures (in the frost).
For convenience or for prolonged observation of an object, it makes sense to mount the thermal imager on a tripod. For this purpose, a standard thread on the casing (1/4″) is provided. There is also remote access via Wi-Fi.
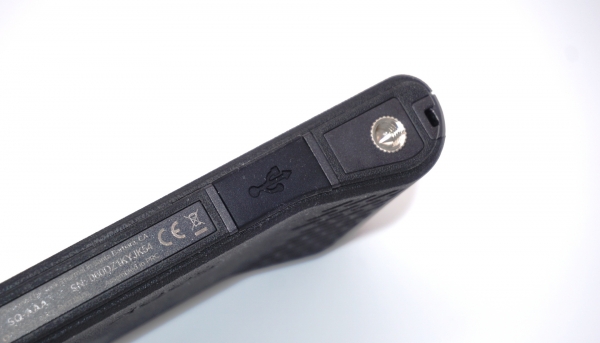
Under the rubber cover is a USB-C connector for charging and synchronization with a computer.
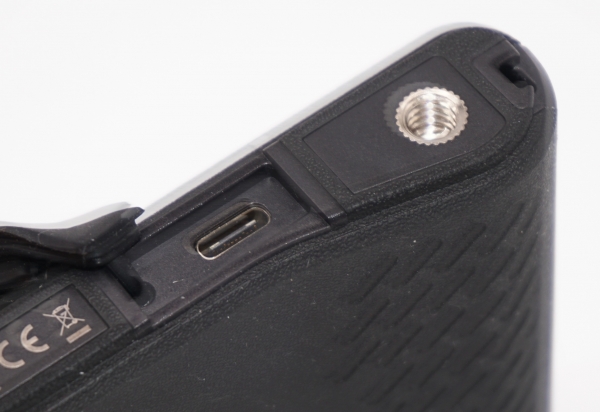
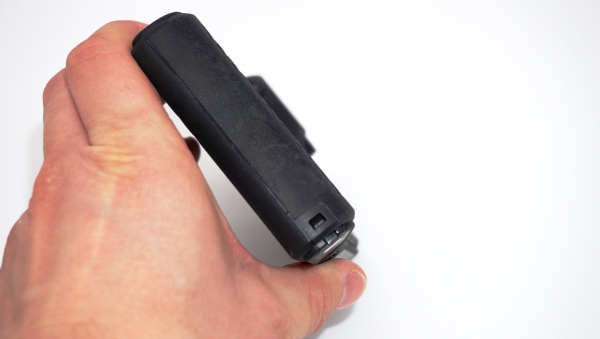
The casing is rubberized, non-slip, and the inserts protect against minor impacts. A hole for the lanyard is provided at the bottom.
The backlight can be activated from the menu and can be used as a flashlight.
Press the power button to turn on the device.
In the photo is one of the saved images — during operation, images are saved in the internal memory and are available for further analysis, including on the device itself.
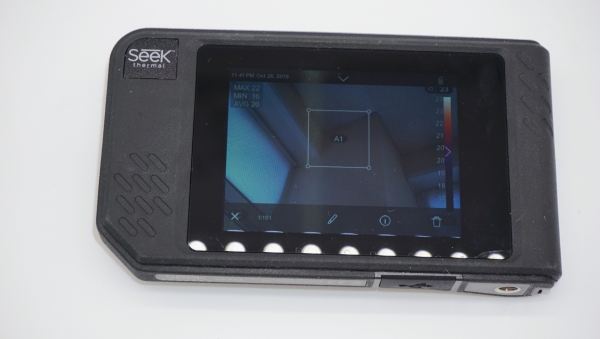
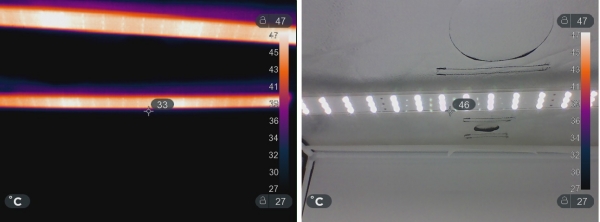
One of the first images is a check of the backlight lamp heat of the lightbox. The Seek Thermal Shot allows for on-device analysis of the images. You can select a palette, choose a marker (point) or image area, and evaluate the temperature. The lamps are made of aluminum profile and dissipate heat well into the surrounding space. The average temperature during prolonged operation: 40…50 °C.
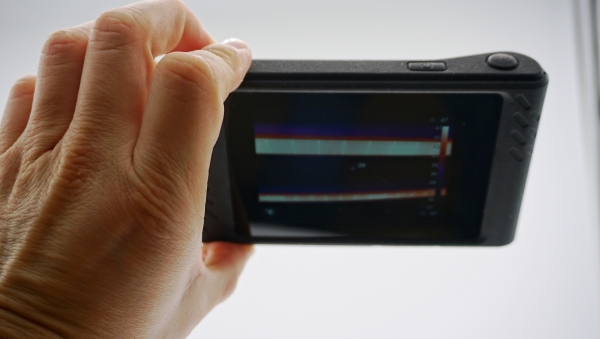
For quick analysis, it's convenient to use one of the contrasting color schemes (palettes). Several palettes are available: White, Black, Tyrian, Spectra, Iron, Prism, Amber, and Hi (high contrast).
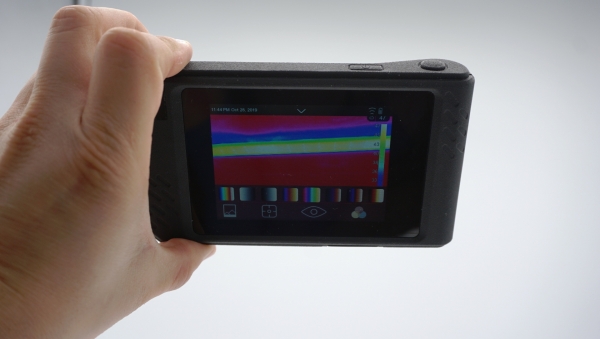
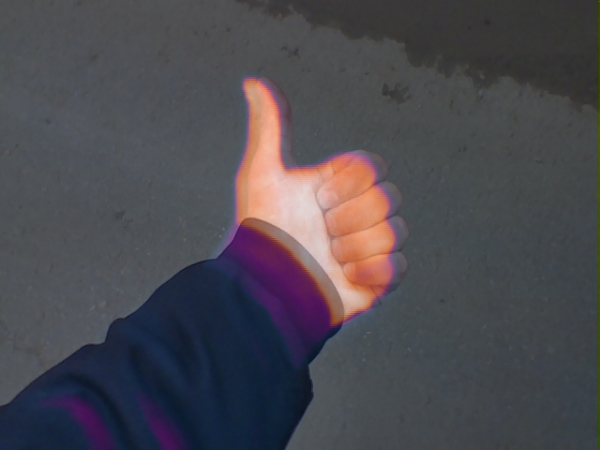
One of the killer features of this thermal imager model is the ability to superimpose visible and thermal images for detailed analysis with temperature markers.
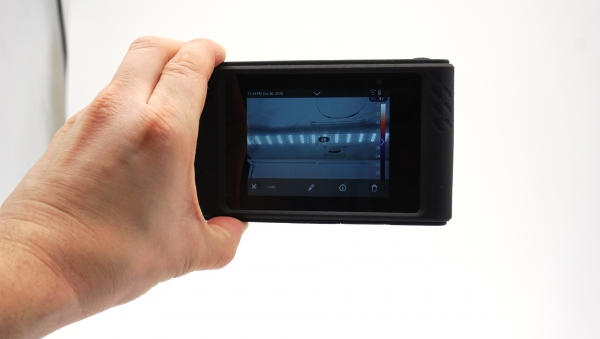
Files from the thermal imager: thermogram plus combined image.
The thermal imager is equipped with a Wi-Fi module and can stream images to a smartphone or tablet (Wi-Fi Streaming) using .
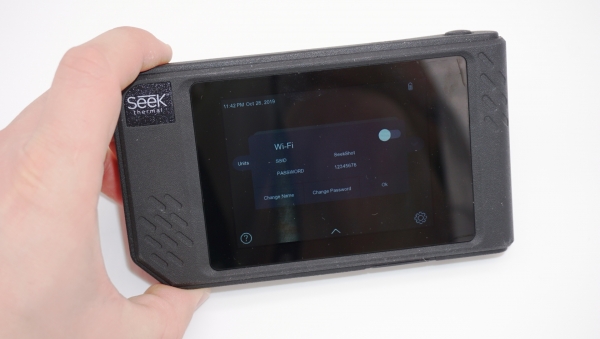
We activate the Wi-Fi access point (the password and login are configurable).
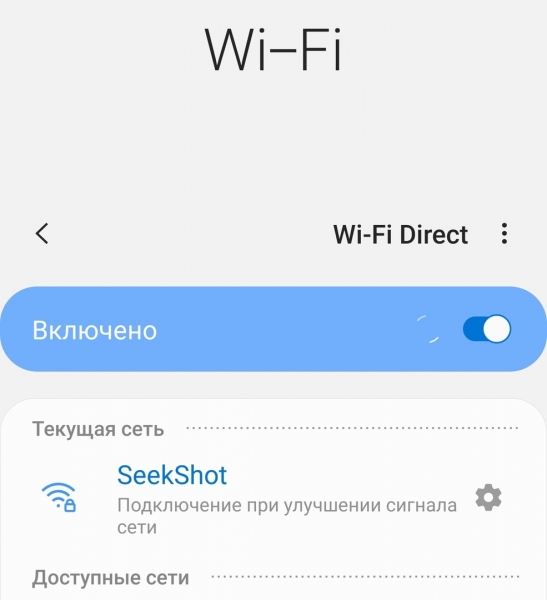
We connect to the created access point.
The Shot thermal imager allows for precise surface temperature measurements ranging from -40°C to 330°C, including remotely (via Wi-Fi), plus analysis tools are available (palettes, markers, areas, etc.).
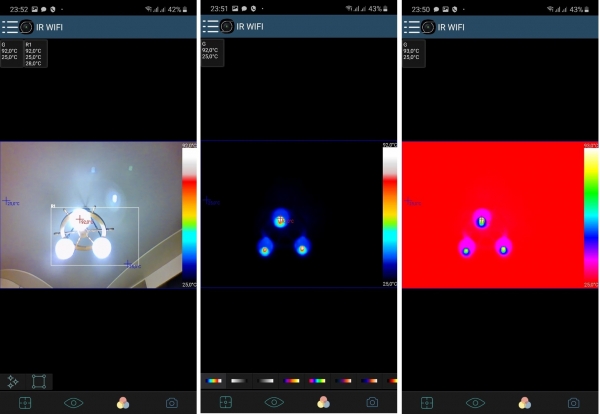
The very fact that you can save an image for further analysis gives the SHOT line a huge advantage. You can take a series of images for comparison and thorough analysis.
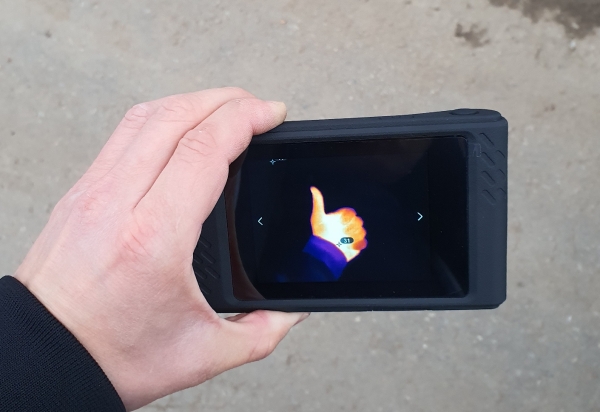
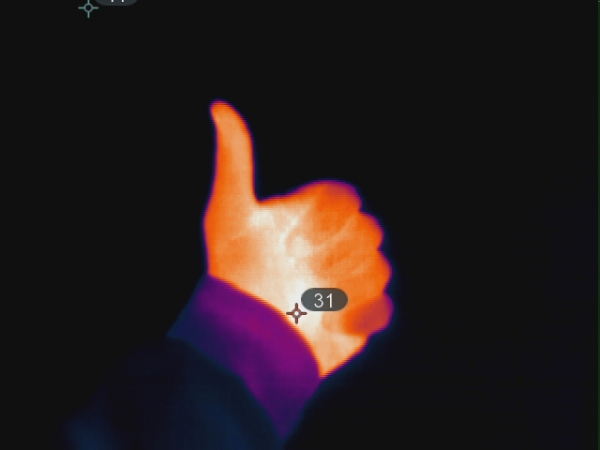
An example image from memory — all temperature markers are saved, plus post-analysis is available.
An example of superimposing the visible image and the thermal picture.
I will now move on to specific examples — a thermal inspection was conducted on a multi-story residential building to look for heat leaks.
A typical panel house was chosen. Problematic joints of panels with unsealed seams are clearly visible. People are insulating (red seams indicate insulation with polyurethane foam) as best they can, either by themselves or with the help of the housing maintenance service.
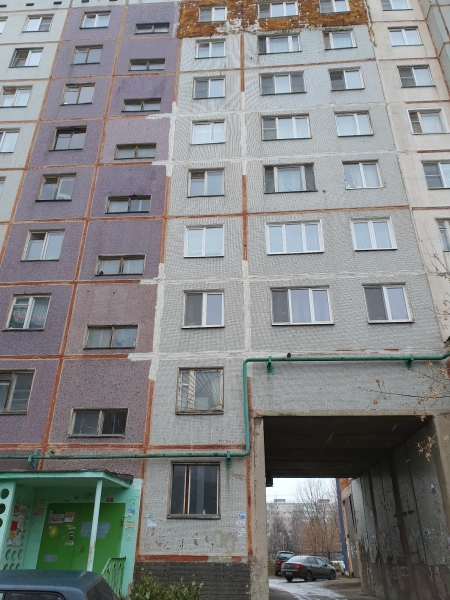
Naturally, everything 'glows' with heat outside. Precious heat can leak through such seams, causing your heating bill to rise, and mold may form in these places.
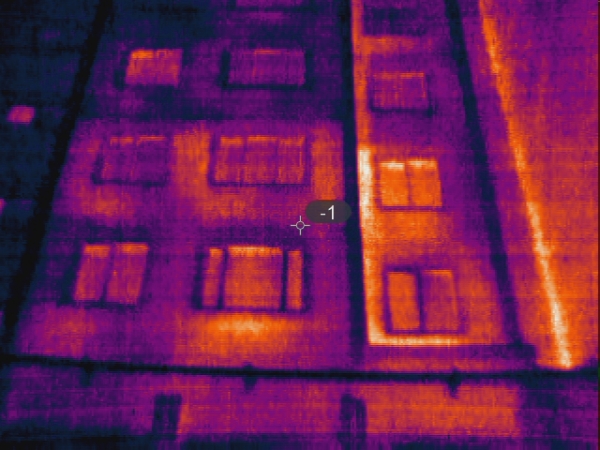
Example of external insulation.
Tenants made use of insulation services — they filled the cracks from the outside and covered the walls with foam boards.
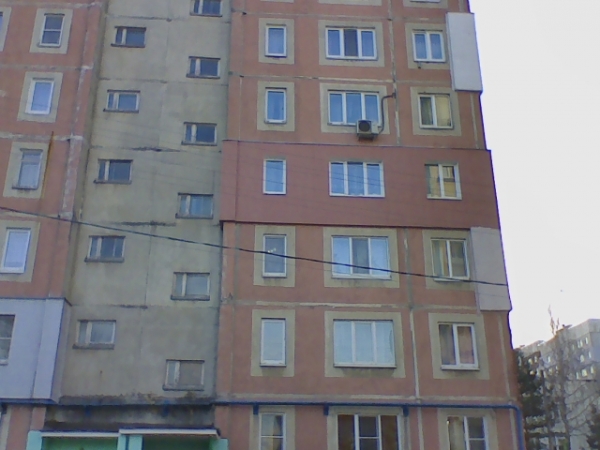
The photo shows the temperature difference — the insulated area emits less heat than the standard panel.
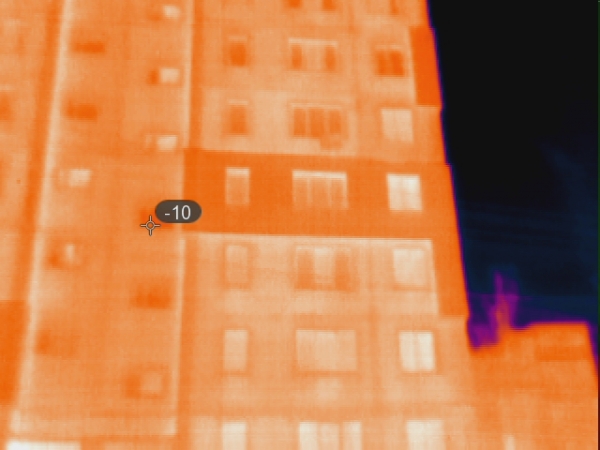
An interesting point was discovered in the archway transition in the building.
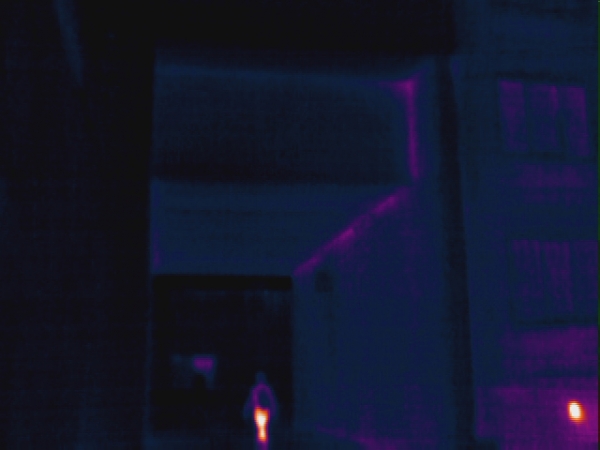
The joints have virtually no insulation; in such cases, adjacent walls in the apartment freeze, mold appears, and the room temperature stays around +15 degrees. It’s necessary to insulate both from the outside and the inside simultaneously in these cases.
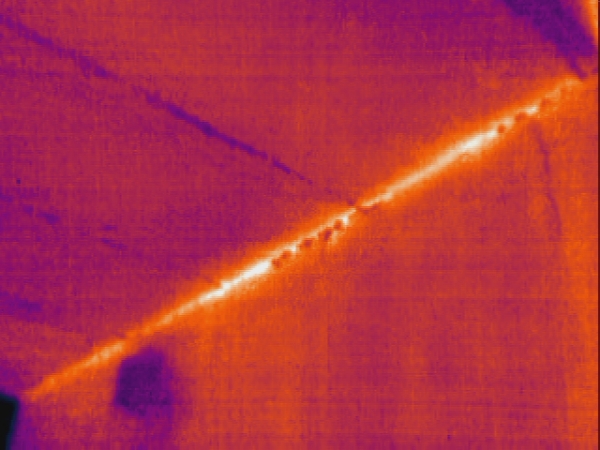
Now let's examine the entrance from the inside.
The image shows the result of overlaying a visible picture and a thermogram.
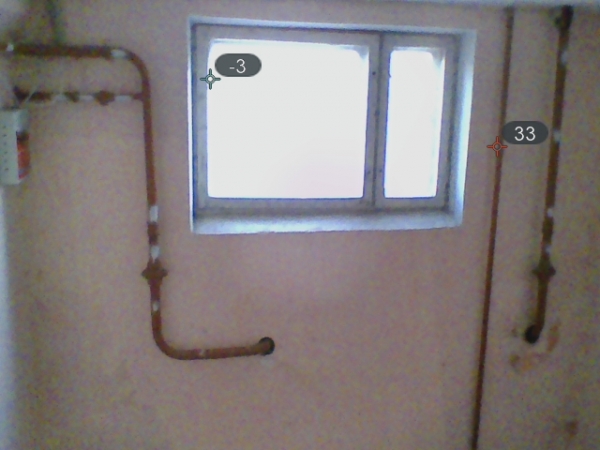
Preliminary complaints were received — 'the entrance is freezing, it's very cold.' At the same time, the heating was working (the relevant services checked the heating radiators in the entrance).
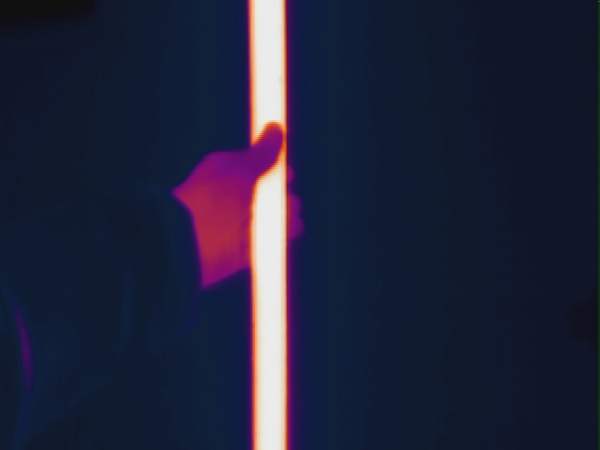
The bright vertical pipe in the photo is the entrance heating (+31 degrees). Nearby is the return heating line (colder).
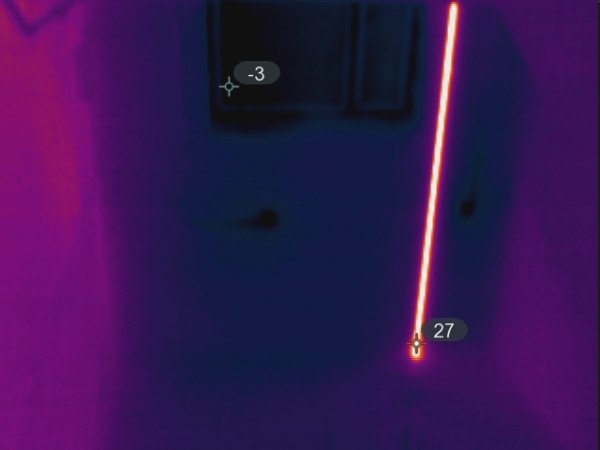
One of the obvious reasons for the low temperature is the lack of proper thermal insulation for the gas inlet.
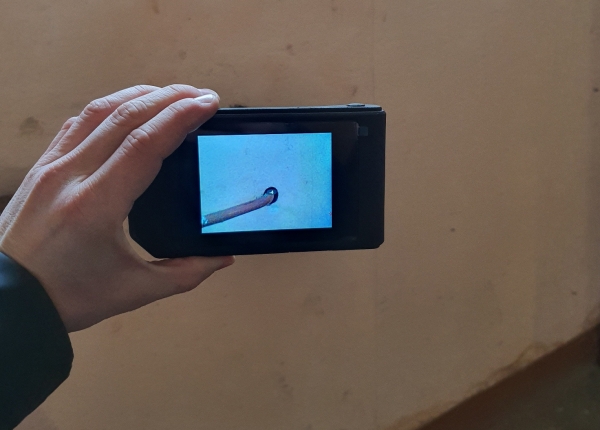
This hole goes directly outside at the level of the second floor, allowing cold (frosty) air to blow in.
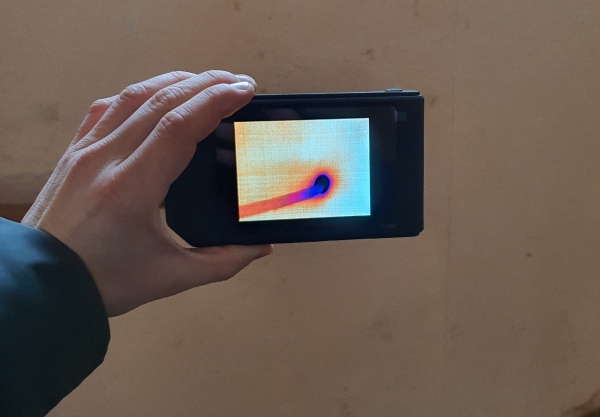
Specifically, the measured values were: entrance temperature +12, near the 'leak' minus 4 degrees.
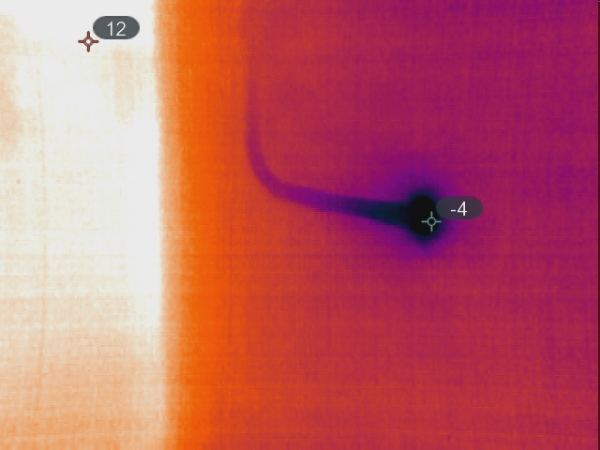
So, it’s cold in the entrance due to obvious reasons. And the heating works as it should — verified!
Another interesting point — open ventilation windows in the basement. A favorite spot for stray cats.
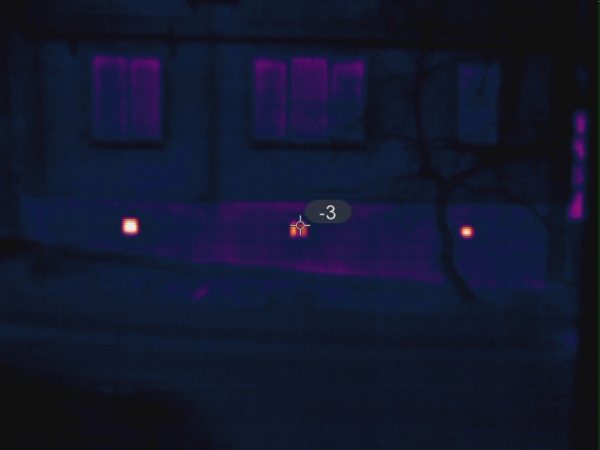
I continue the thermal inspection. This time — the heating main (heating inlet near the residential building). The photo specifically shows local damage to the thermal insulation, resulting in the boiler room 'heating' the street, while it’s colder in the building than it could be...
Next, they asked to inspect a private house.
Heating boiler. The hottest part — the exhaust pipe.
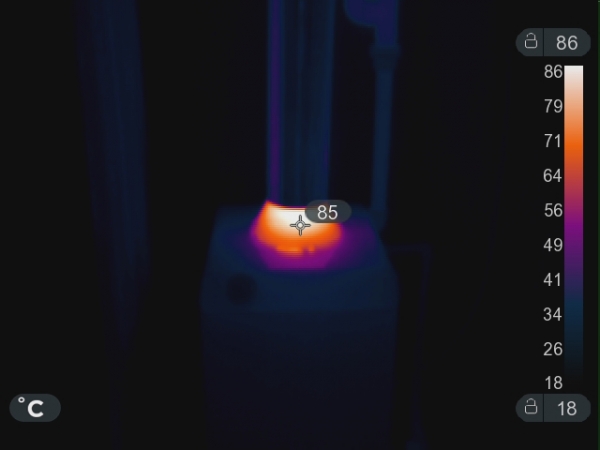
The boiler itself.
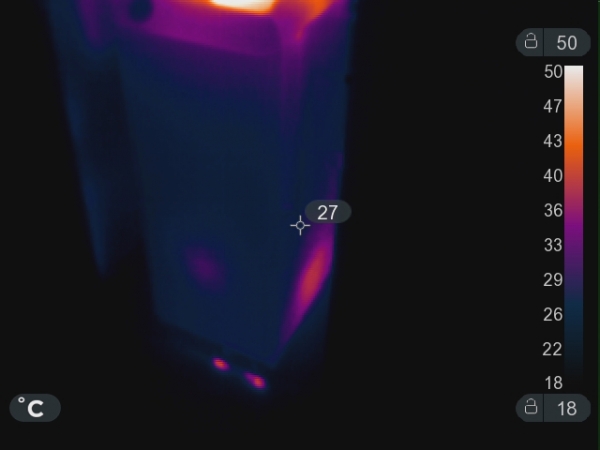
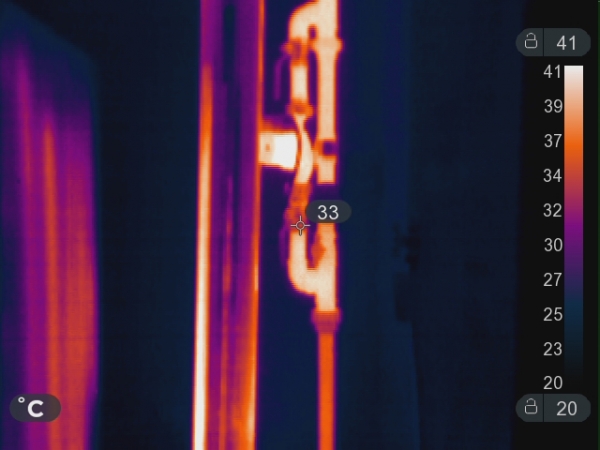
Heating pipes, heating pump. On the left are the pipes of the refrigerator radiator (vertical pipes).
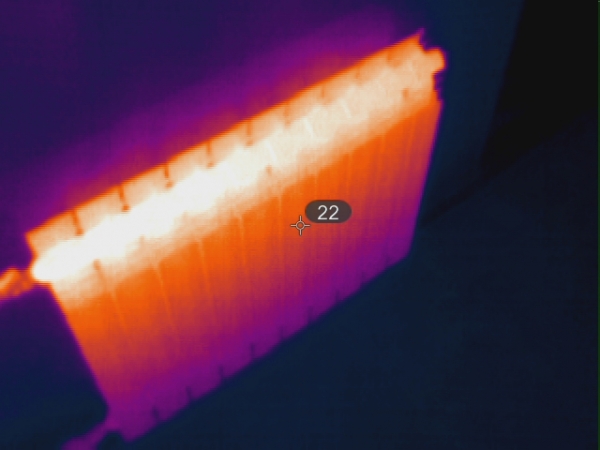
An example of a well-functioning heating radiator.
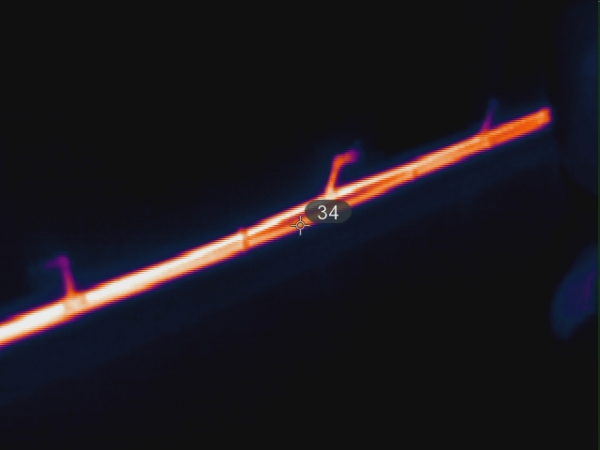
Heating supply pipe.
Here I found a problematic radiator — it has dirt inside, hindering normal heat exchange and water flow. There were complaints about uneven heating.
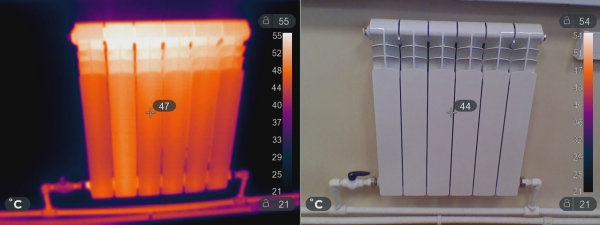
The software also allows for the assessment of temperature ranges. To do this, you need to select the corresponding icon in the menu and highlight the area on the screen. It displays the minimum and maximum values, as well as calculates the average temperature in the selected block.
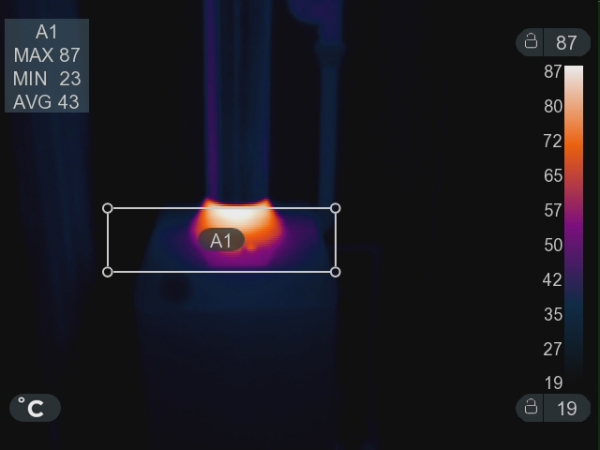
Additionally, there's an option to fix temperature boundaries — this helps to highlight objects with minimal temperature differences.
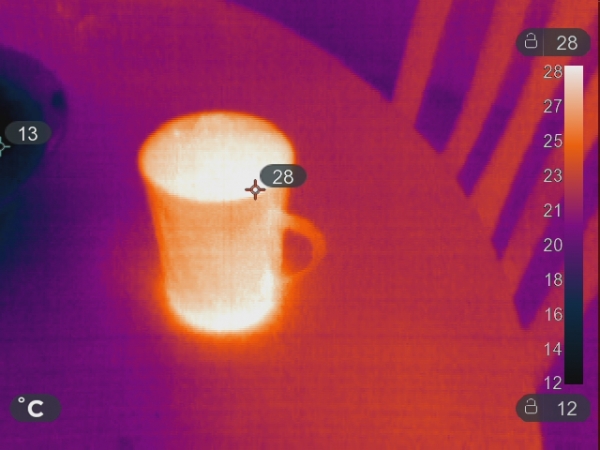
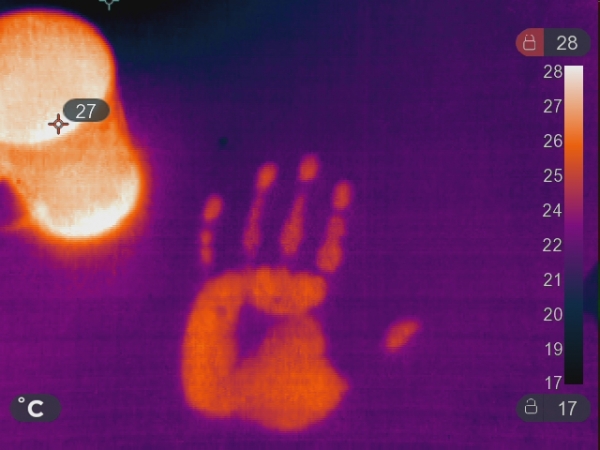
An example of such a photograph is a thermal trace. A temperature 'fix' is set at 10 degrees (from 17 to 28 degrees).
I continue the thermal inspection of the house.
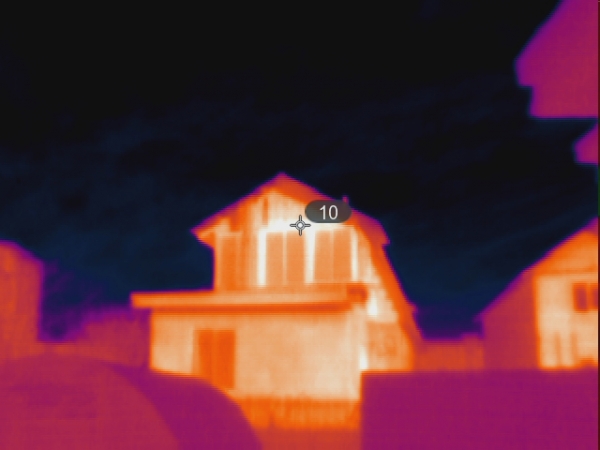
The client mentioned that despite good heating (imported boiler, good radiators, circulation pump, plus plastic windows and double-glazed units), it feels cool in the house. This has become particularly noticeable since the onset of colder weather.
What can I say — the house is 'hot'. When building the house, there were mistakes or expenses were cut — the type and amount of insulation material were incorrectly chosen. The house is frame-constructed, with insulation inside and OSB outside. The surface temperature reaches +10 degrees, while it's minus 10 to 12 degrees outside. Unfortunately, the repairs will add up to a significant amount as it will require redoing what has already been done.
The neighboring frame house.
The situation here is slightly better; the meaning remains the same.
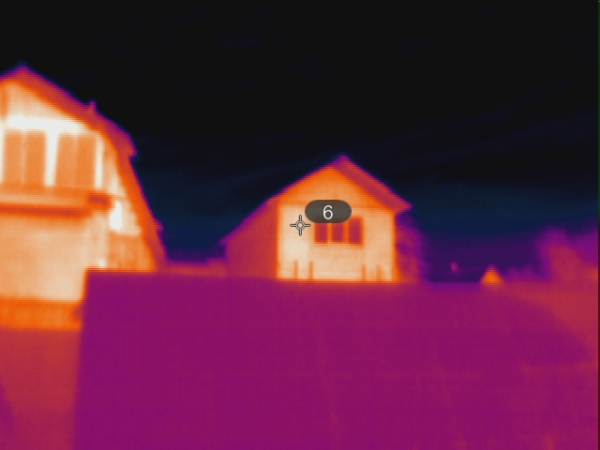
Another cottage. I specifically inspected the windows.
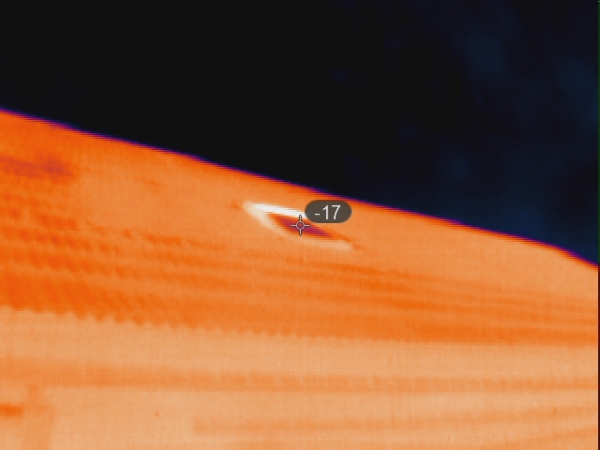
I was curious about how the roof window was implemented.
The insulation looks quite normal in the photo.
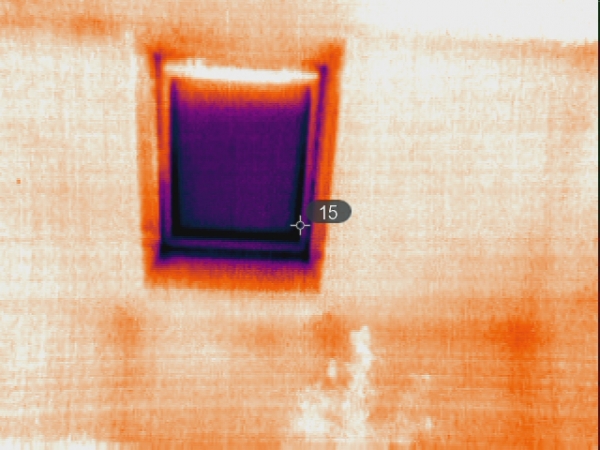
This shot from the inside shows the glass is cold, but overall, no leaks are noted.
However, the builders forgot to insulate the joint between the roof levels.
The photo shows +9.
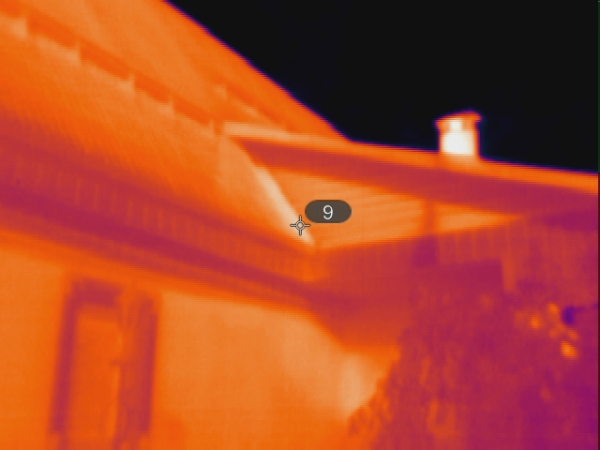
The average temperature is +4.
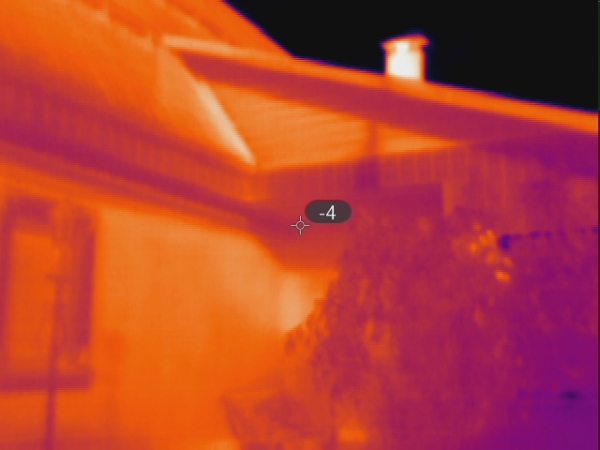
The exterior cladding shows leaks along the seams.
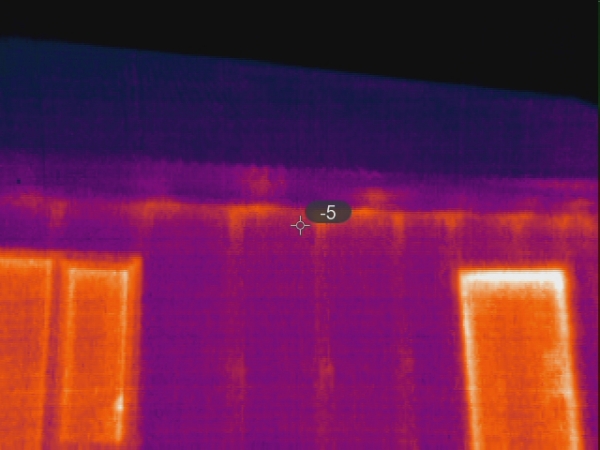
Windows are misaligned (unadjusted pressing).
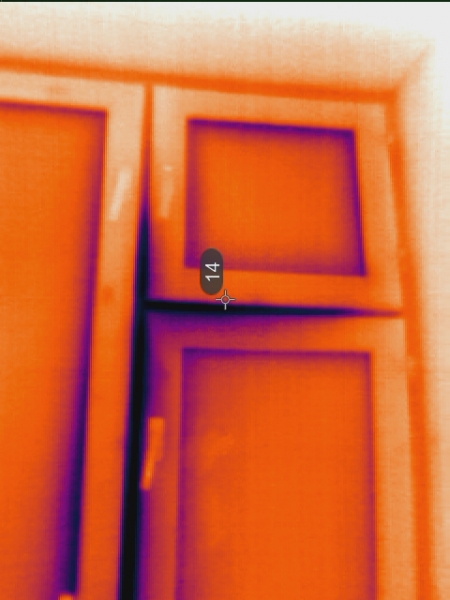
The door has a damaged seal ('There's a draft coming from the door').
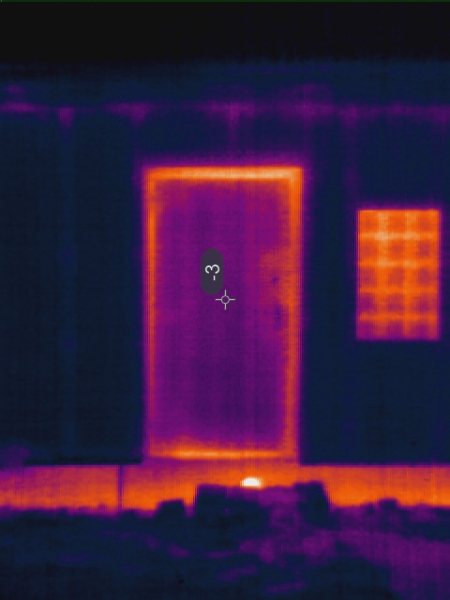
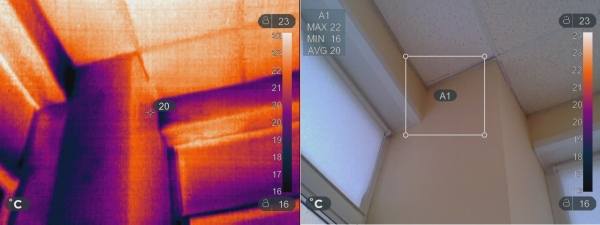
There's a problem in the office space. Complaint: 'There's a draft coming from the window'. The ceiling at the load-bearing wall is freezing, most likely due to a breach in joint insulation. The temperature is +16°C while the average is +26°C in the room. It will freeze during severe frosts.
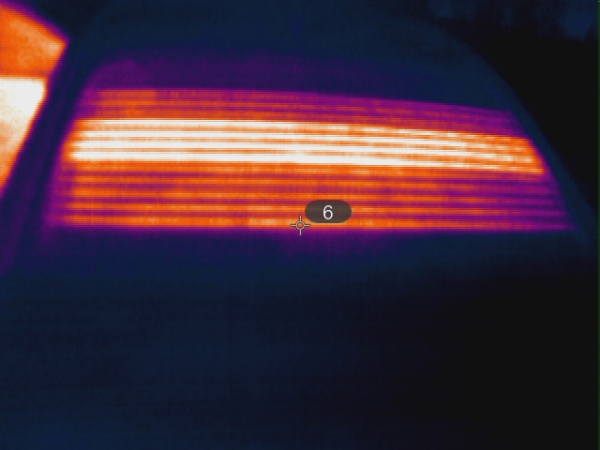
Working of the rear window defrost in the car — defective heating wires can be checked and repaired.
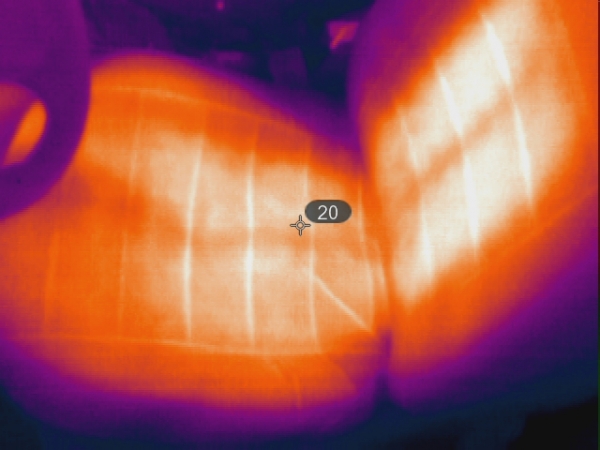
And a similar picture for the seat heater.
In general, in the car, you can check the running gear (worn parts, parts without lubrication — they heat up), as well as the engine (heat exchange, etc.).
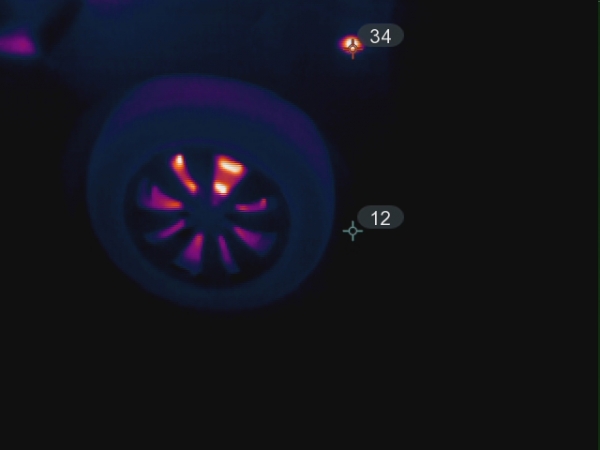
Just interesting photos that I collected during the test.
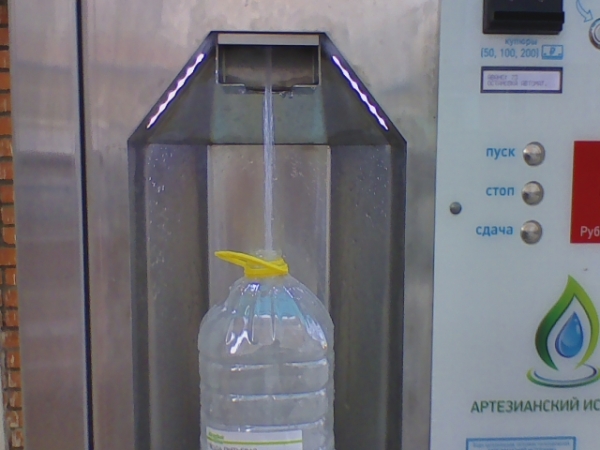
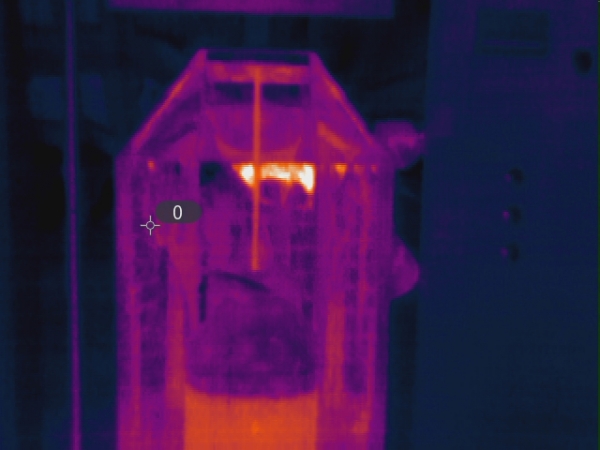
Water at sub-zero temperatures.
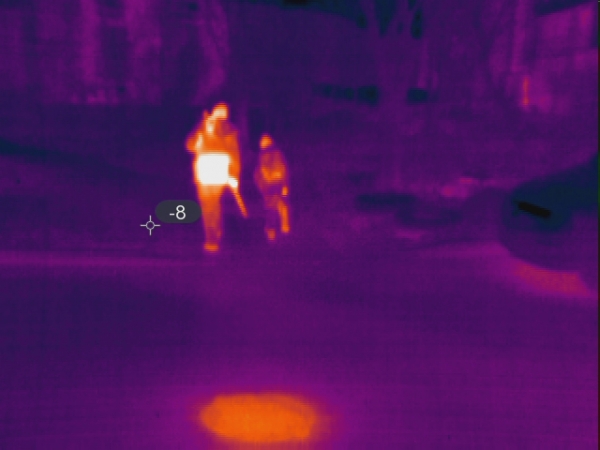
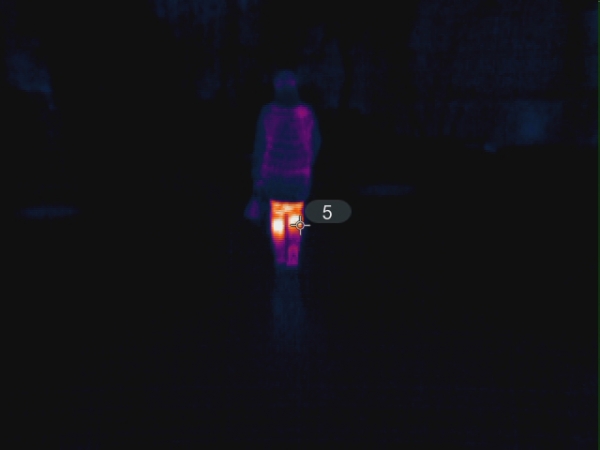
A few shots of people. Note the different thermal emissions from various body parts — this indicates the quality of winter clothing.
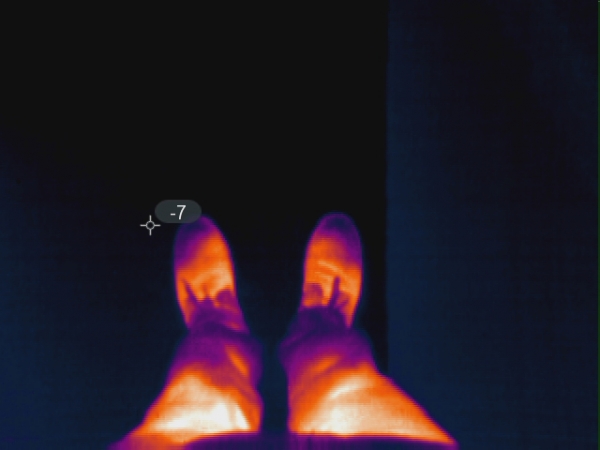
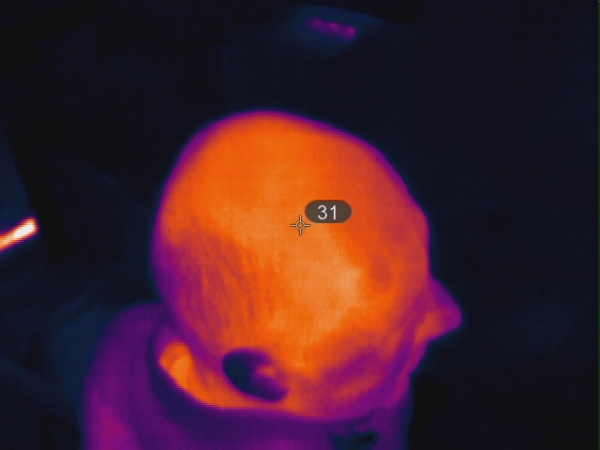
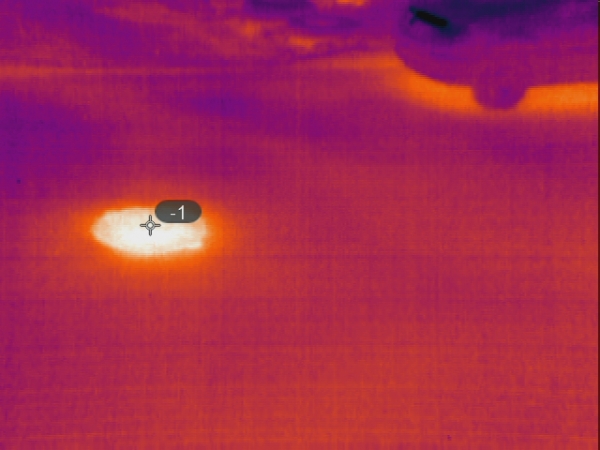
A warm manhole cover.
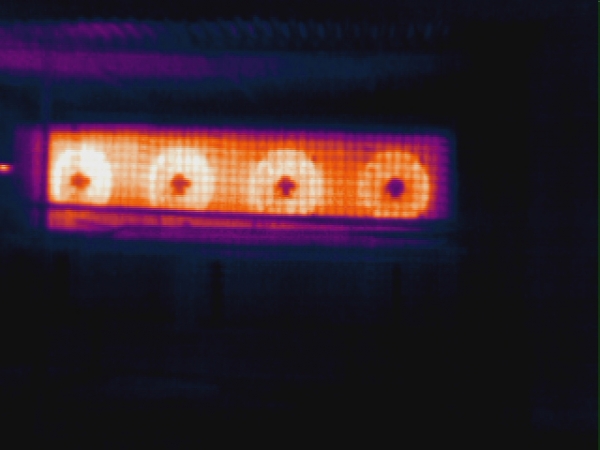
Installation of industrial air conditioning.
I checked the operation of the 3D printer the other day.
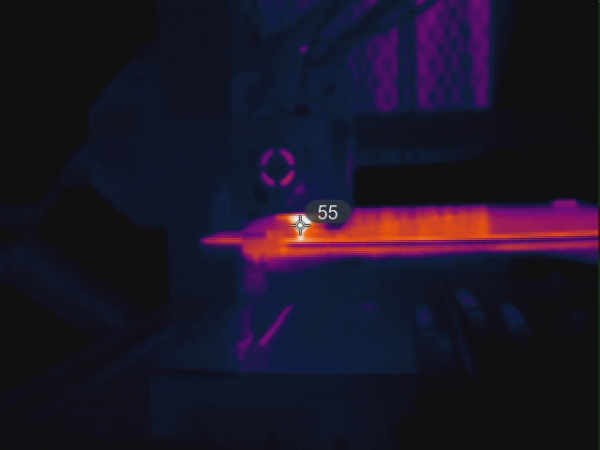
Convenient to calibrate the temperature of the bed and nozzle.
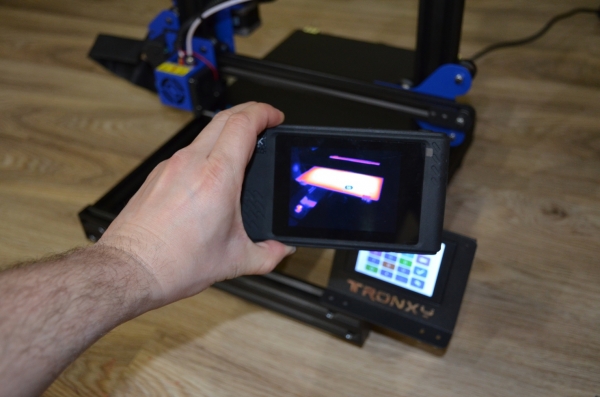
To conclude the article, I would like to point out that the cost of even the most expensive model (Seek ThermalShot Pro or a similar one) is negligible compared to the potential miscalculations during house construction, when installing insulation, or when repairing damages. A thermal camera will help identify faults promptly and anticipate localized repairs. Thermal inspection is a sensible action that will save time and nerves when
assessing a residential house or apartment.
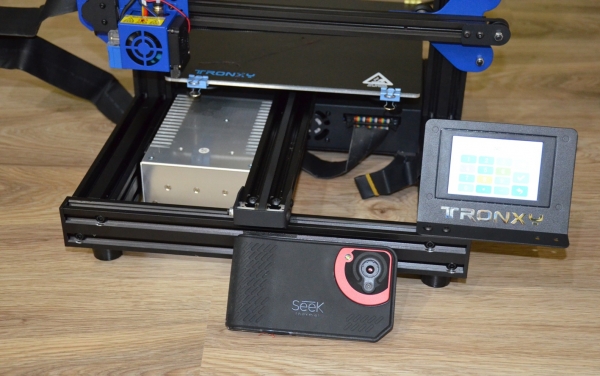
Thank you for your attention, and I hope a thermal camera will be useful for you too.
Source: habr.com
