

We remind you that attempts to replicate the actions of the author may lead to the loss of warranty on the equipment and even cause it to break down. This material is provided for informational purposes only. If you plan to reproduce the actions described below, we strongly advise reading the article all the way through at least once. The editorial team at 3DNews bears no responsibility for any possible consequences.
First, let's make a few remarks. Firstly, like the previous material dedicated to alongside Windows 10, this one is aimed at novice users, meaning it will contain as few technical complications as possible. We won't even refer to the terminal (console interface). After all, this is not a user guide, but an introductory piece for those just getting acquainted with the OS. Secondly, for simplicity, we will refer to the System Settings section—the gray icon with two switches in the main menu—as the control panel. Thirdly, for many actions, you will need to enter the user password in a separate window titled Authenticate. We will not mention this separately each time. You can ignore the password prompt during the setup process, but when in “free navigation,” pay attention to when and why it asks you for a password to perform administrative actions.
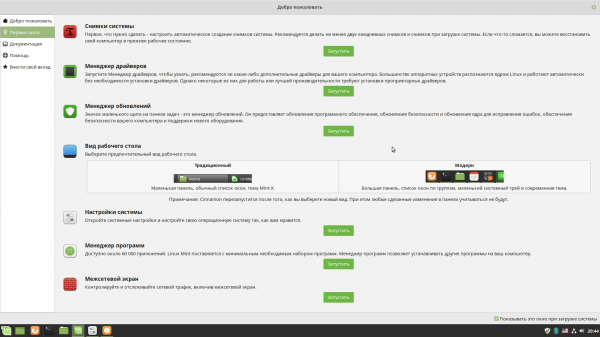
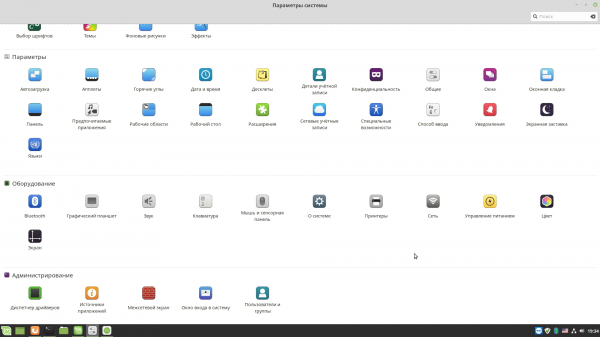
In this material, we will examine screen and font settings, configure the keyboard and input layout switching, briefly go over the network and firewall settings, learn about Bluetooth and sound functionalities, install the multifunction printer and drivers for graphics cards, understand how to search for and install programs, manage files and disks, and make some basic adjustments to the OS. So, last time we finished with the welcome dialog. We will continue from there.
Basic setup of Linux Mint 19
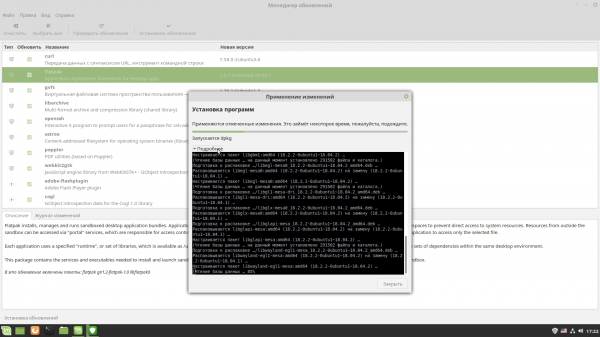
We will return separately to the second point of the welcome dialogue — the driver manager — a bit later when we discuss the installation of discrete graphics cards from AMD and NVIDIA. However, there’s nothing complicated about it, as with various driver options, you can choose the proprietary one from the manufacturer or the open-source version. So let's move on to the next point, which is the update manager. Again, there's nothing tricky here: at the top, there are buttons to check for updates, select all updates, and install them. In case of installation of critical system components (such as kernel updates), a separate message will be displayed. .
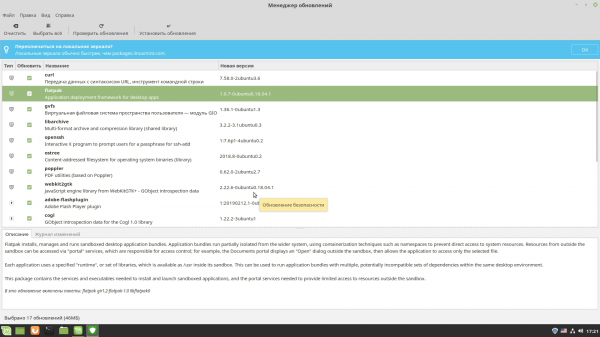
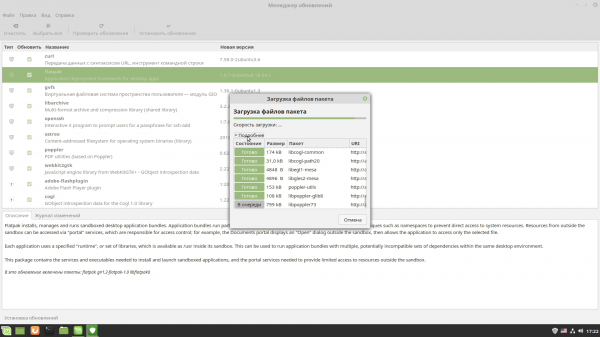
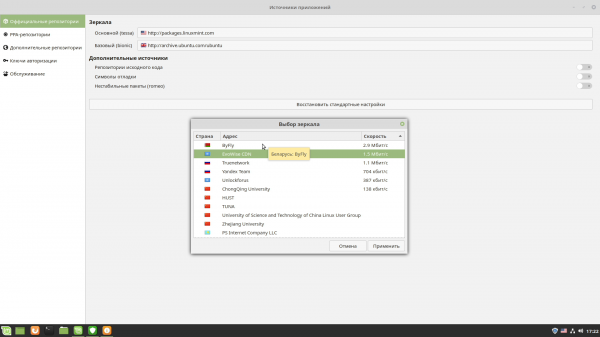
Upon the first launch, you will also be prompted to select local mirrors for updates: you need to click on the addresses, after which a window will open that measures the download speed from various servers. You can leave everything as it is, or you can choose the fastest option. Additionally, after the first launch, an update manager icon in the shape of a shield will appear in the notification area, reminding you of new updates available.
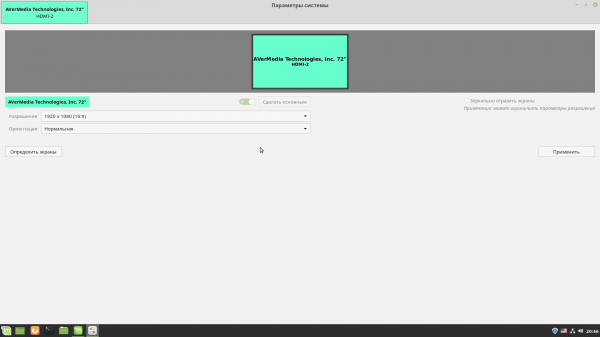
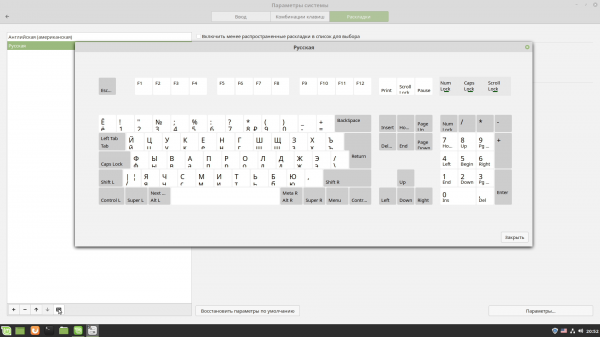
The next point regarding desktop appearance can be adjusted to your liking. By default, the "Modern" style, similar to the design of the latest versions of Windows, is used. In the system settings at the initial stage, it is sufficient to change two parameters. First, choose an appropriate screen resolution if you are not satisfied with the default one. Second, adjust the keyboard layout switching. Both adjustments can be made in the corresponding sections of the Hardware settings. The screen settings are straightforward, but for the keyboard in the Layouts section, you need to click the Options… button, find the item for switching layouts, and select the suitable keyboard shortcut: Alt+Shift, for instance, does not conflict with any other combinations.
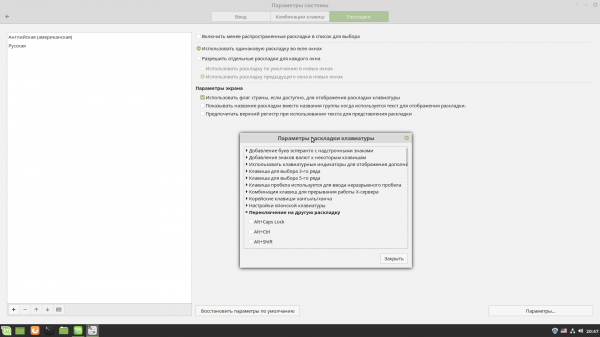
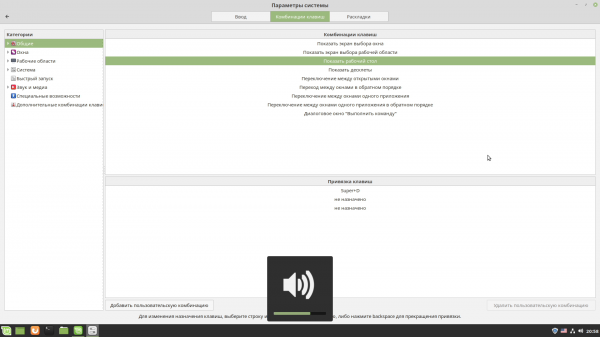
Here you can also make sure that the selected layouts match those that actually exist on your keyboard. Note that in Linux, additional keys are traditionally named differently. The Windows key is usually called Super, and the right Alt (Gr) may be referred to as Meta. So don't be surprised if on the adjacent tab you encounter combinations mentioning them. Some combinations align with those in Windows, but in Linux, there are many more, and all of them can be customized to your liking. Multimedia keys for controlling the player or launching a browser/email/search mostly work out of the box, including combinations with Fn, which is relevant for laptops or compact keyboards.
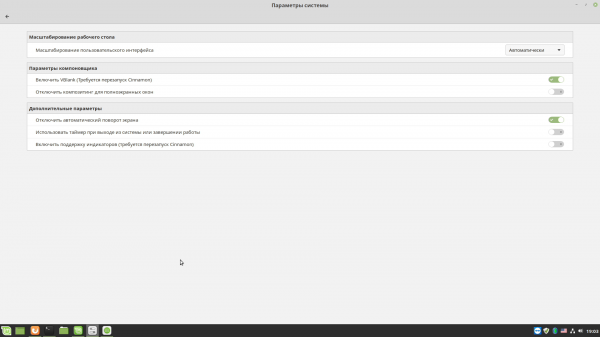
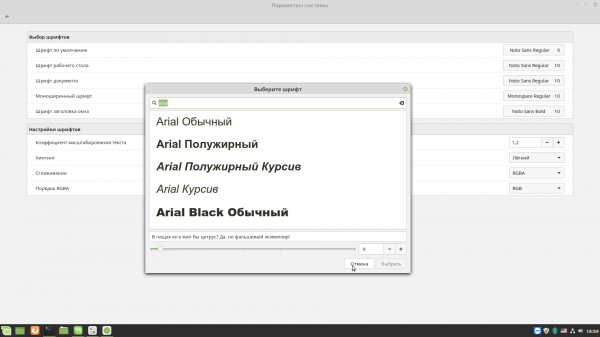
Optionally, you can configure a couple more settings related to the content display on the screen. Firstly, in the General section, there is a straightforward option to choose the scaling method of the system interface, which is useful for some modern high-resolution monitors. There is also an option to enable VBlank, which is necessary for older monitors. Secondly, in the Fonts selection section, be sure to specify your desired fonts (we'll discuss installing new fonts a bit later), play around with the smoothing and hinting options if the current text appearance on the screen does not suit you. Text scaling is also adjusted there, which affects the display of interface elements.
It is also important to note a few other nuances. Font, scaling, and overall interface styling settings may not work for all applications. This is due to some programs (like browsers, for example) rendering independently, and also because you might encounter utilities created using different sets of libraries and components for building graphical interfaces. They will look different.
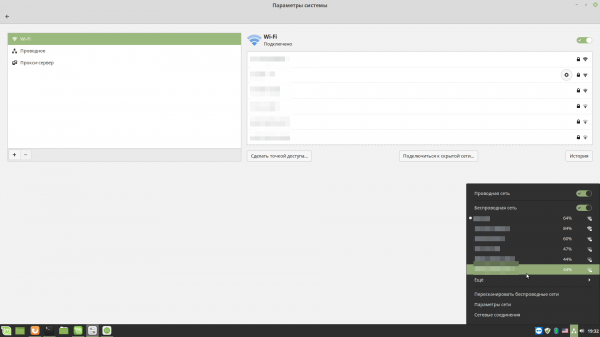
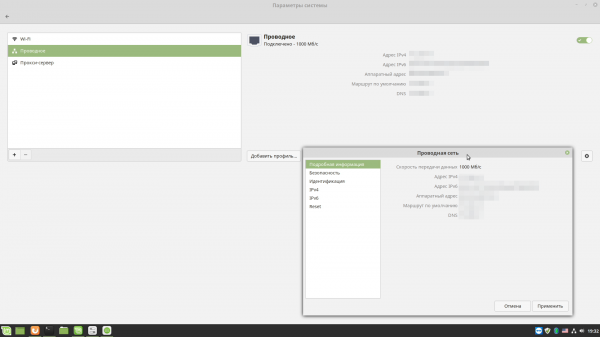
Configuring network connections will likely not be necessary, as both wired and wireless connections should work normally. Some additional actions might be required if the network does not operate at full speed or, for example, without DHCP. You can access the settings by clicking on the icon with three blocks in the notification area. The menu contains two options: Network Settings and Network Connections. The first allows you to view basic information about connections and configure IP and proxy settings.
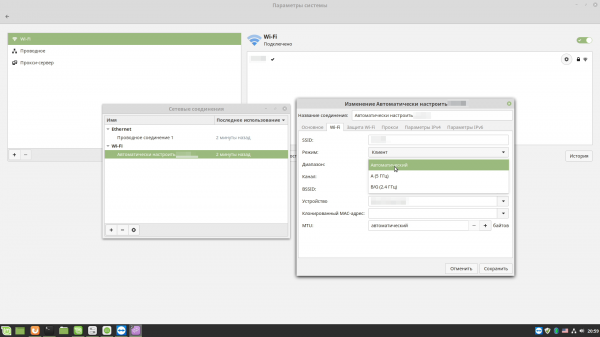
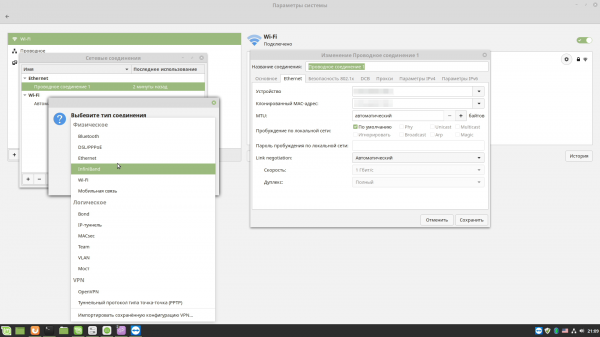
The second option provides access to additional adapter settings. There, you can click the + button to add a new VPN connection or enable another network adapter. However, this will likely not be needed. If the adapter is not visible in the system at all, you will need to visit the manufacturer's website for drivers and use a search engine to find installation and configuration instructions. Unfortunately, this is the process for any hardware that does not automatically work in the system.
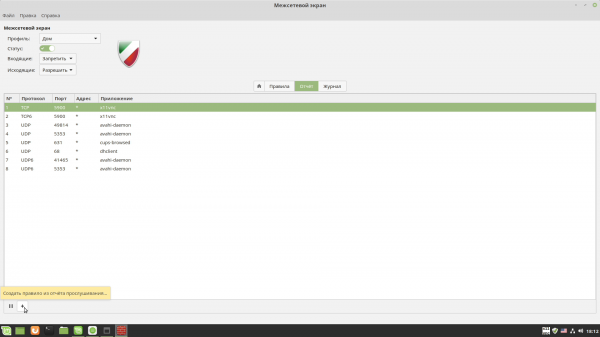
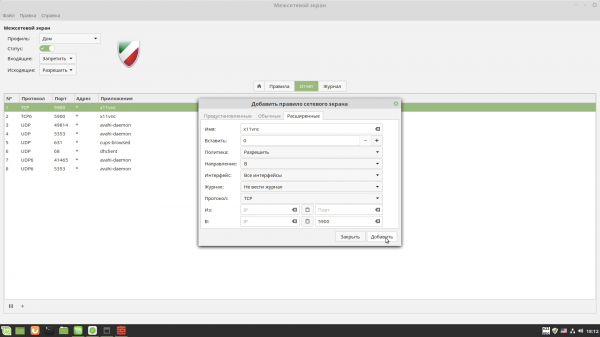
Configuring the firewall is also related to the network, but it is advisable to postpone this until everything is installed and functioning properly. However, it is easy to configure. In the control panel, there is a corresponding option: Firewall. Three profiles are initially set up: for home, work, and public places. By default, all incoming connections are blocked for the home profile, while outgoing connections are allowed. After activating the firewall (Status toggle), the Traffic tab will display network activity for various programs. You can highlight the desired process in this list and click the + button at the bottom to create a new rule, as the default settings are usually sufficient.
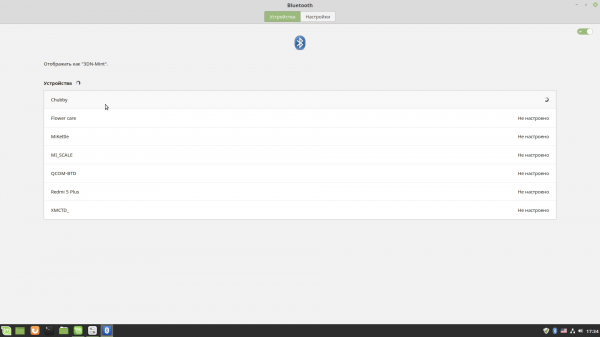
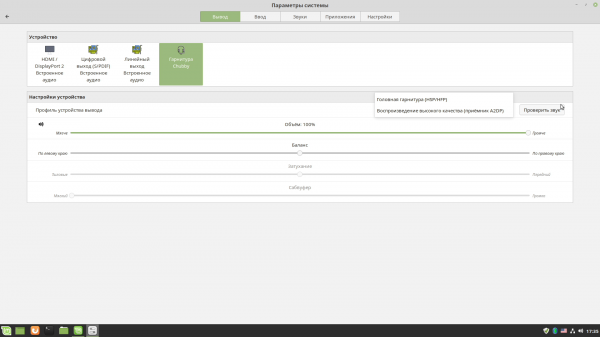
There weren't any significant issues with Bluetooth on the test system. However, it's important to remember that if a device has specific features, it may not always function correctly. Additionally, some adjustments in the relevant settings may still be necessary. For example, for a Bluetooth speaker in the audio settings (which can be quickly accessed by clicking the speaker icon in the notification area), I had to select it as the output device, which is quite logical. By the way, there are a couple of useful features in the same settings. In the Applications tab, you can adjust the volume of any app or even browser tabs that are currently playing audio. And in the Settings tab, there's an option to set a volume limit for the entire OS.
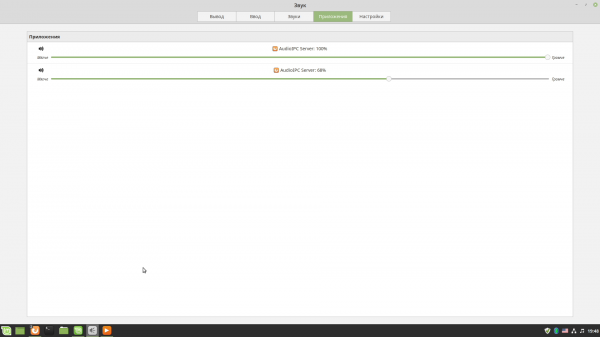
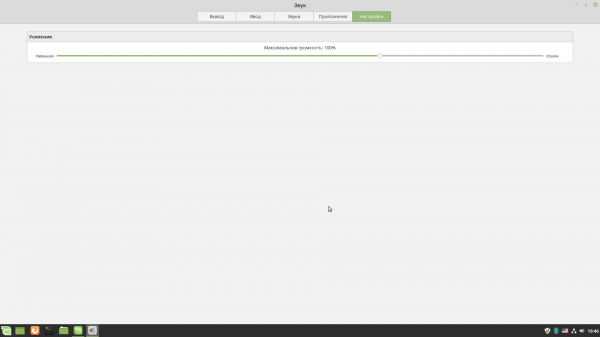
With this, the basic setup can be considered complete. By looking at the names of the other elements in the control panel, it's easy to guess what they are responsible for. We won't dwell on them separately since the remaining settings are more about preferences rather than technicalities.
Installing drivers on Linux Mint 19
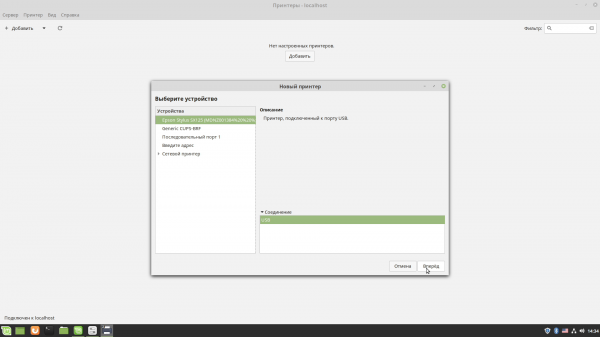
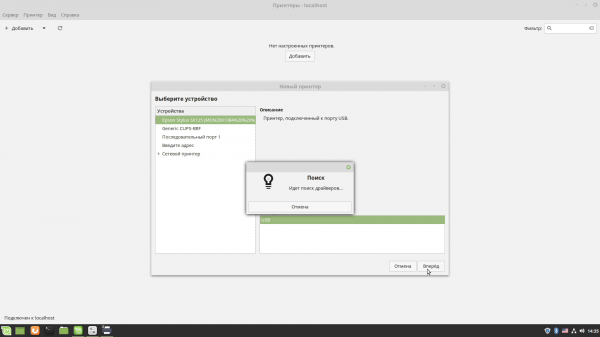
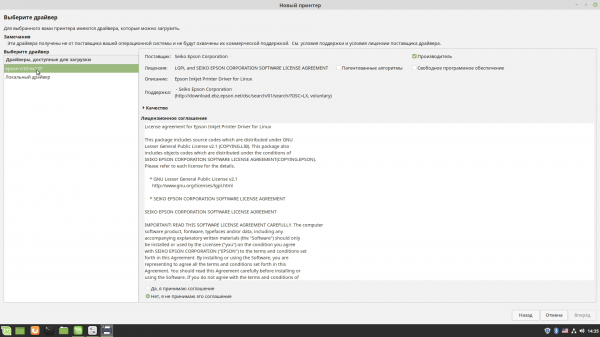
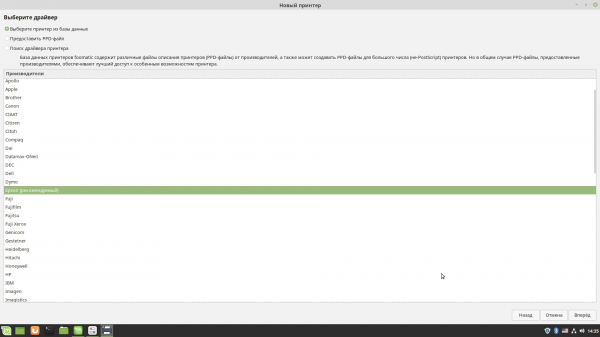
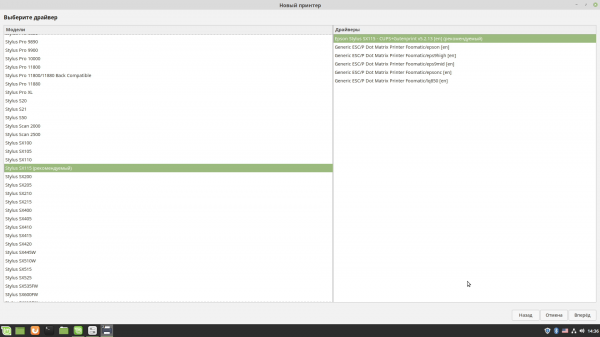
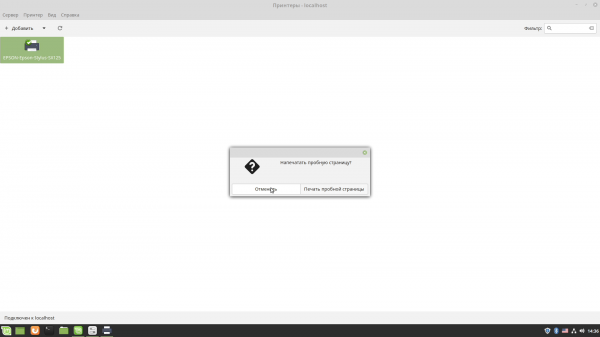
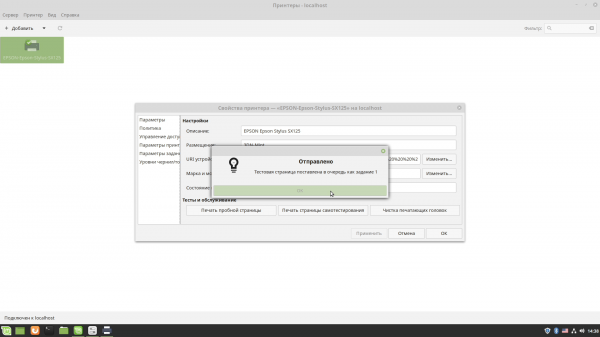
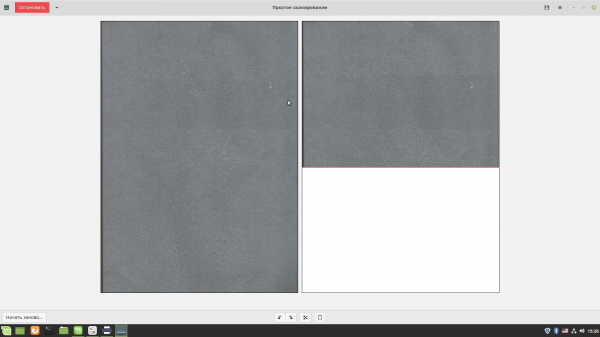
Users leave feedback on the performance of various hardware on . Note that the same device may be listed under different names, so it's better to try searching with several variations of the name—from the full name to the model index—and look in different categories. Along with reviews, you may also find advice on solving certain issues or setting up devices. For example, for the well-worn Epson Stylus SX125 multifunction printer, there are five entries in the database. However, there weren’t any significant issues during its installation. When connected to the PC, a notification immediately appeared. To set it up in the control panel under Printers, it was enough to click the Add button, select the device from the list, and simply follow the steps of the wizard.
Source: 3dnews.ru
