


NSX Edge supports static and dynamic (OSPF, BGP) routing.
To configure routing, go to the section in vCloud Director Administration and click on the virtual data center. In the horizontal menu, select the tab Edge Gateways. Right-click on the desired network and select the option Edge Gateway Services.
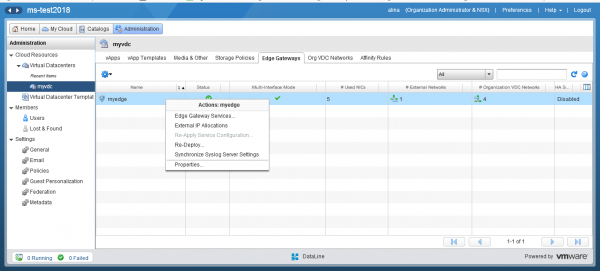
Go to the Routing menu.
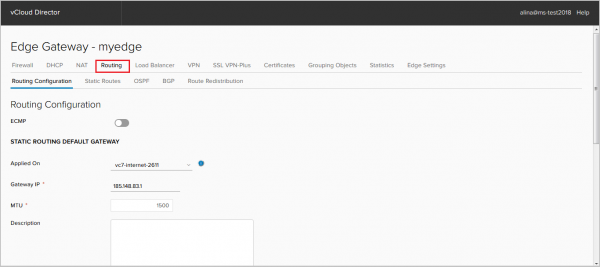
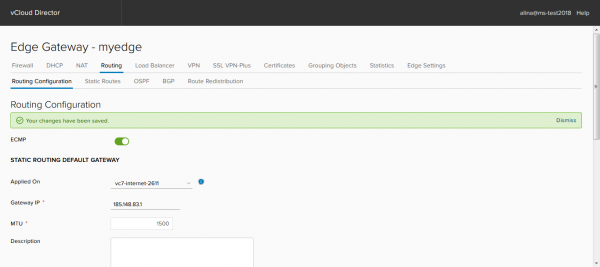
Initial Setup (Routing Configuration)
In this tab, you can:
— activate the ECMP option, allowing up to 8 equal-cost routes to be established in the RIB.
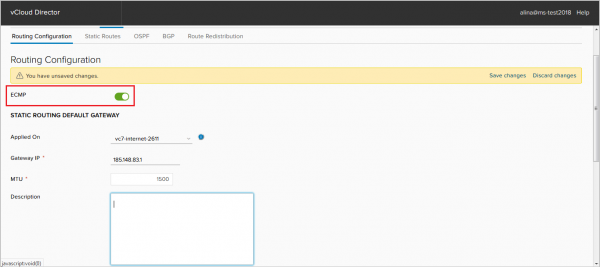
— modify or disable the default route.
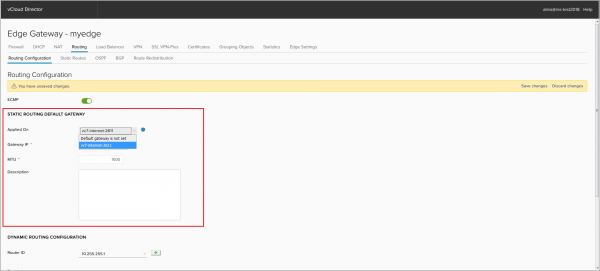
— select the Router-ID. You can choose the address of the external interface as the Router-ID. Without specifying a Router-ID, it is impossible to initiate OSPF or BGP processes.
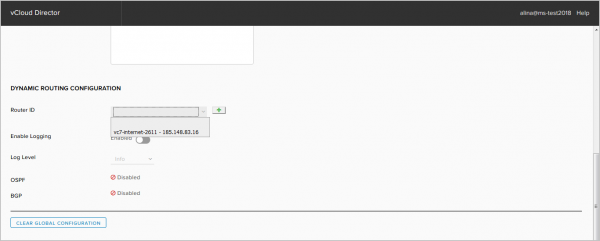
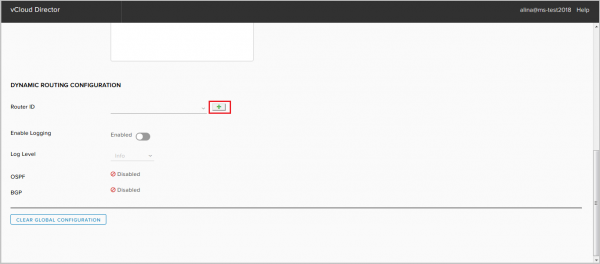
Or add your own by clicking +.
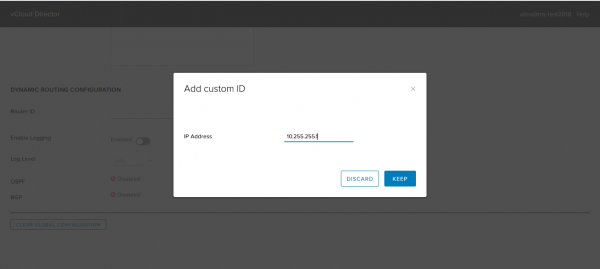
Save the configuration.
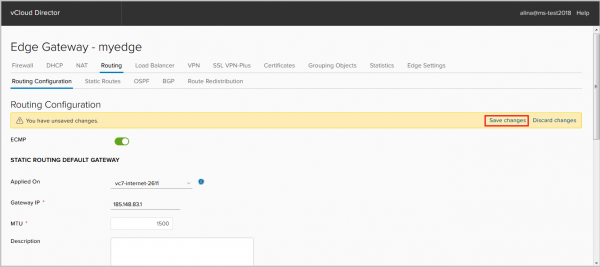
Done.
Configuring Static Routing
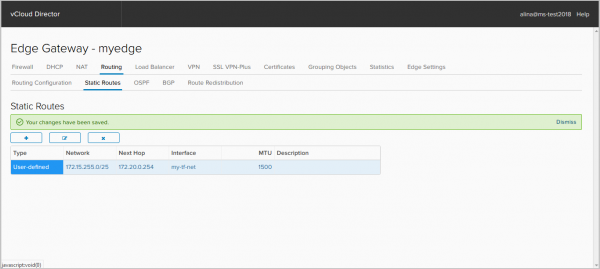
Go to the Static Routing tab and click +.
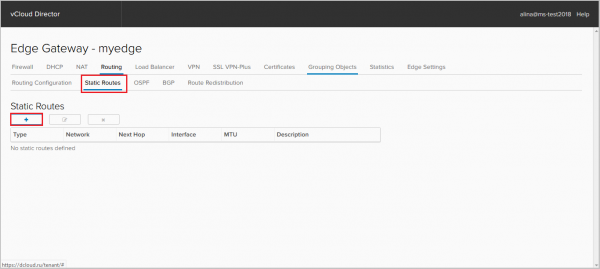
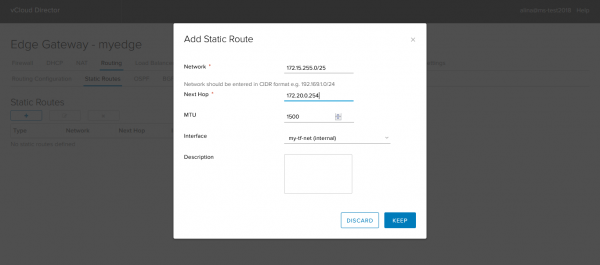
To add a static route, fill in the following mandatory fields:
— Network – destination network;
— Next Hop – IP address of the host/router through which the traffic will pass to the destination network;
— Interface – the interface behind which the desired Next Hop is located.
Click Keep.
Save the configuration.
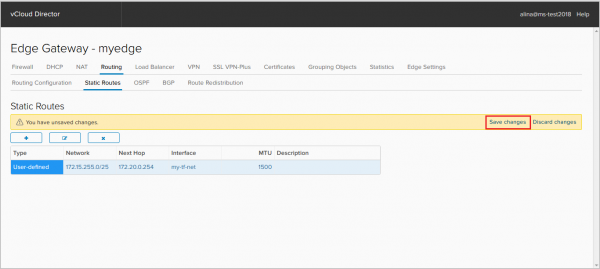
Done.
Configuring OSPF
Go to the OSPF tab. Enable the OSPF process.
If necessary, disable Graceful Restart, which is enabled by default. Graceful Restart is a protocol that allows traffic forwarding to continue during the convergence of the control plane.
You can also activate the default route advertisement, if it exists in the RIB — the default originate option.
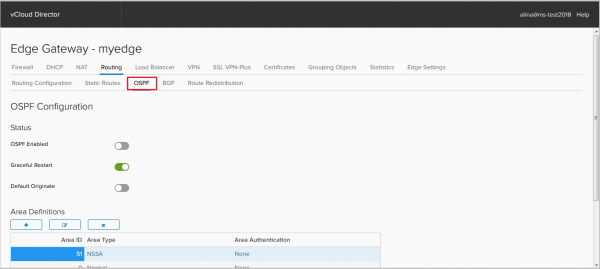
Next, add an Area. By default, Area 0 is added. NSX Edge supports 3 types of Area:
— Backbone area (area 0+Normal);
— Standard area (Normal);
— Not-so-stubby area (NSSA).
Click + in the Area Definition field to add a new Area.
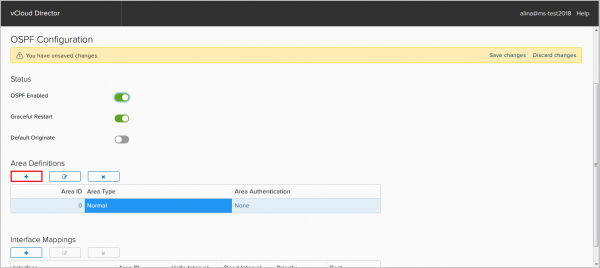
In the pop-up window, specify the following mandatory fields:
— Area ID;
— Area type.
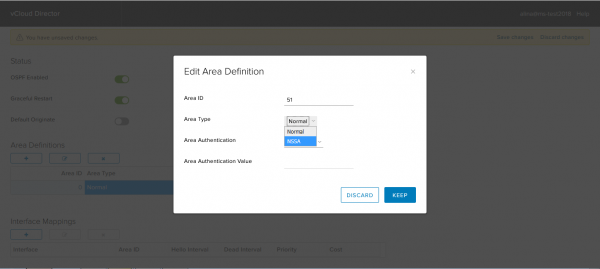
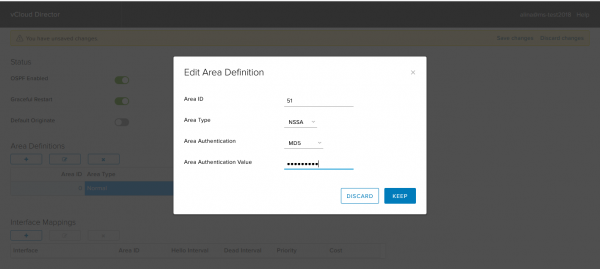
If necessary, configure authentication. NSX Edge supports two types of authentication: clear text (password) and MD5.
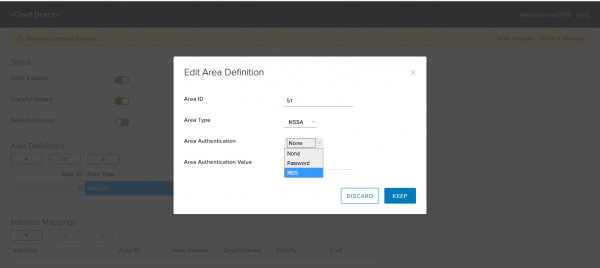
Click Keep.
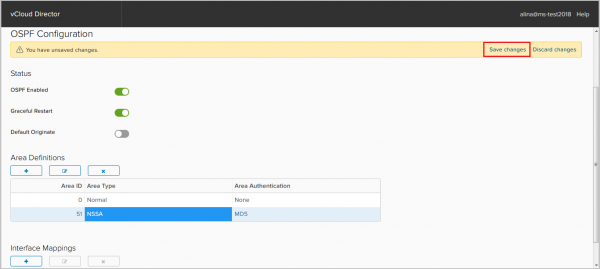
Save the configuration.
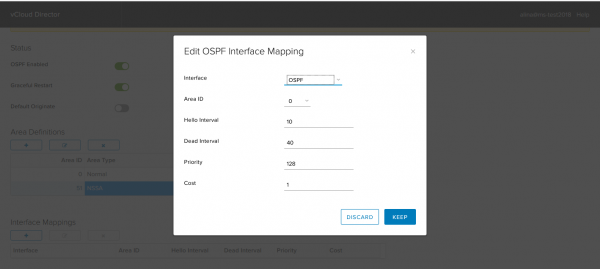
Now add the interfaces on which OSPF adjacency will be established. To do this, click + in the Interface Mapping field.
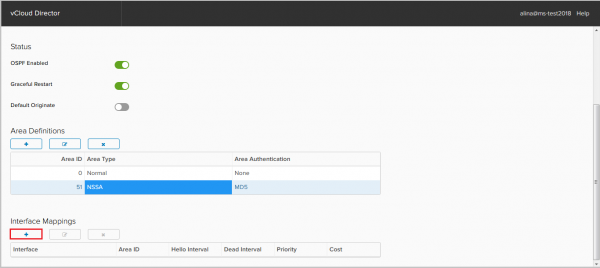
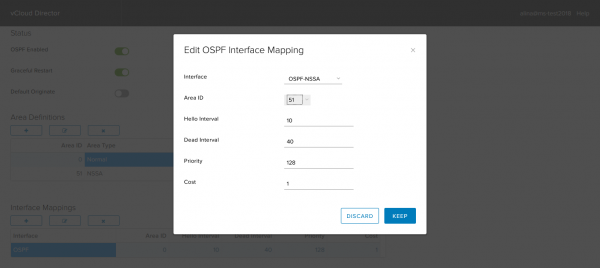
In the pop-up window, specify the following parameters:
— Interface – the interface to be used in the OSPF process;
— Area ID;
— Hello/Dead interval – the protocol timers;
— Priority – the priority needed for selecting DR/BDR;
— Cost – the metric needed to calculate the best path. Click Keep.
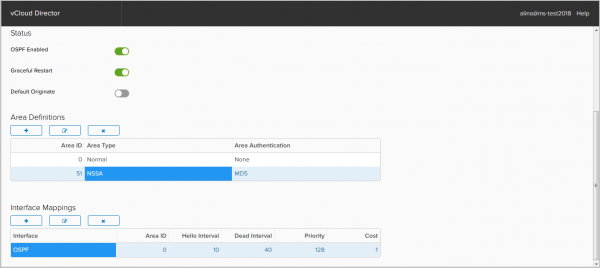
Let's add NSSA Area to our router.
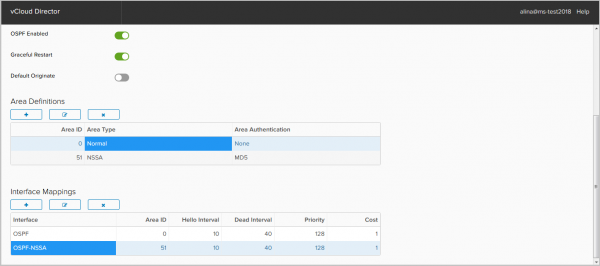
Save the configuration.
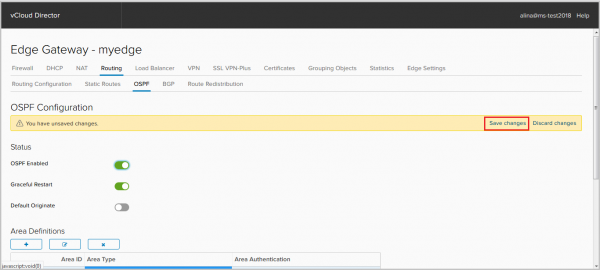
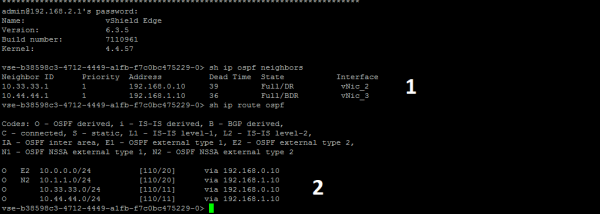
In the screenshot below, we see:
1. established sessions;
2. established routes in RIB.
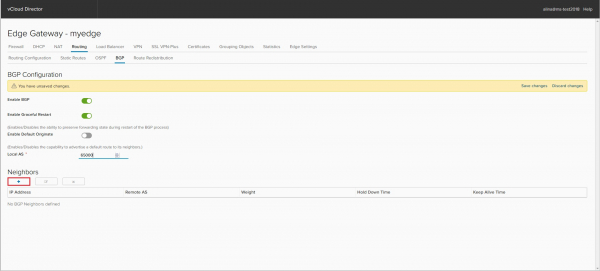
BGP Configuration
Go to the BGP tab.
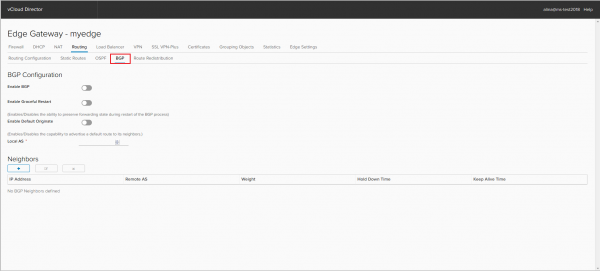
We enable the BGP process.
If necessary, disable Graceful Restart, which is enabled by default. Here you can also activate the default route announcement, even if it is not present in the RIB — the Default Originate option.
Specify the AS of our NSX Edge. Support for 4-byte AS is available only from NSX version 6.3.
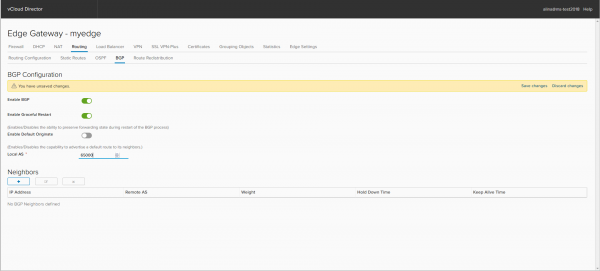
To add peer Neighbors, click +.
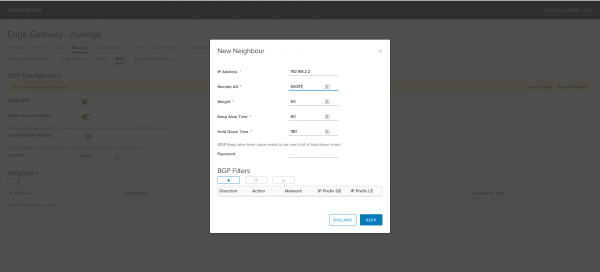
In the pop-up window, specify the following parameters:
— IP Address – the BGP peer address;
— Remote AS – the AS number of the BGP peer;
— Weight – a metric to control outbound traffic;
— Keep Alive/Hold Down Time – protocol timers.
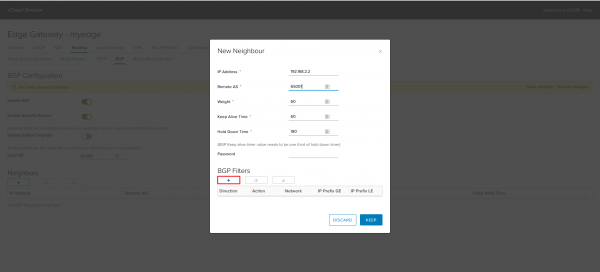
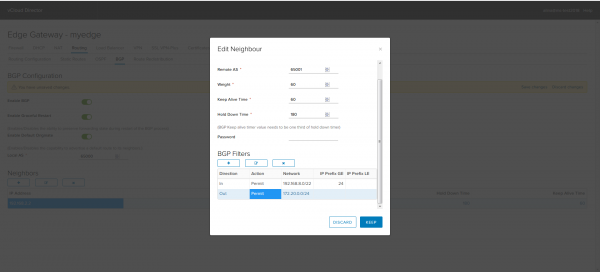
Next, we will configure BGP Filters. For eBGP sessions, all announced and received prefixes on this router are filtered by default, except for the default route. It is announced using the default originate option.
Click + to add a BGP Filter.
Configure the filter for outbound updates.
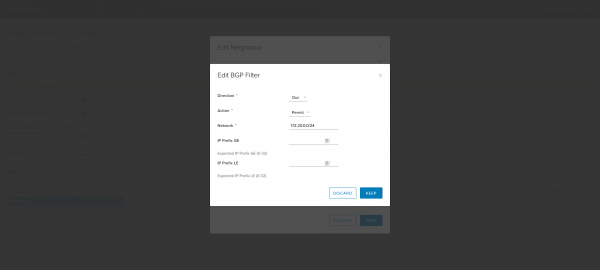
Configure the filter for inbound updates.
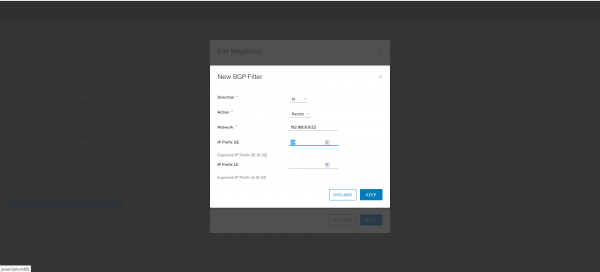
Click Keep to finish the configuration.
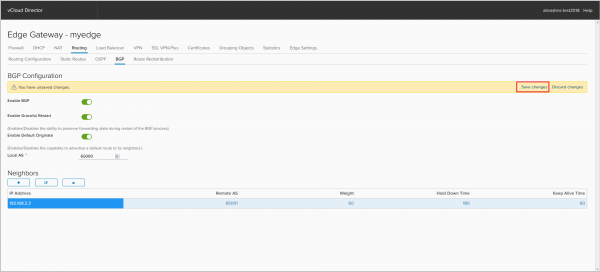
Save the configuration.
Done.
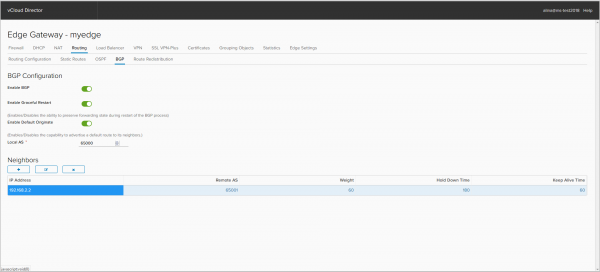
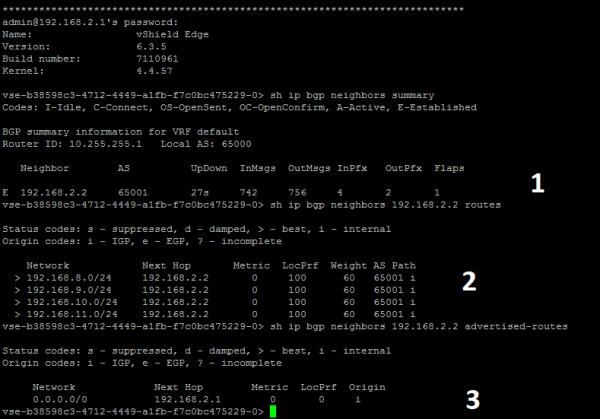
In the screenshot below, we see:
1. established session.
2. received prefixes (4 prefixes /24) from the BGP peer.
3. default route announcement. The prefix 172.20.0.0/24 is not announced, as it is not added to BGP.
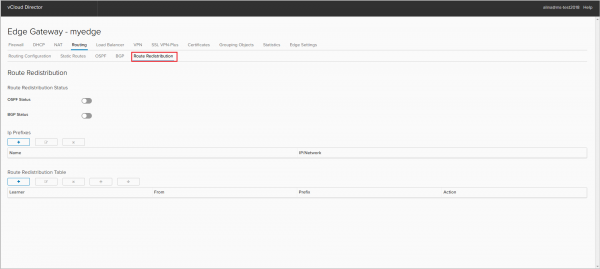
Route Redistribution Configuration
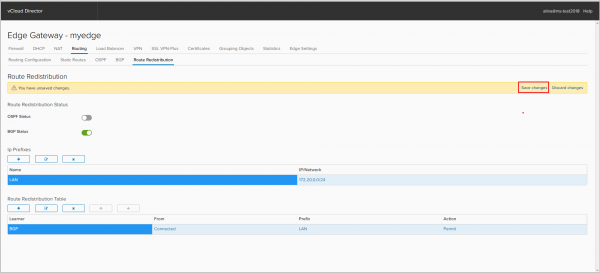
Go to the Route Redistribution tab.
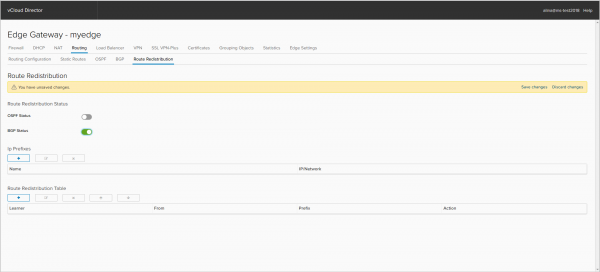
Enable route import for the protocol (BGP or OSPF).
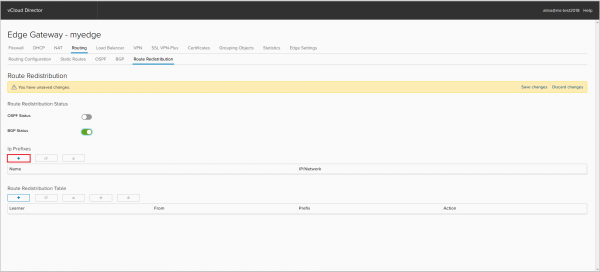
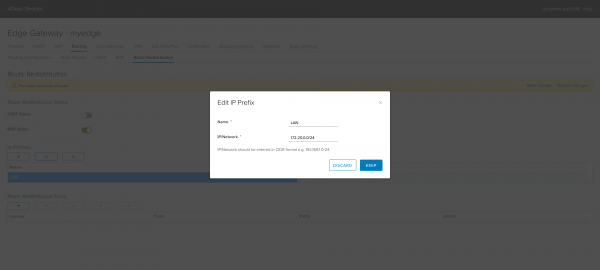
To add an IP prefix, click +.
Specify the name of the IP prefix and the prefix itself.
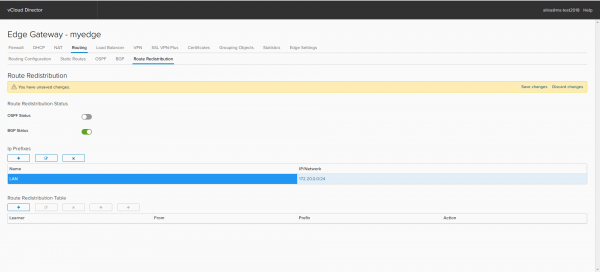
Let's configure the Route Distribution Table. Click +.
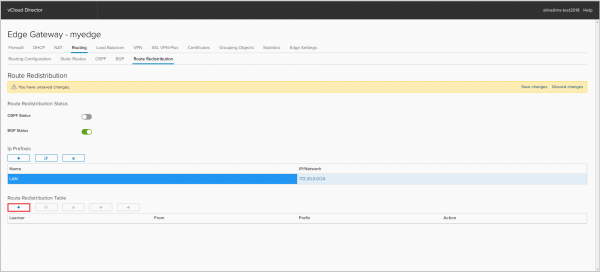
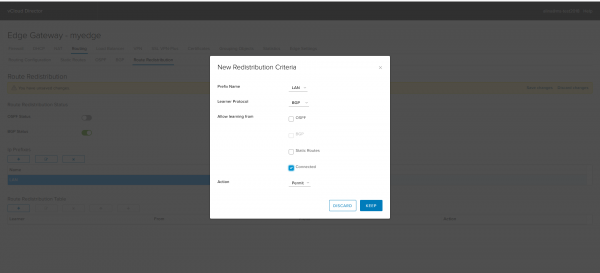
— Prefix Name — select the prefix we will import into the corresponding protocol.
— Learner Protocol — the protocol to which we will import the prefix;
— Allow learning — the protocol from which we export the prefix;
— Action — the action that will be applied to this prefix.
Save the configuration.
Done.
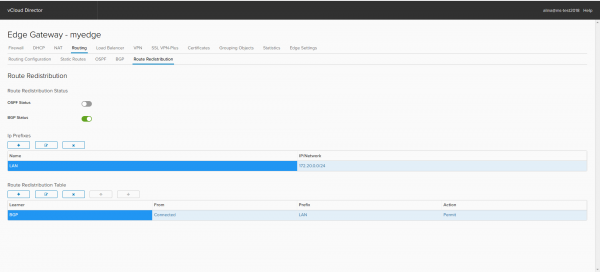
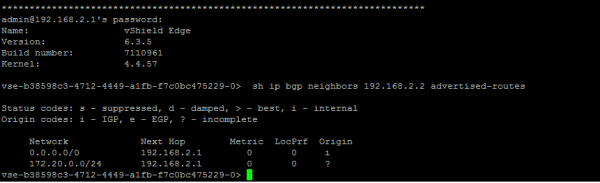
In the screenshot below, you can see that the corresponding announcement has appeared in BGP.
That’s all I have about routing with NSX Edge. Feel free to ask if anything remains unclear. Next time, we'll tackle the load balancer.
Source: habr.com
