

Good day, today I want to talk about the device that I developed and assembled.
Introduction
Tables with the ability to change the height have been on the market for a long time and there is a very wide variety of models - in fact, for every taste, well, and a wallet, although this is one of the topics for my project, but more on that below. I think it makes no sense to give links. There are quite a few companies that sell these tables.
There are also several different models of desktop / wall consoles. For example (IMHO the largest office about the production of such devices).
What did not suit me in the available solutions?
Tables
- Price: Big enough
- Functional: Standard lift tables only have this one feature. At the same time, due to the design, in most tables it is impossible to implement a change in the angle of the table top.
- Coating: Ordinary chipboard or natural wood, plastic. I really like the “mouse pad” type coating, 3-4 mm thick, a little soft.
- The usual desktop is already there: What to do if the table is already there and you don’t want to throw it away.
Console
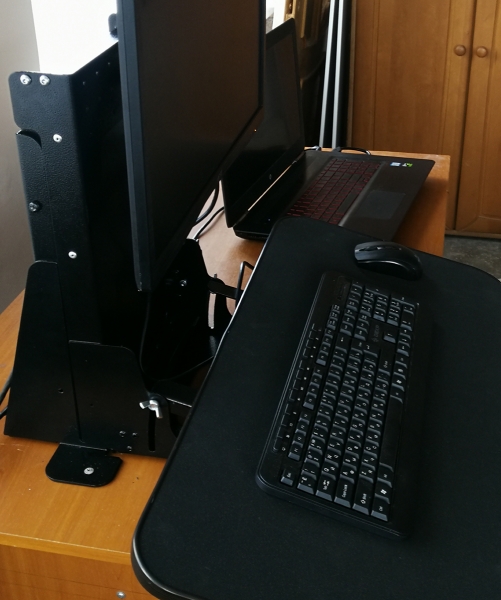
- Accommodation: consoles come in 2 types or wall or desktop. We need a more versatile solution that would allow you to mount the console both to the table and to the wall.
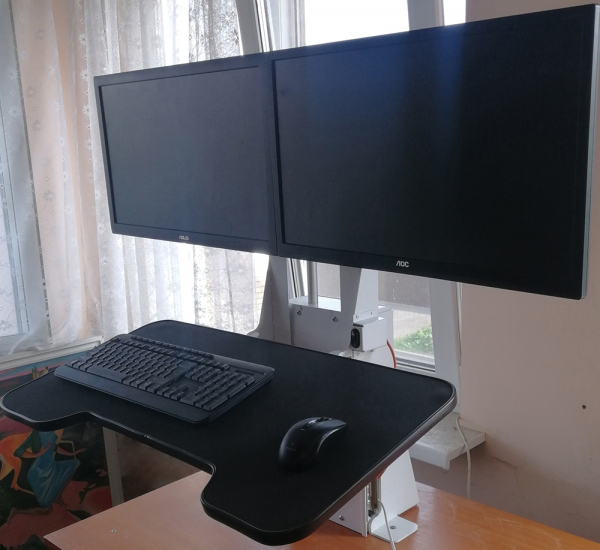
- Monitor mount: Typically, consoles either use a standard monitor stand or a rigid design for 1-2 monitors. This solution does not allow you to securely fix peripherals or adjust the location of monitors "with offset", which is especially important for 2 monitor systems.
- Drive design: Almost everywhere there is a gas cartridge, which imposes great restrictions on the weight of the lifting part and introduces the need to adjust the cartridge depending on the load and forces the addition of a special locking mechanism. An electric drive with an actuator and position memory seems to be a much better option.
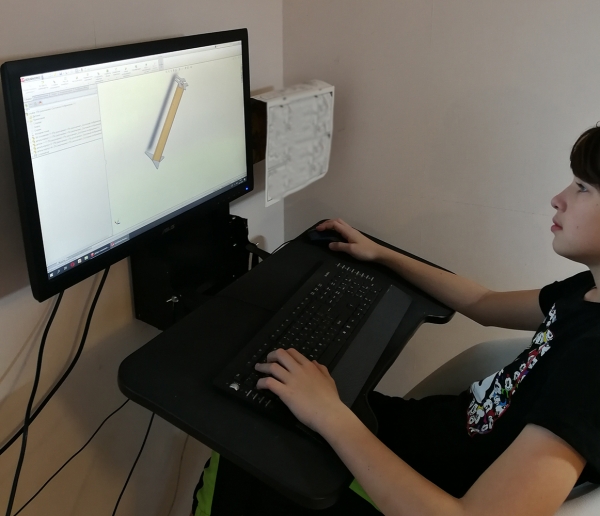
What has been implemented.
In this section there will be computer renderings with a description, photos of the real device below.
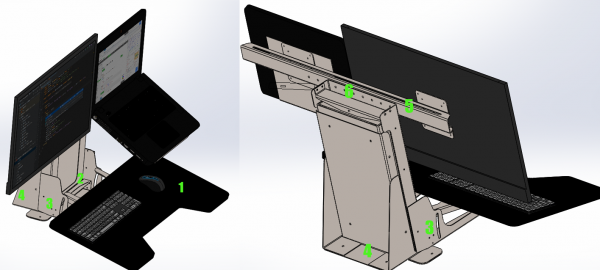
There are a few notes on the pictures:
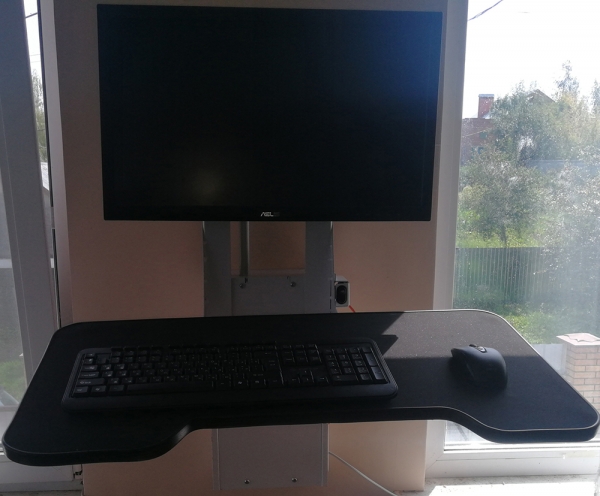
- The tabletop has free fastening, i.e. it can be fixed off-center, but shifted or extended. The cover is 3mm EVA material.
- Shelf for small things or phone.
- The tabletop is made with the possibility of changing the angle of inclination 0-15 degrees.
- The base is used to fix the console on the table.
NB: For me, this is the most controversial element of the design. I don’t feel sorry for the countertop and I’m not going to remove the console, but just in case there is an option with fastening using a base with clamps. - Monitor mounting bracket allows you to mount monitors of various diagonals and / or a laptop.
- Fixing the bar to the console - allows you to change the height of the suspension, and move the suspension to the sides from the center line.
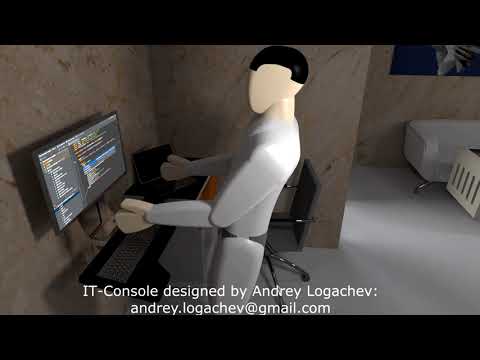
Below is a small render showing the console in action:
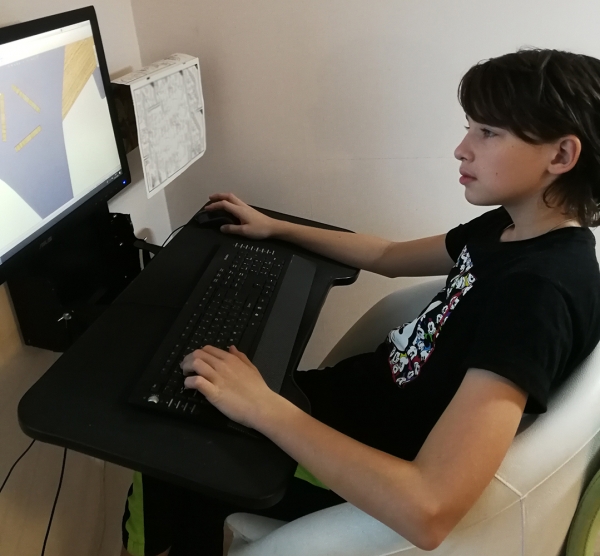
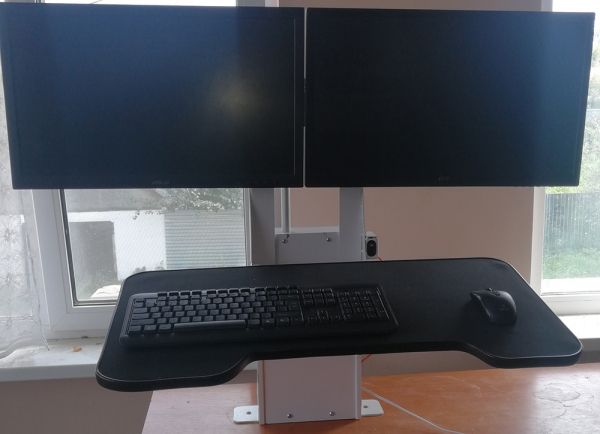
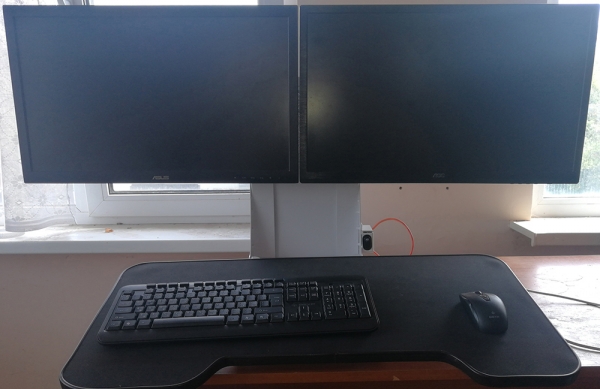
Live Photos
I apologize for the quality of live photos, because making a computer render is easier than ordering a professional photo session
Photos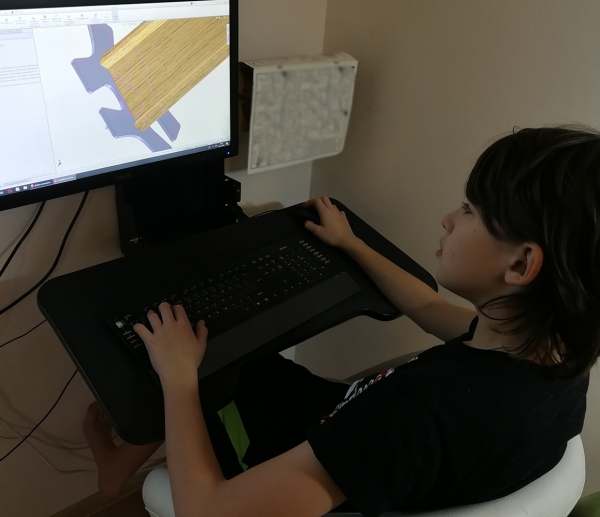
Specification
- Number of monitors: 1-4
- Monitor weight: up to 40 kg.
- Ascent/descent speed: ~20mm/s (15-25 depending on load)
- Lifting height: 300-400mm
- Weight: 10-17 kg depending on configuration
- Table top tilt angle: 0-15 degrees
- Table top material: Particleboard or plywood with EVA coating (non-slip, soft mousepad-like.
- Mounting: to the wall, to the table
And now the most interesting ...
Price
1000r. - cut metal
1000r. - to bend
3000r. - Sandblasting and powder coating
2000r. - actuator,
700r. - power unit,
1300r. - buttons, wires, bolts, screws, guides.
1000r. – tabletop (chipboard with EVA plastic coating and molding)
Assembly time: about 3 hours.
Conclusion
I really want to get an assessment of my work from readers and constructive criticism.
If my development interests you and you want to talk, write to: andrey.logachev@gmail.com
Source: habr.com
